
In this article:

How to Slip Stitch in Crochet
Slip stitch (sl st) is one of the basic crochet stitches each crocheter should know. Slip stitch is the shortest of the stitches. I would say it is an even easier one! You can use it for:
- Make a simple border for your crochet item
- joining rounds
- Add decorative elements on the surface of your crochet item (surface crochet)
- joining crochet elements together (e.g. squares)
Below you will learn step by step, how to do a slip stitch in crochet for each of those uses.
How to Slip Stitch Edging to Your Crochet Project
There is not any particular moment for stating a slip stitch. You can work on it at any point in your project. However, if you planning to introduce a new color and make an edge with it, it’s better to wait until the end of the row and add a new yarn at the last loop of the previous row.
Step 1
Finish your row according to the pattern, stopping just before the last yarn is over.
Remove the crochet hook. Make a loop of a yarn you what to work with. Insert the hook into the place you want to begin with. Yarn over and pull through all loops (including a loop on the hook).
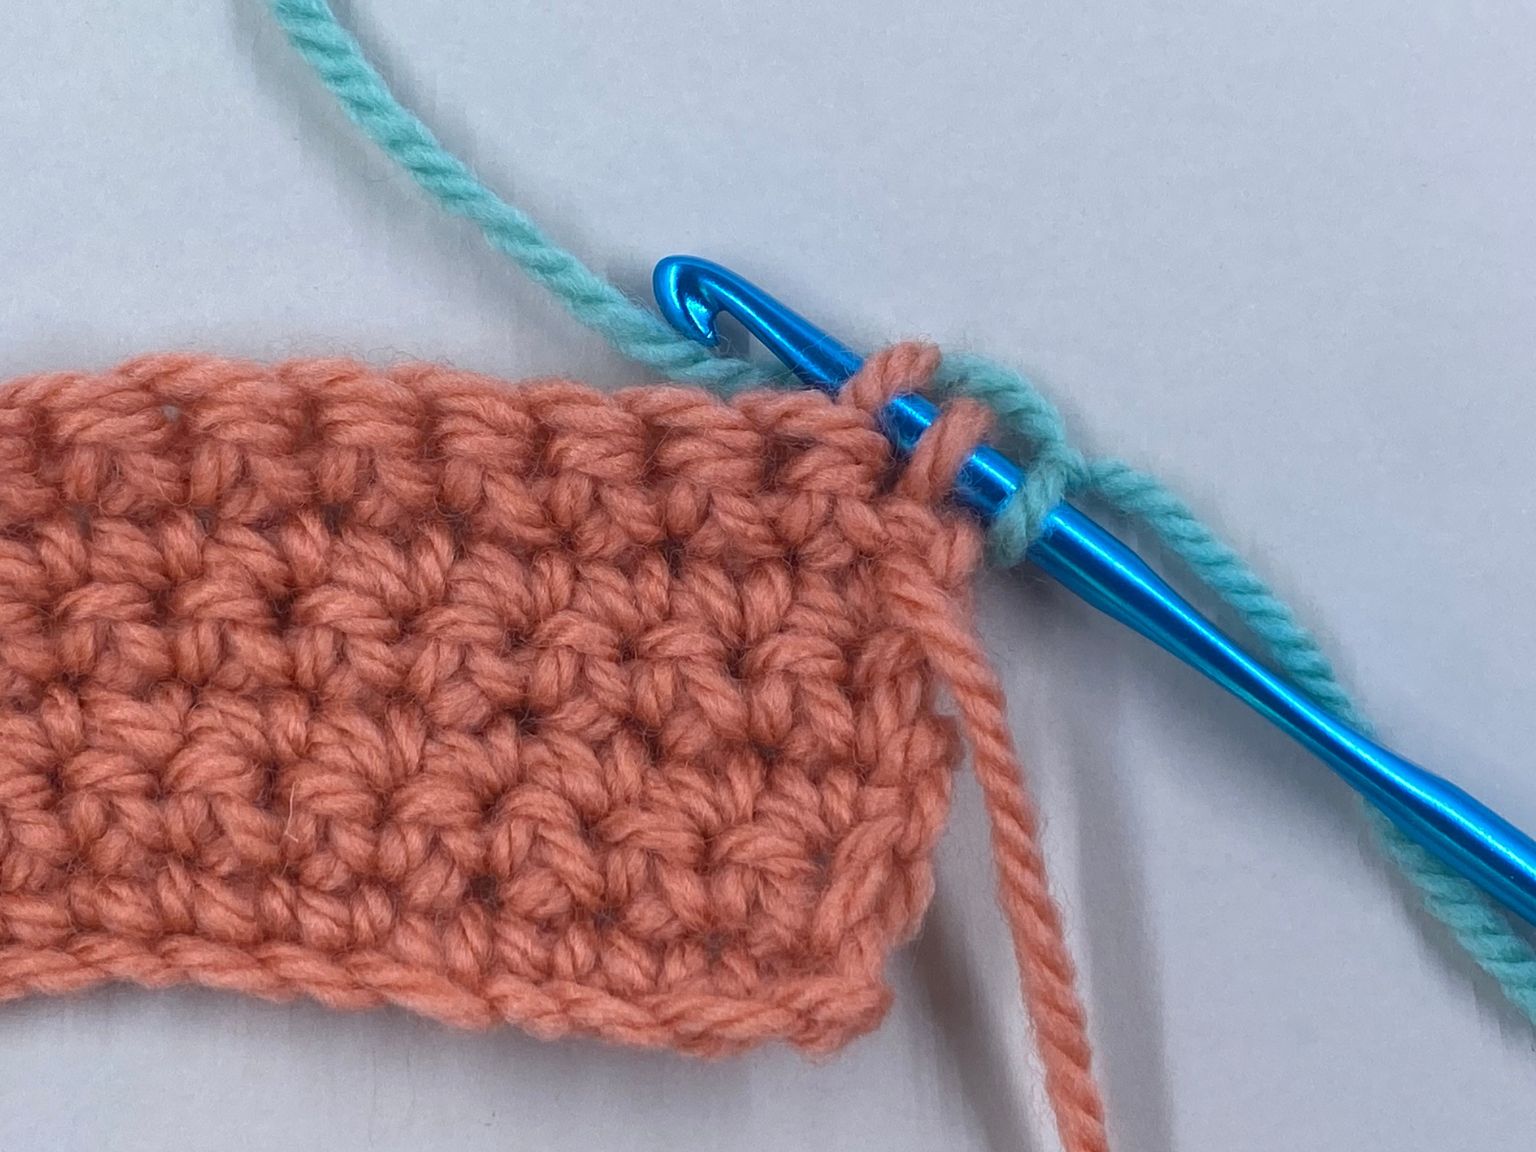
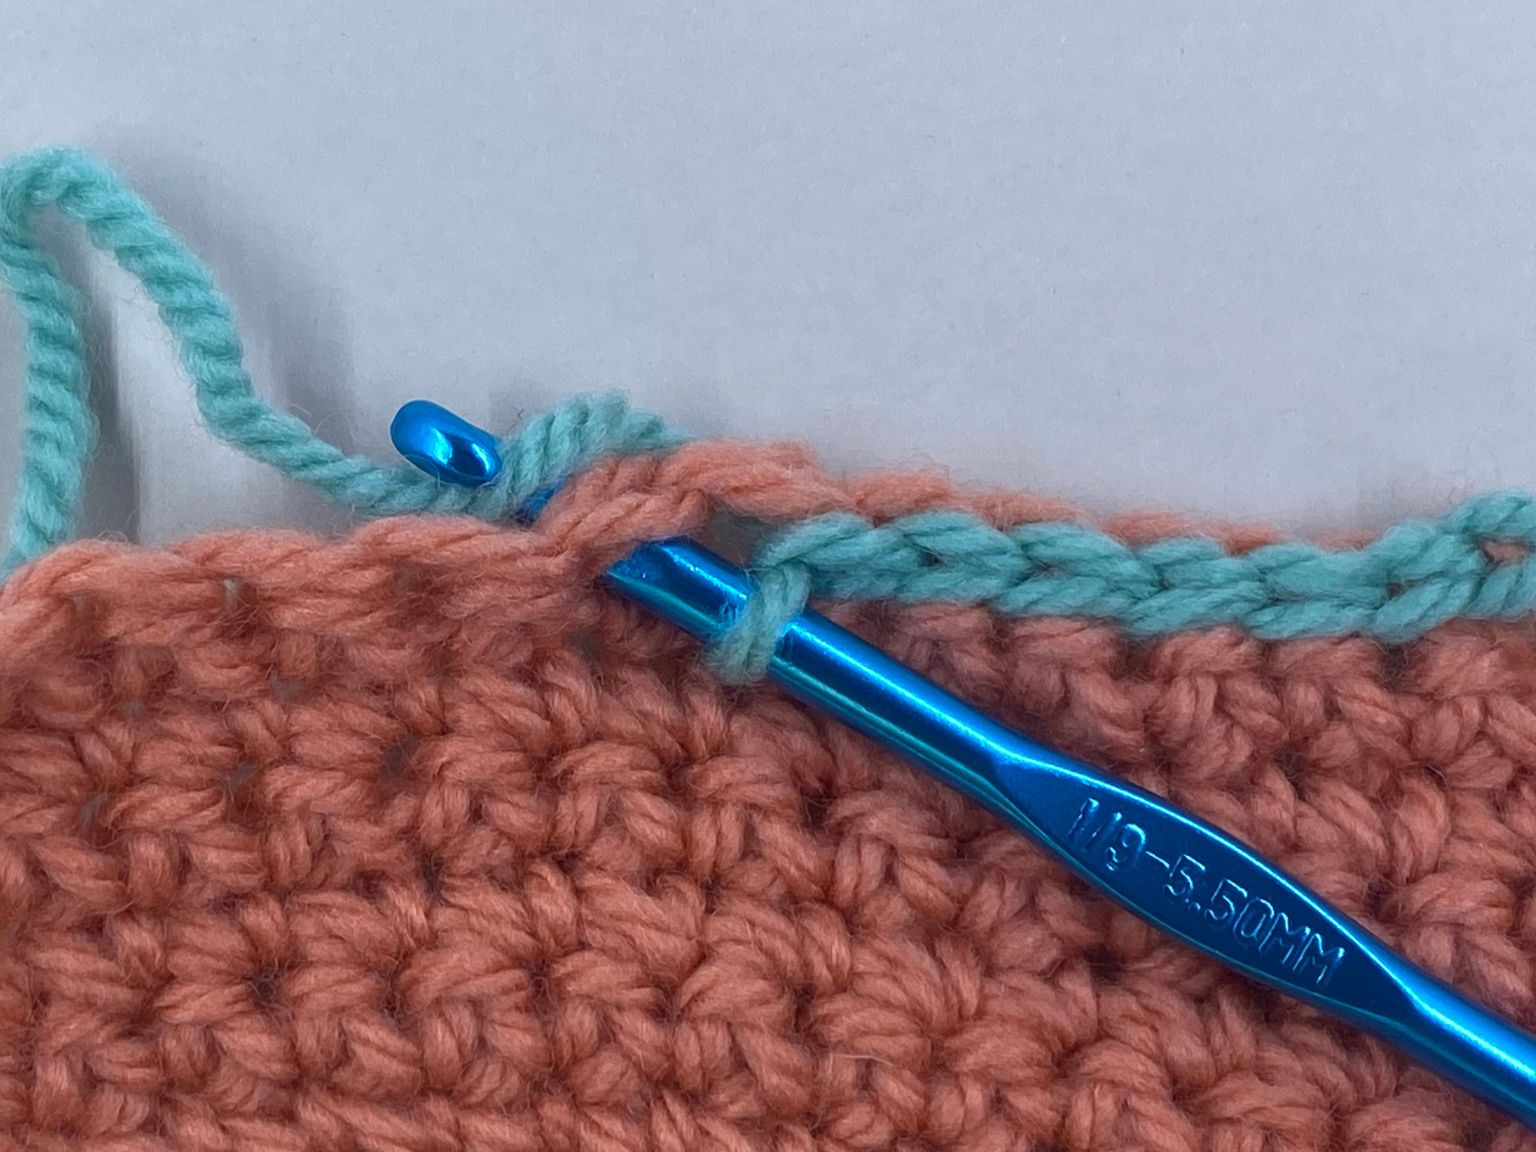
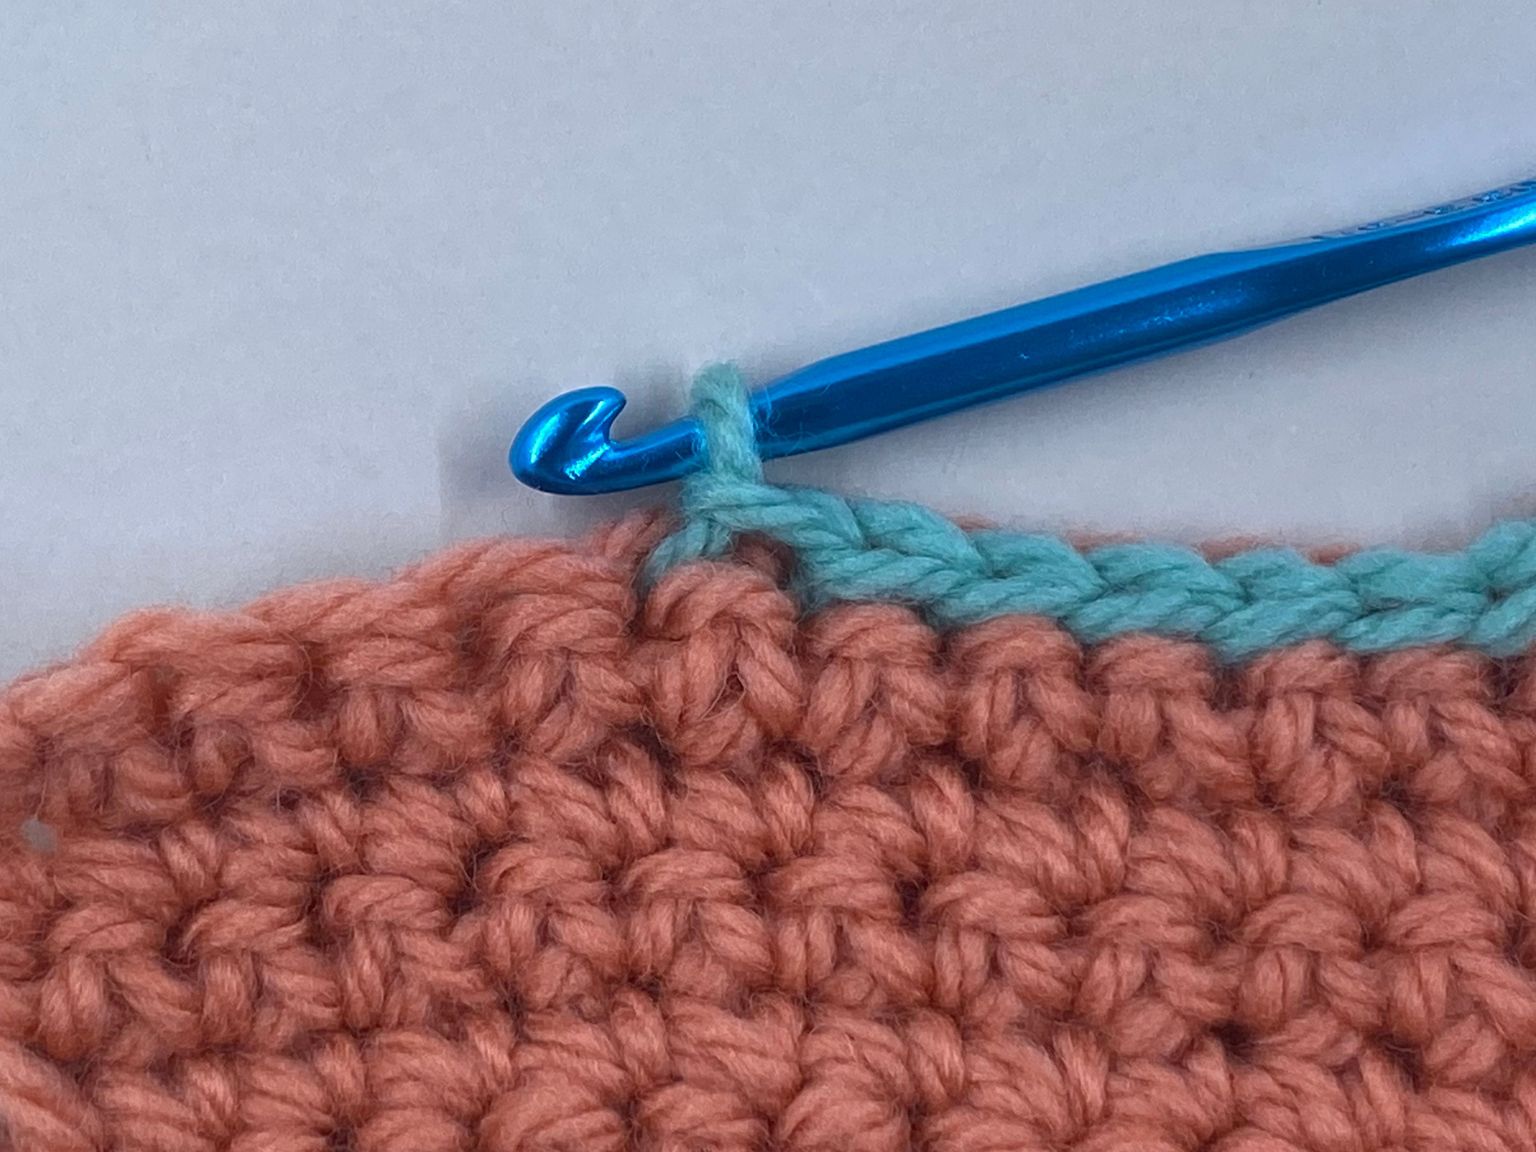
Insert the hook into the next stitch, yarn over, and pull through. You have two loops on the hook (in my example they are green). Pull over the loop closed to the head through the second loop. Do not yarn over.
Step 3
Repeat step 2 to finish the row of slip stitches.
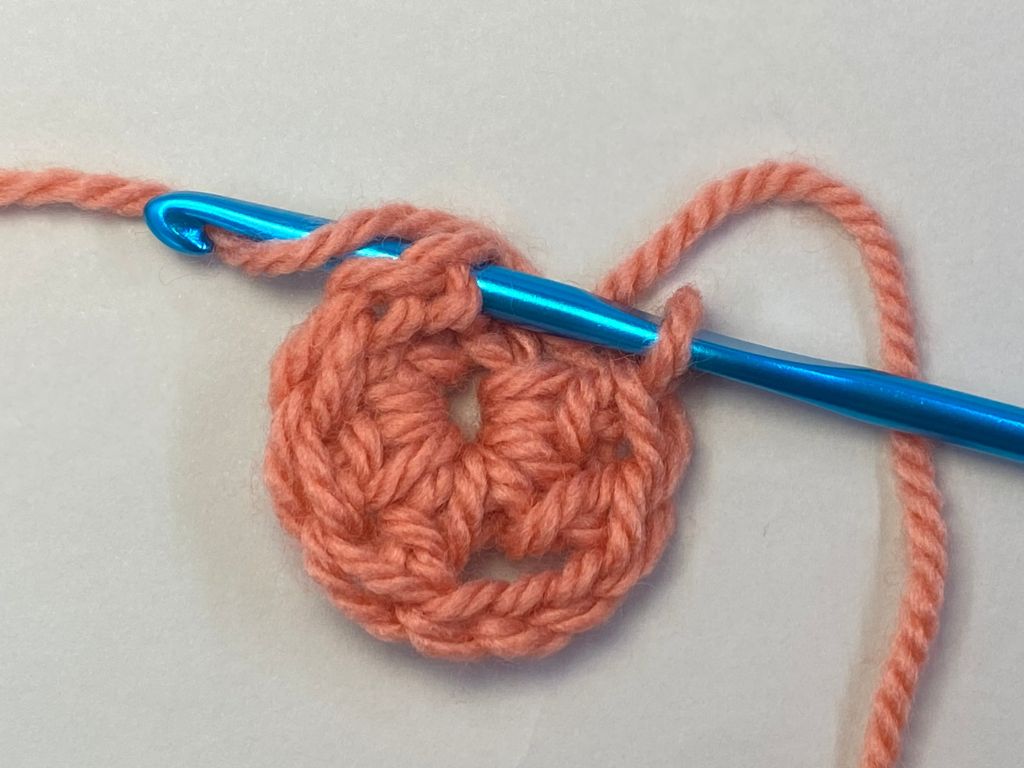
You can also use slip stitches to join the first and the last stitch in the round when crocheting a circle e.g. a magic ring. To do this, insert the hook under the top two loops of the first stitch of this round, yarn over, and pull through.
PRO TIP: If you’re following a pattern for an amigurumi, a pattern may require to skip stitch. Follow the pattern or make the next single crochet stitch to start the second round instead.
Adding a Decorative Elements) Surface crochet)
You can add decorative elements to any crocheted or knitted project using this technique.
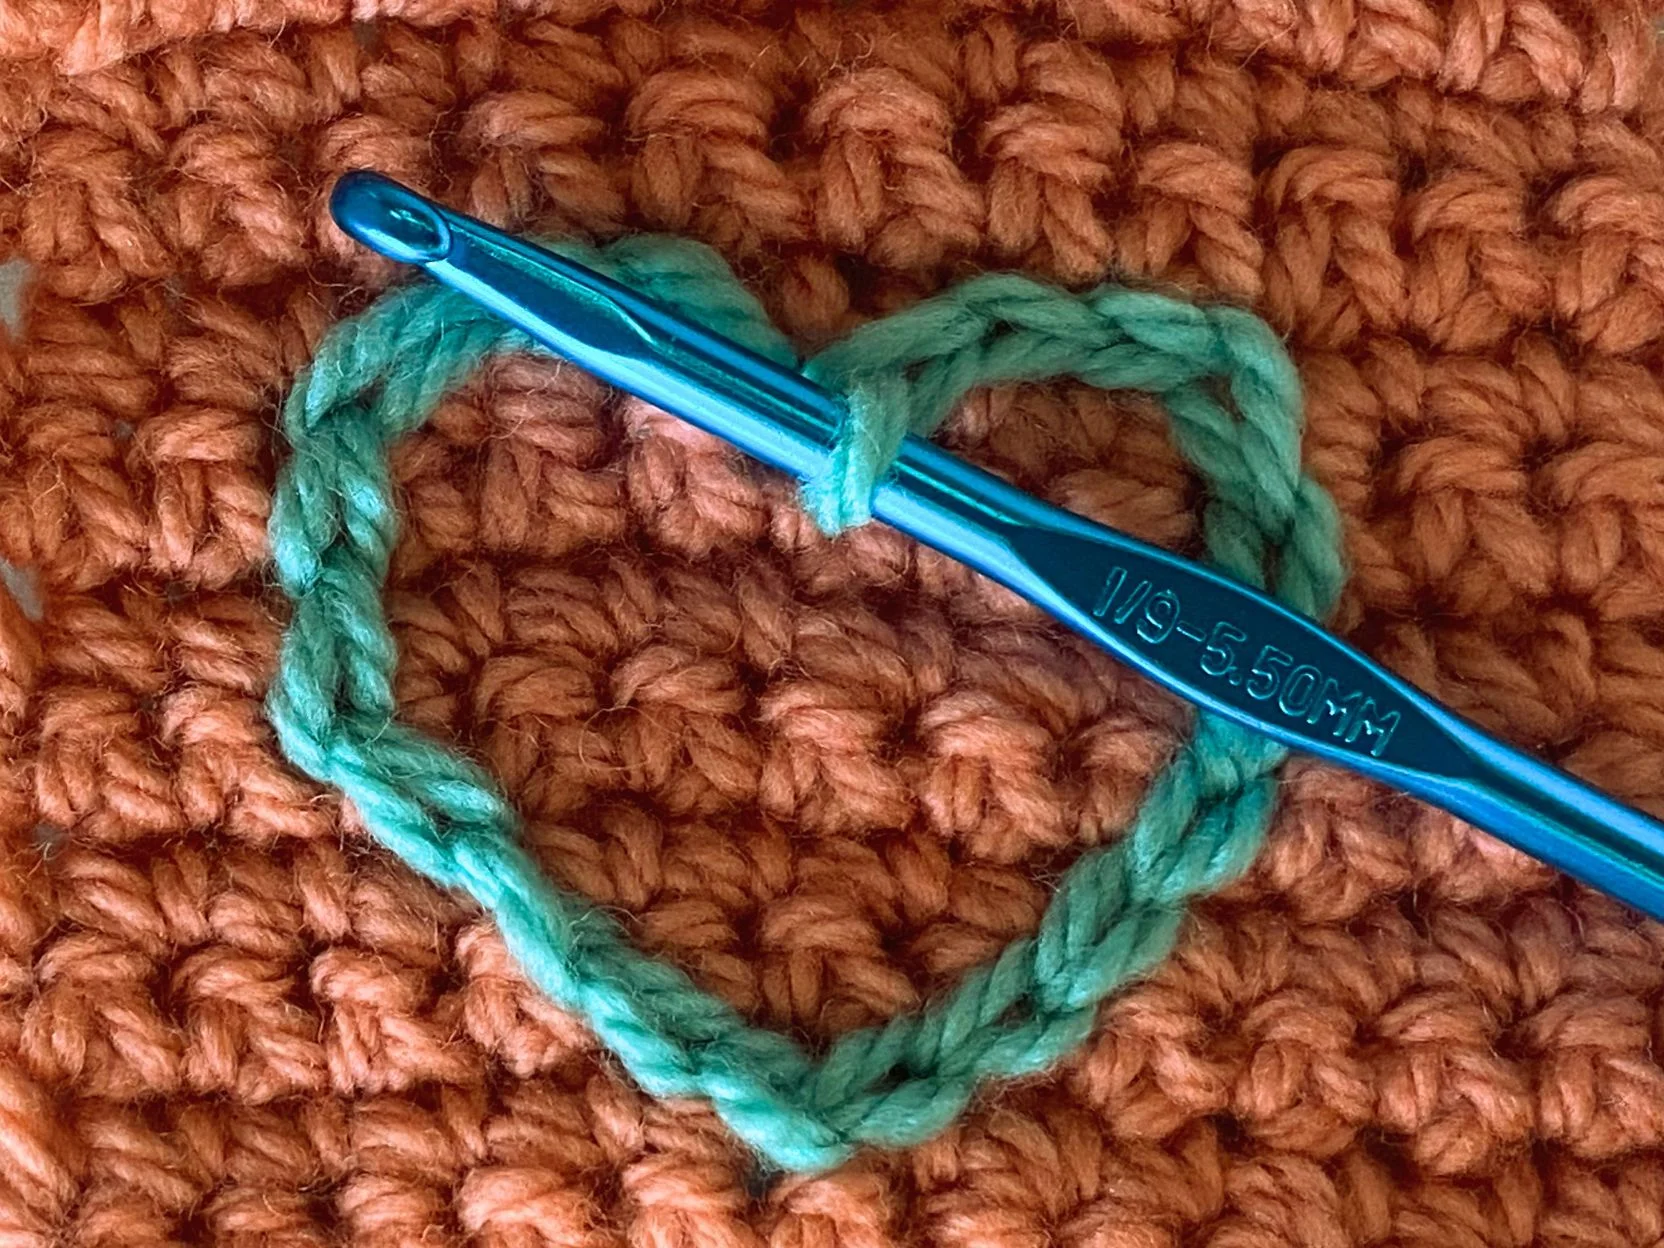
Step 1: To work slip stitch on the surface make a slip knot from the yarn you would be working with.
Step 2: Insert a hook into the place you want to start and place a slip knot on the hook. Pull it through on the surface.
Step 3: Insert a hook into the next space in between stitches or rows depending on the shape you want to surface.
TIP: If you making a shape, cut it out of the paper first and pin it in the desired place. Next slip a stitch around it.
Joining Crocheted Elements Together With Slip Stitch
Slip stitches are great for joining elements together. You can use it to join granny squares while making a bedspread or to stitch up the sleeves on a sweater.
When joining two pieces, insert your hook through both pieces or edges when you work each slip stitch.
See an example how to join crochet squares.