
In this article:

Introduction:
Knitting fingerless gloves is a fantastic way to blend fashion with functionality, appearance with usability. They are an easy and practical knitting project. They leave your fingertips free for texting while the rest of your hand stays warm.
You may be a seasoned knitter. You may also be just starting out. Either way, it doesn’t matter because this project is perfect for honing your skills and creating a stylish accessory that will keep your hands warm while allowing your fingers the freedom they need. In this step-by-step guide, we’ll take you through the process of knitting fingerless gloves, providing detailed instructions and tips to ensure your project is a success.
Materials You’ll Need:
- Yarn of your choice (worsted weight is a good option for warmth and flexibility)
- Knitting needles (appropriate size for your chosen yarn). For more info about different kind of needles visit: Knitting Needles 101: A Beginner’s Guide to the Different Types
- Stitch markers
- Yarn needle
- Scissors
- Measuring tape
How to knit gloves?
Step 1: Choose Your Yarn and Needles
Select a yarn that matches your desired color and warmth. Worsted weight yarn is a great choice for fingerless gloves because of its warmth and flexibility. But you can make a pair of gloves from any kind of yarn like fingering, aran, merino wool, super bulky yarn.
Check the yarn label for recommended needle sizes and choose needles accordingly.
Step 2: Measure Your Hands
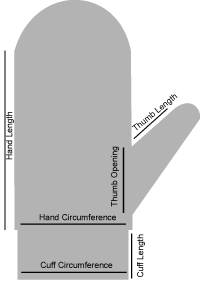
Use a measuring tape to measure the circumference of your palm and the length of your hand from wrist to base of the fingers. This will help you determine the size of your gloves.
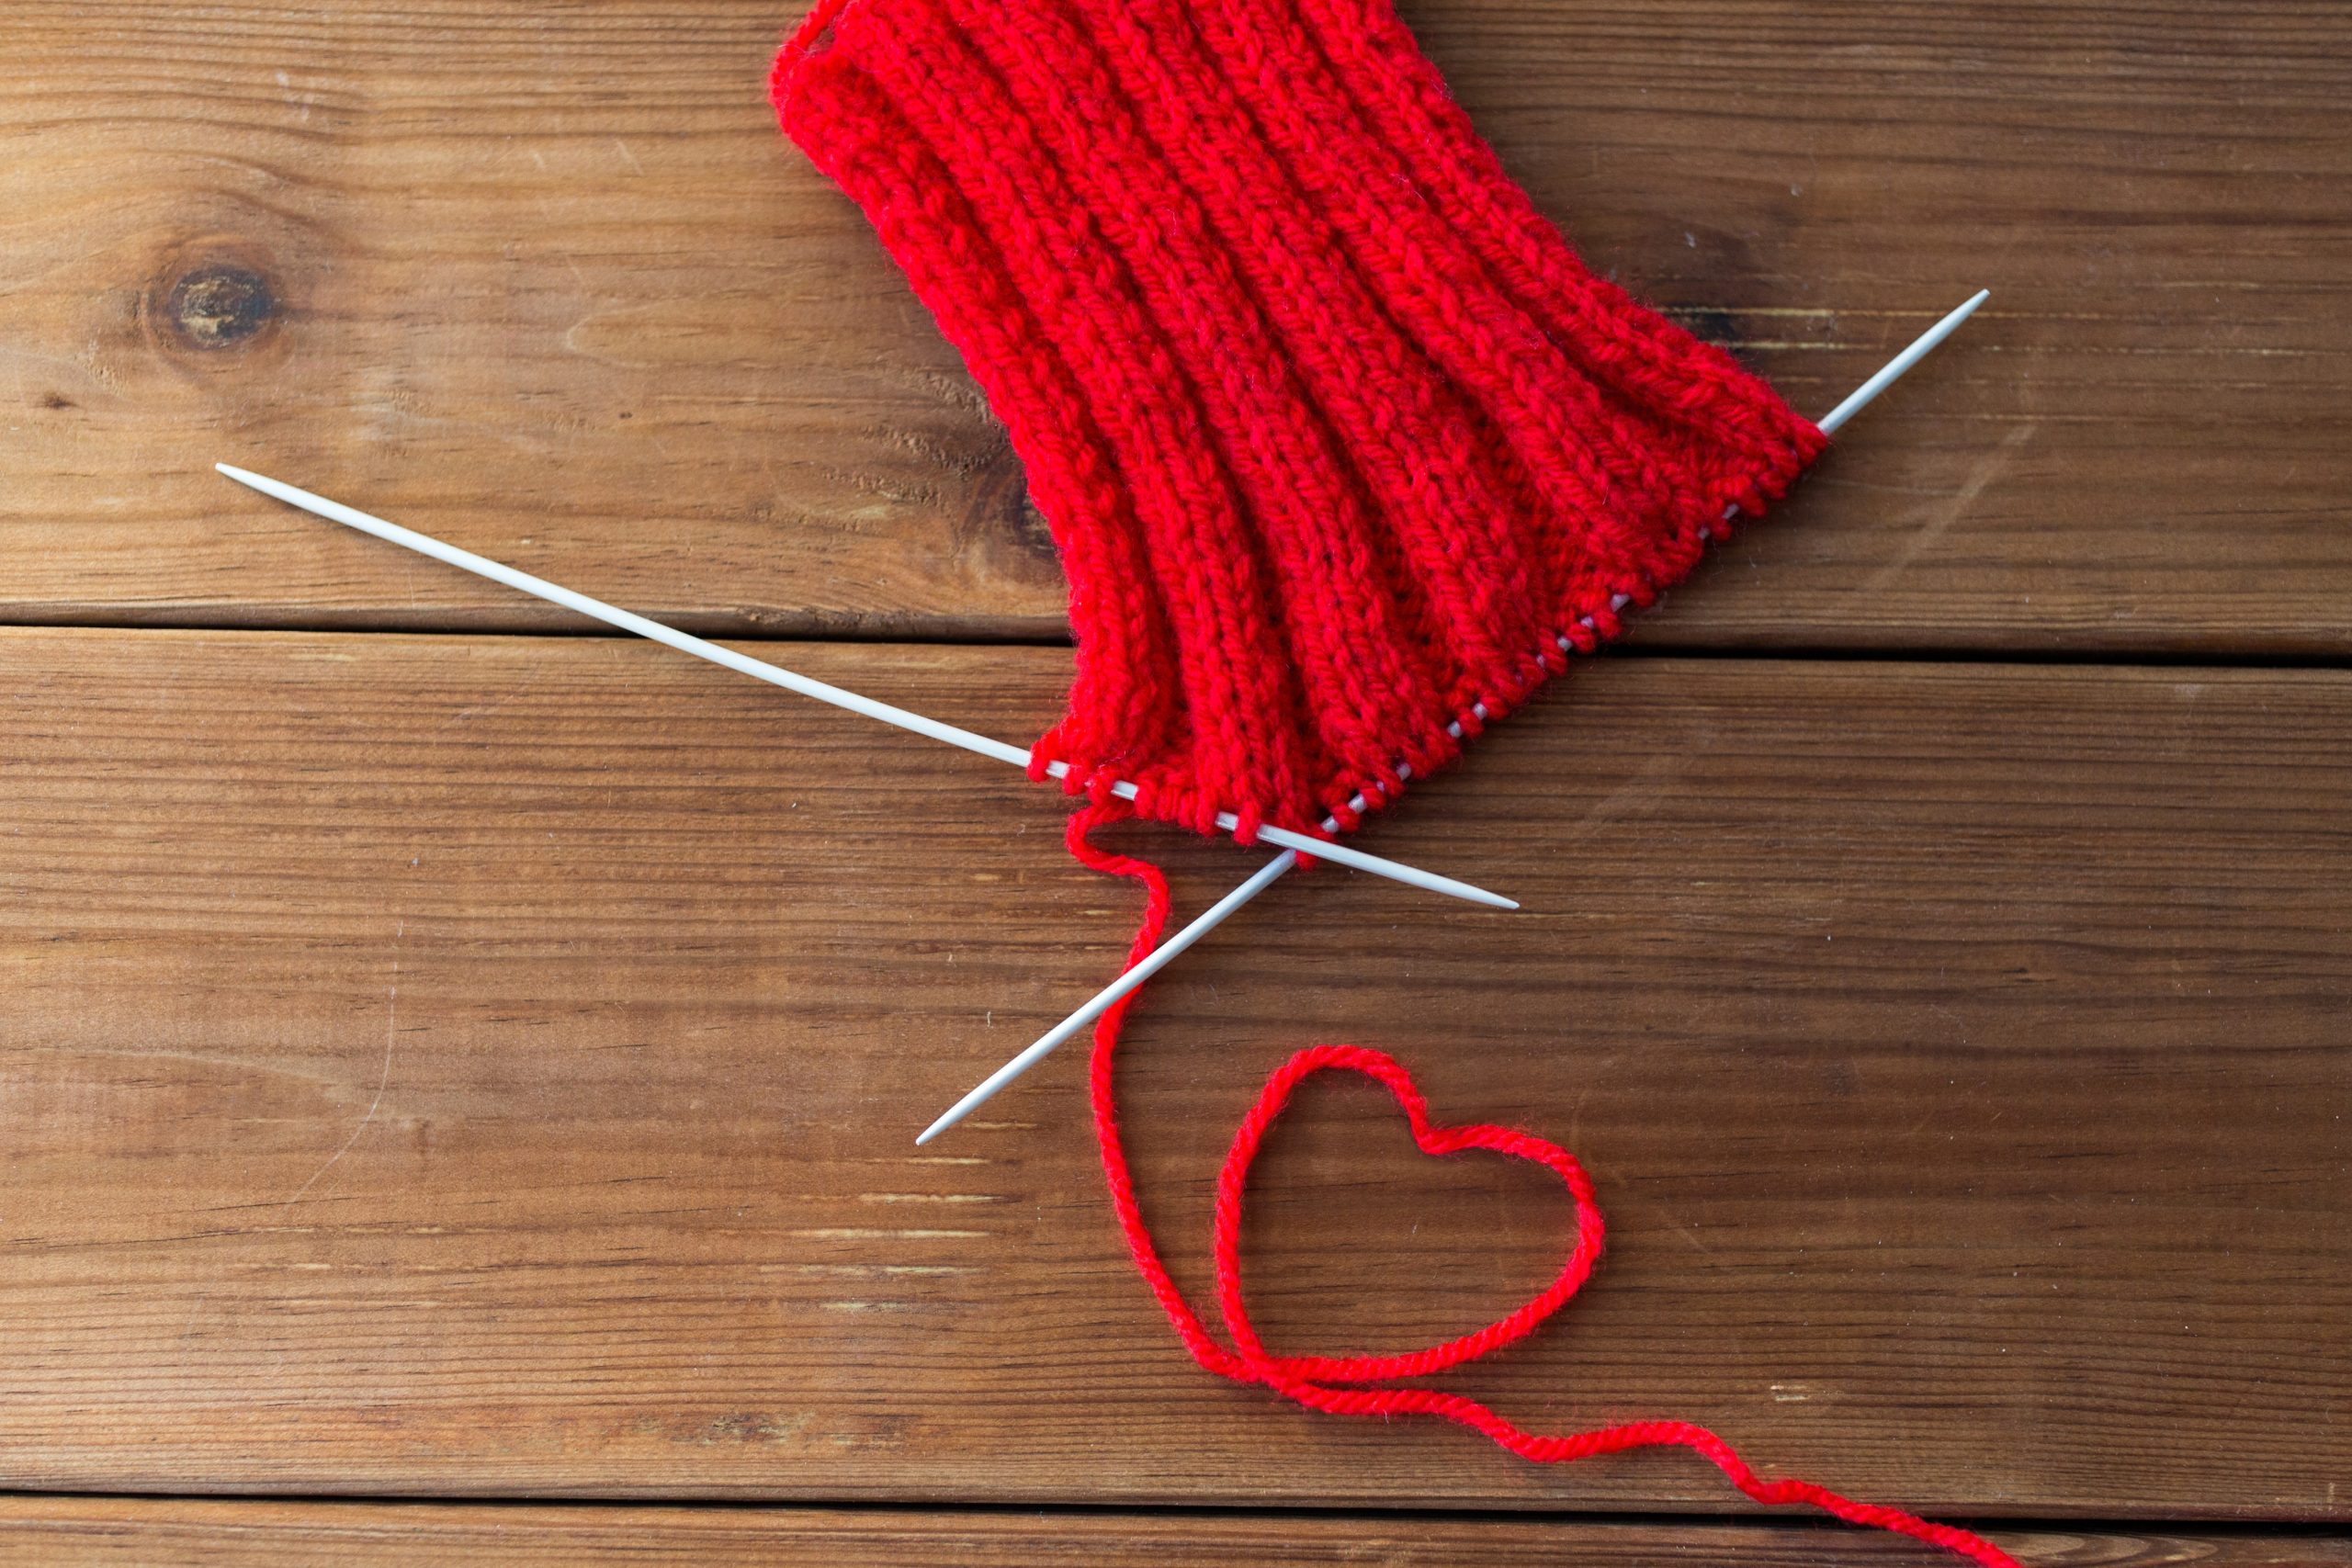
Step 3: Cast On
Start by casting on the required number of stitches, based on your hand measurements. Use a stretchy cast-on method, like the long-tail cast-on, to ensure a comfortable fit.
Step 4: Knit the Ribbing
Work a ribbed cuff for added stretch and a snug fit. A common choice is a 2×2 rib (knit 2, purl 2). Continue the ribbing for the desired length, usually around 1 to 2 inches.
Step 5: Establish the Hand
Switch to the stockinette stitch (knit one row, purl one row) to create the main body of the gloves. Continue knitting until the piece reaches the base of your fingers, keeping in mind any thumb shaping if your pattern includes it.
Step 6: Shape the Thumb Hole
If your gloves are fingerless, you’ll need to create a thumb hole. To do this, transfer a set number of stitches (usually 8-12) onto a stitch holder. Knit across the remaining stitches to complete the round.
Step 7: Finish the Glove
Continue knitting until the glove reaches the desired length. Bind off the stitches and use a yarn needle to weave in any loose ends.
Step 8: Repeat for the Second Glove
Repeat the entire process to create a matching glove for your other hand. Be mindful of maintaining symmetry for a polished look.
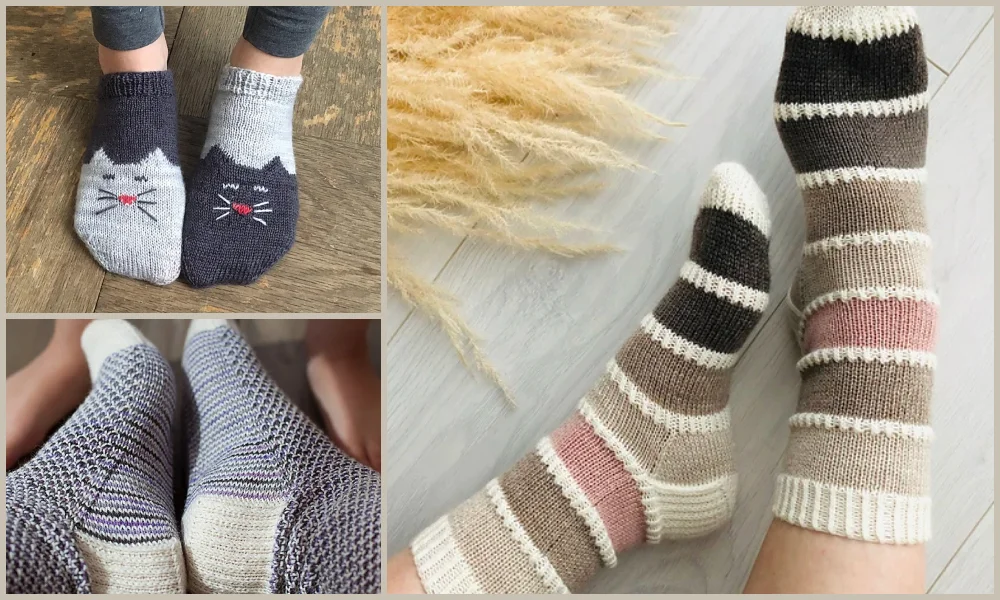
Looking for more knitting patterns to try? Top 10 Free Knitted Socks Patterns: Cozy Creations for Every Skill Level
Conclusion:
Knitting fingerless gloves is a rewarding and enjoyable project for knitters of all skill levels. With this step-by-step guide, you can create a cozy and stylish accessory that adds warmth to your hands without sacrificing dexterity. Experiment with different yarns and stitch patterns to personalize your gloves and showcase your unique style. Happy knitting!