


In this article:

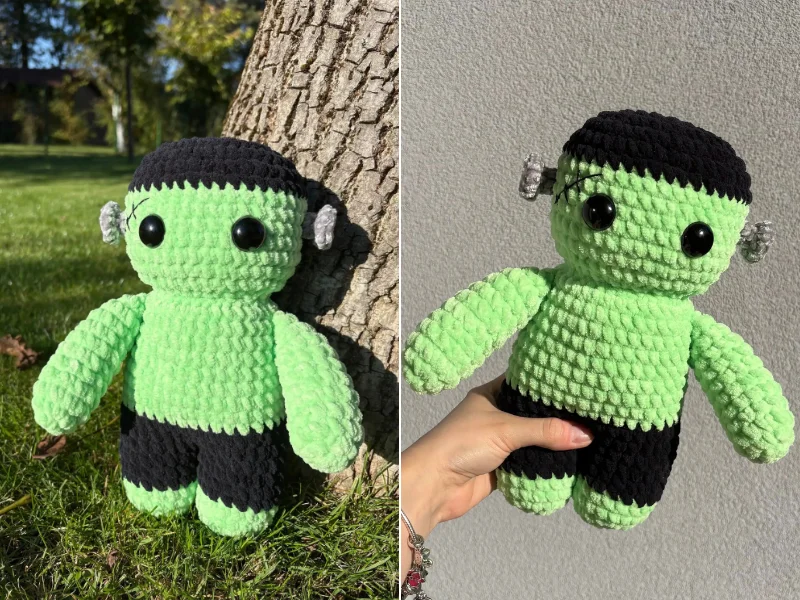
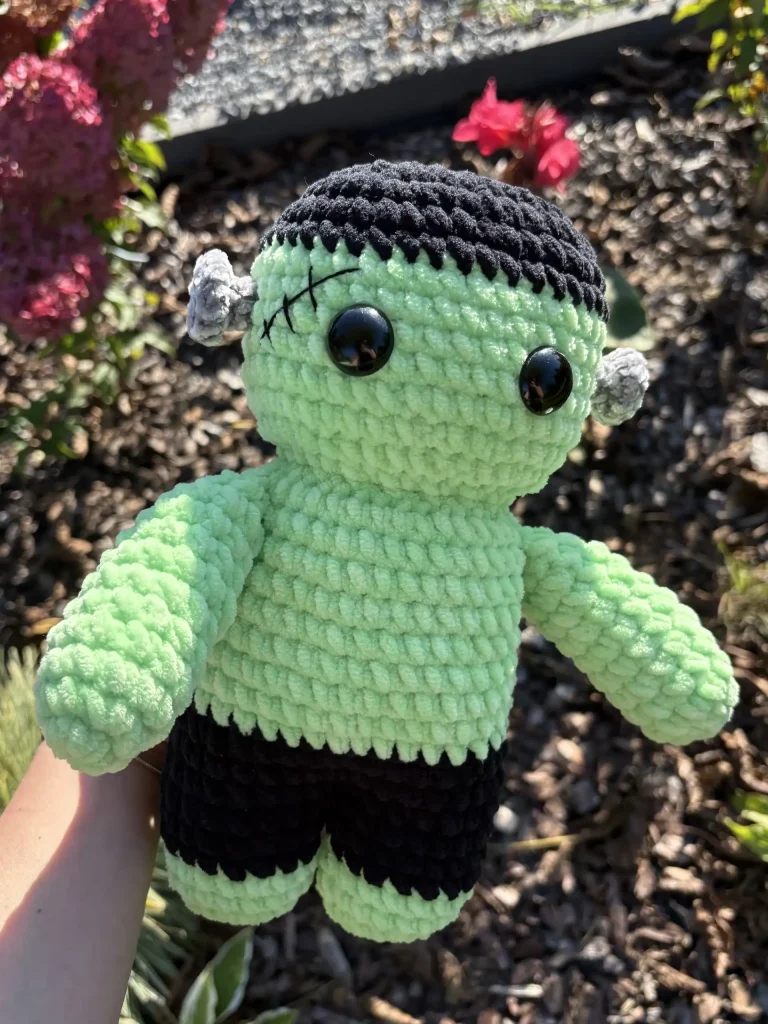
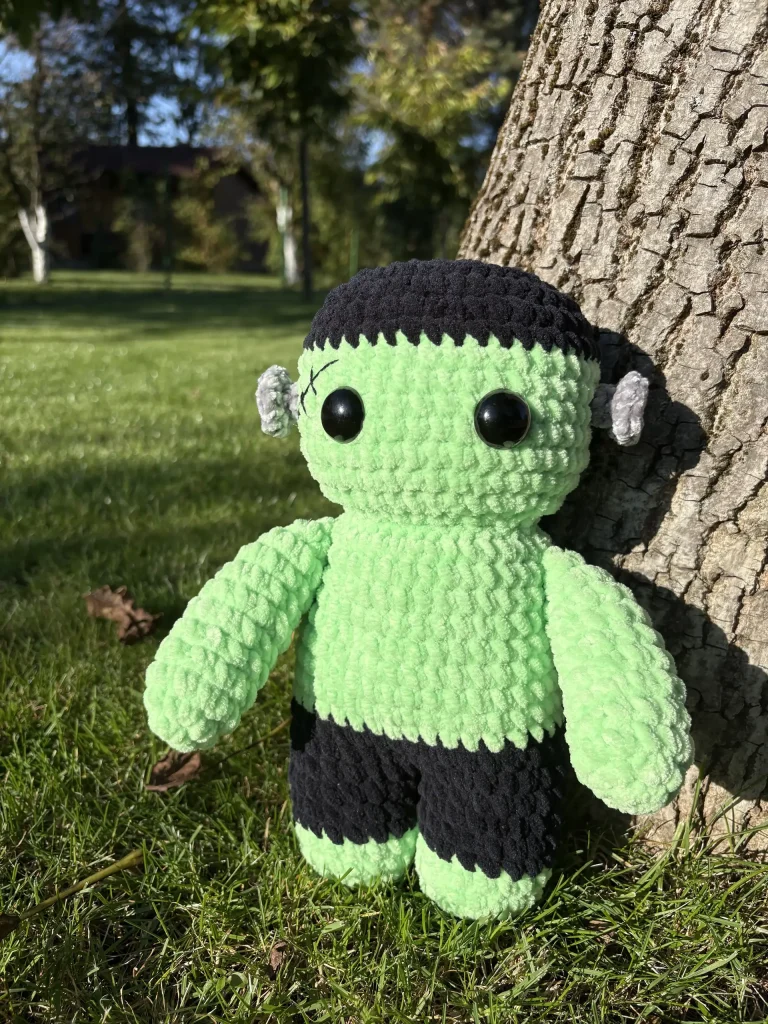
Frankenstein is one of those Halloween characters that works especially well as a crochet plushie. With his square head, dark hair and little details inspired by the classic monster, this version has a fun handmade look while still being simple enough to use as a seasonal decoration. The finished plushie measures approximately 27 cm / 10.6″ in height, making it a nice size for displaying on a shelf, desk, or Halloween table.
Made with soft yarn, the Frankenstein can also be used as a cuddly plushie rather than just a decoration. You can follow the classic green and black color combination shown in the pattern, or change the colors to give him your own look. Small details such as the hair, facial features and clothing are what bring the character together and make the finished piece stand out.
Whether you are making one for Halloween, adding to a collection of handmade monsters, or looking for a fun crochet gift, this Frankenstein plushie is a great project for the spooky season. It can also be made in different sizes by changing the yarn weight and hook size.
In this post, you will find a free pattern for the Frankenstein amigurumi. Don’t forget to also check our Complete Guide to Free Crochet Fall Patterns and other Exclusive Patterns.
The easily printable Frankenstein Plushie PDF version is available in our shop:
This free crochet pattern was designed exclusively for Your Crochet by Weronika Miechowicz.
About the Author
Weronika has a real passion for crocheting and enjoys creating patterns that reflect her love for handmade, seasonal projects. She shares her designs to inspire others to pick up their hooks and make something fun for themselves, their homes or gifts for their loved ones.
Ravelry | Etsy | YourCrochet Shop
Pattern Notes
This is a beginner-friendly crochet pattern, and I’m using US terms.
Materials and Tools
- Fine weight chenille yarn: grey (Alison & Mae Velvet)
- Medium weight chenille yarn: green, black (Alize Velluto)
- Black thread
- crochet hook: 4 mm, 6 mm
- stitch markers
- tapestry needle
- scissors
- stuffing
Measurements
- HEIGHT: 27 cm / 10.6″
Stitches and Abbreviations
- rnd – round
- st(s) – stitch(es)
- sc – single crochet
- ch – chain(s)
- slst – slip stitch
- inc – increase
- dec – decrease
- MR – magic ring
- FLO – front loop only
- BLO – back loop only
Frankenstein Plushie Free Crochet Pattern
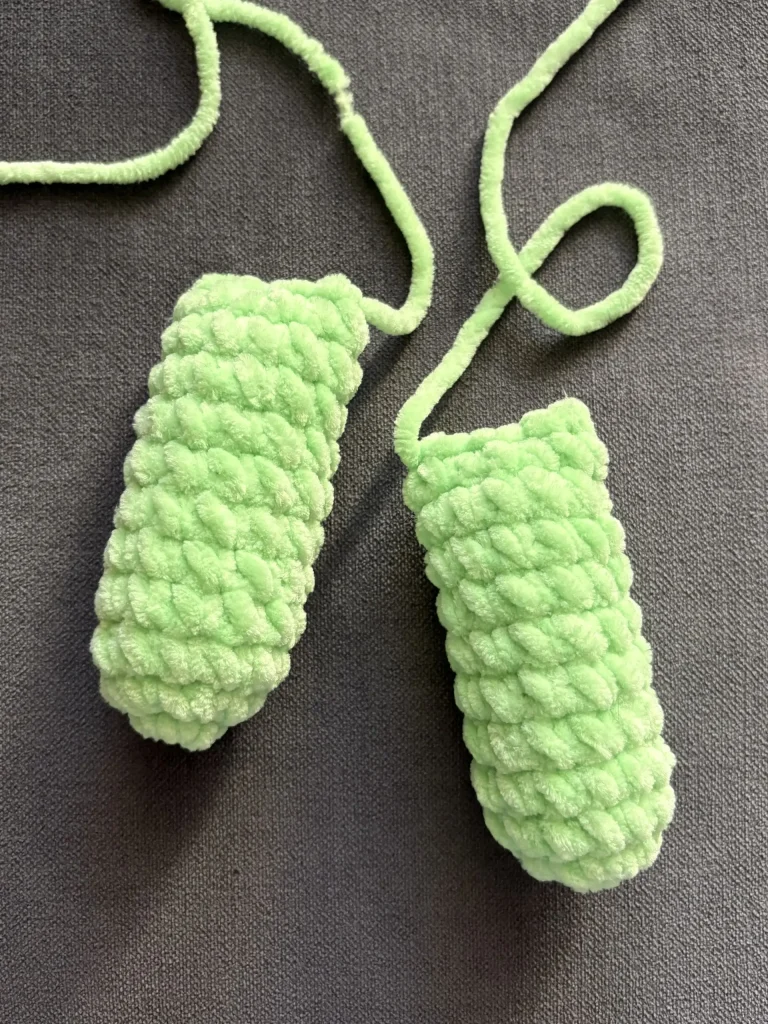
Arms – make 2
Green yarn, 6 mm hook:
Rnd 1: 6 sc in MR, slst (6)
Rnd 2: ch 1, inc 6, slst (12)
Rnd 3-11: ch 1, sc 12, slst (12)
Stuff the arm, cut off the yarn and sew two sides together.
The easily printable Frankenstein Plushie PDF version is available in our shop:
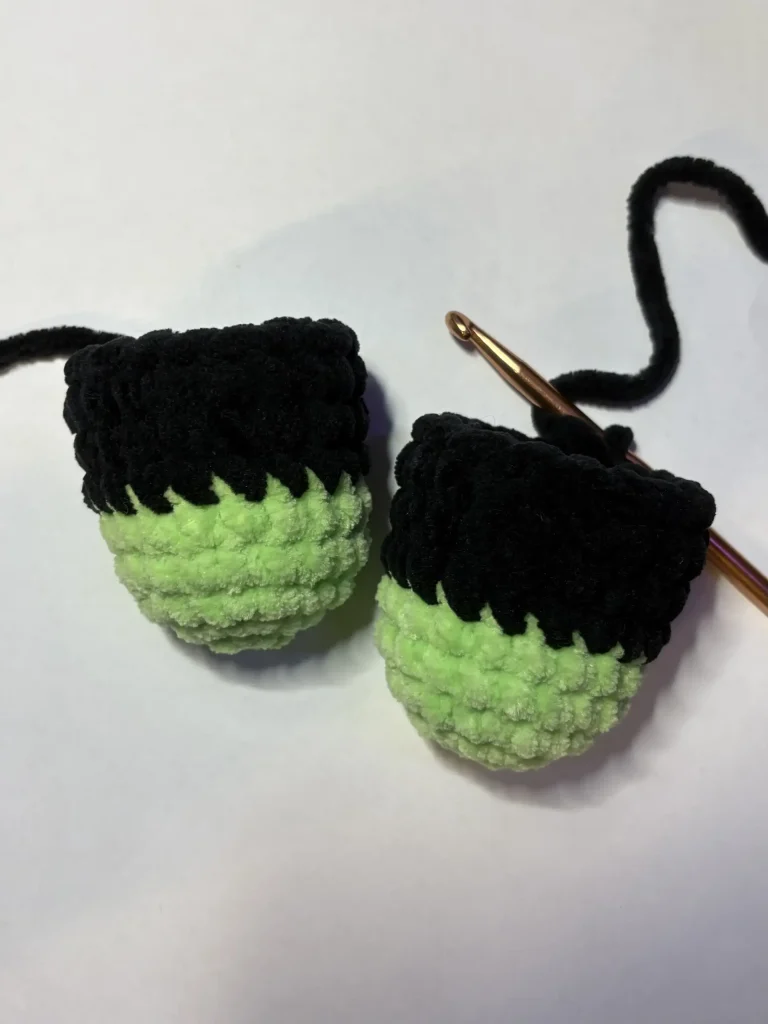
Legs – make 2
Green yarn, 6 mm hook:
Rnd 1: 6 sc in MR, slst (6)
Rnd 2: ch 1, inc 6, slst (12)
Rnd 3: ch 1, (sc, inc) 6x, slst (18)
Rnd 4-5: ch 1, sc 18, slst (18)
Switch to black yarn.
Rnd 6-8: ch 1, sc 18, slst (18)
Cut off the yarn. Make another leg but DO NOT cut off the yarn this time.
Body
Rnd 9: slst with the 1st leg, ch 1, sc 18 around 1st leg, sc 18 around the 2nd leg, slst (36)
Rnd 10-11: ch 1, sc 36, slst (36)
Stuff the legs and switch to green yarn.
Rnd 12-20: ch 1, sc 36, slst (36)
Rnd 21: ch 1, dec 18, slst (18)
Stuff the body.
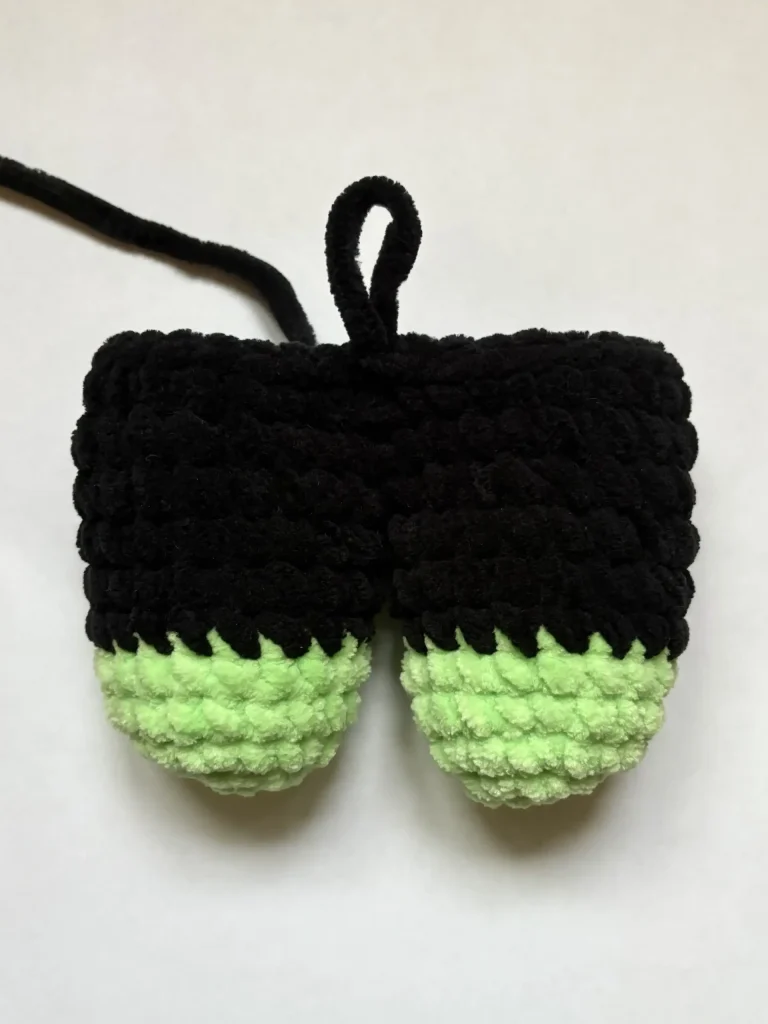
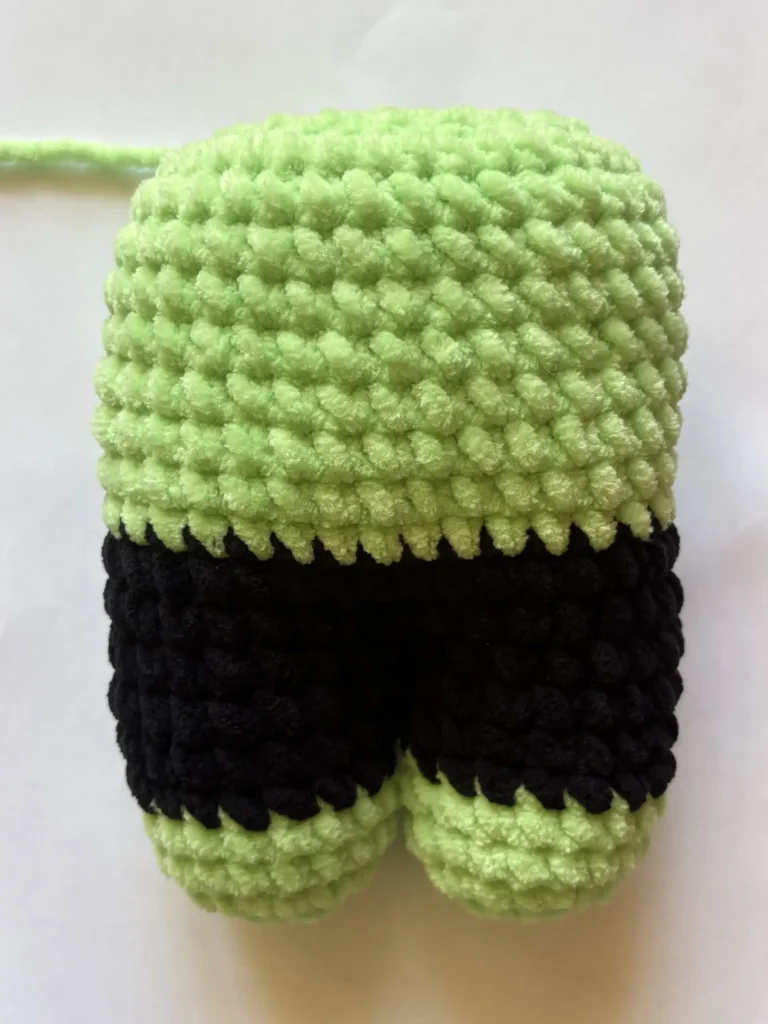
The easily printable Frankenstein Plushie PDF version is available in our shop:
Head
Rnd 22: ch 1, FLO: inc 18, slst (36)
Rnd 23: ch 1, sc 5, inc 2, sc 6, inc 2, sc 8, inc 2, sc 6, inc 2, sc 3, slst (44)
Rnd 24-30: ch 1, sc 44, slst (44)
Attach the eyes between rows 26 and 27, approx. 7 sts away from each other.
Switch to black yarn.
Rnd 31-33: ch 1, sc 44, slst (44)
Rnd 34: ch1, sc 5, dec 2, sc 6, dec 2, sc 8, dec 2, sc 6, dec 2, sc 3, slst (36)
Start stuffing the head.
Rnd 35: ch 1, dec 18, slst (18)
Rnd 36: ch 1, dec 9, slst (9)
Add more stuffing.
Rnd 37: ch 1, sc, dec 4, slst (5)
Close the hole using a tapestry needle. You can also sew the hole between the 2 legs if needed.
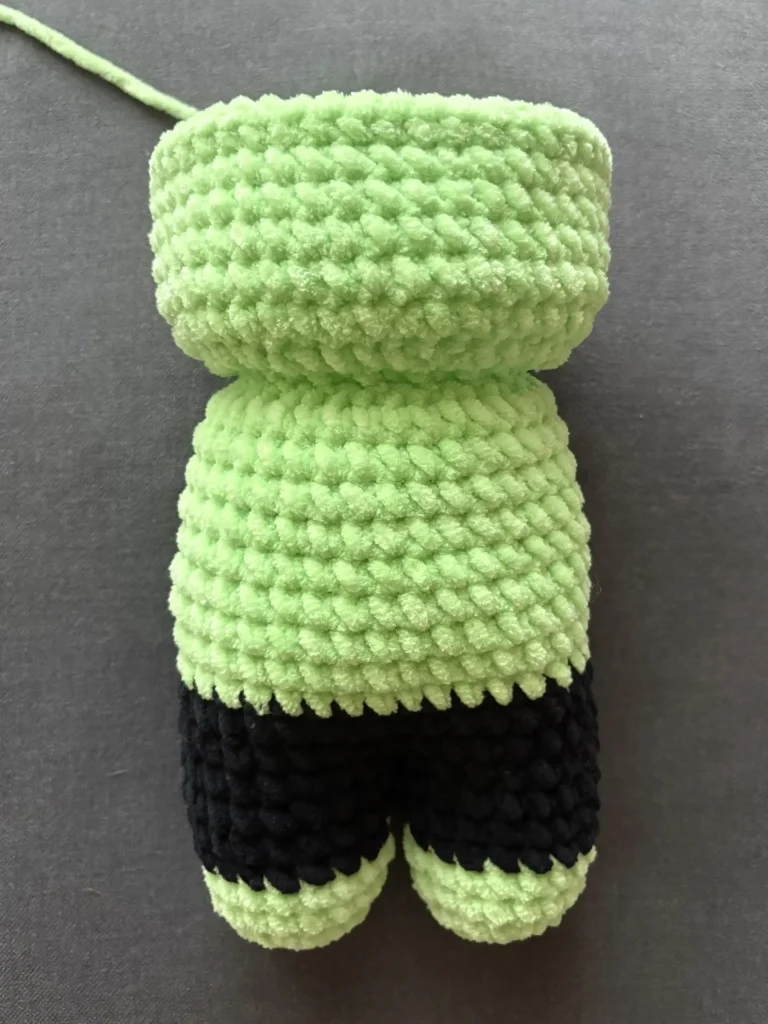
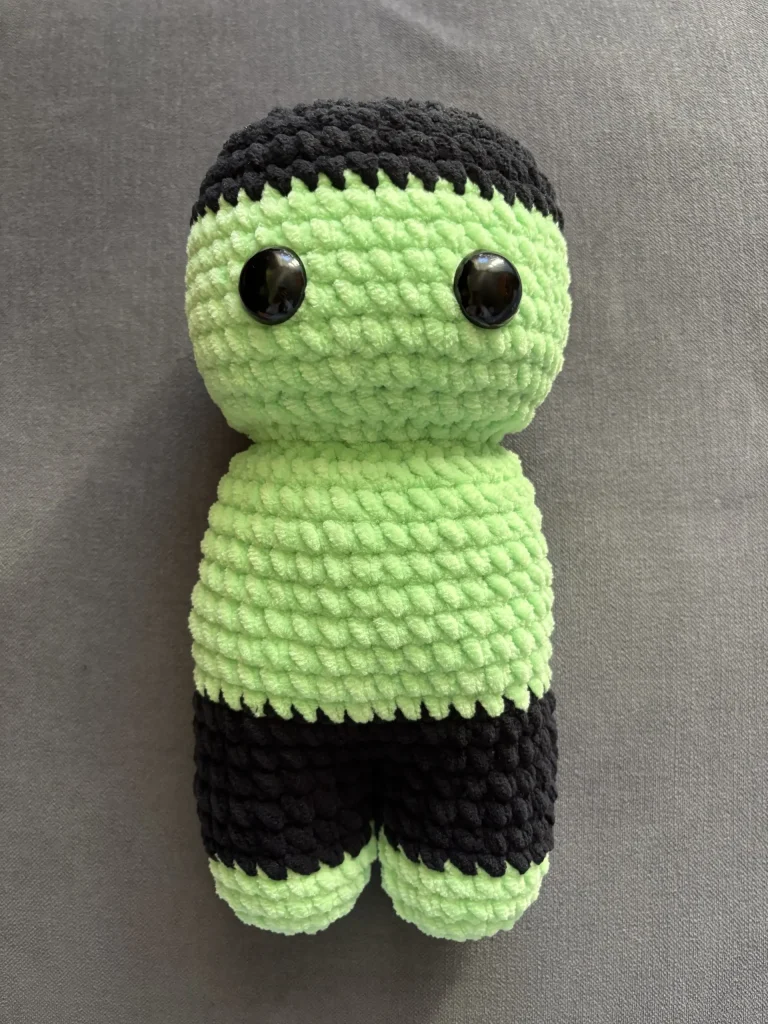
Screws – make 2
Grey yarn, 4 mm hook:
Rnd 1: 6 sc in MR, slst (6)
Rnd 2: ch 1, inc 6, slst (12)
Rnd 3: ch 1, BLO: sc 12, slst (12)
Rnd 4: ch 1, dec 6, slst (6)
Rnd 5: ch 1, FLO: sc 6, slst (6)
Rnd 6: ch 1, sc 6, slst (6)
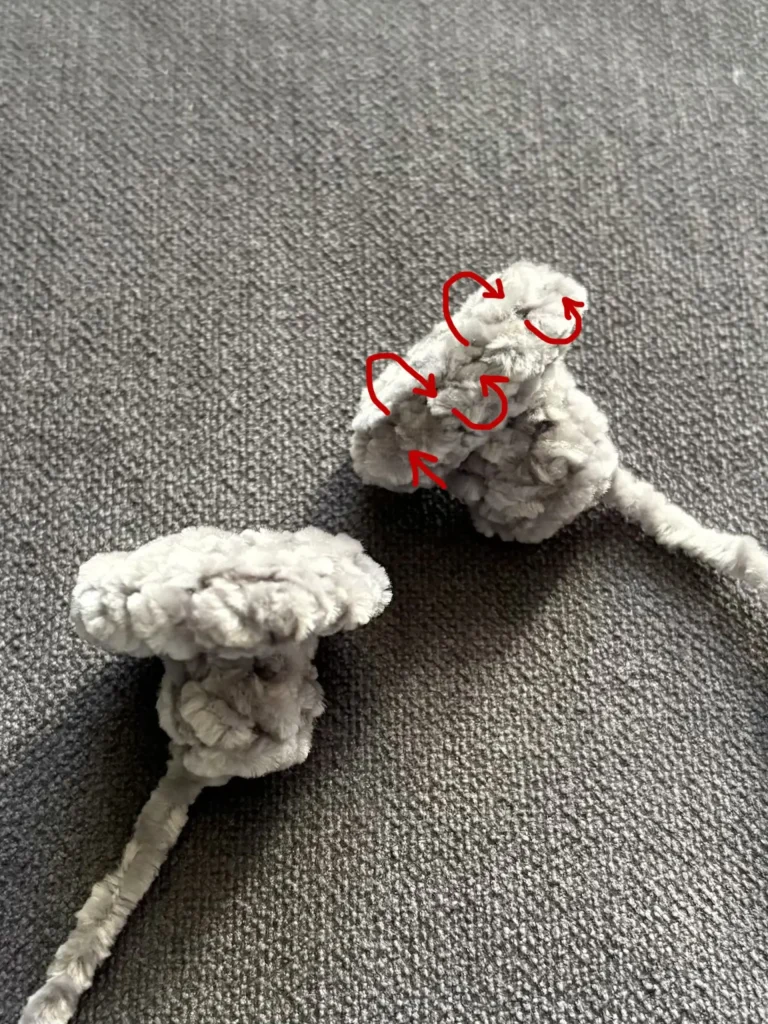
Cut off the yarn. You can sew around the upper part to flatten it.
Assembling
1. Sew up the two arms to the body. I attached them a little bit diagonally, at the level of rows 18-20.
2. Add the screws to the both sides of the head. I placed them between rows 27 and 28.
3. Add stitching above one eye using a black thread and tapestry needle.
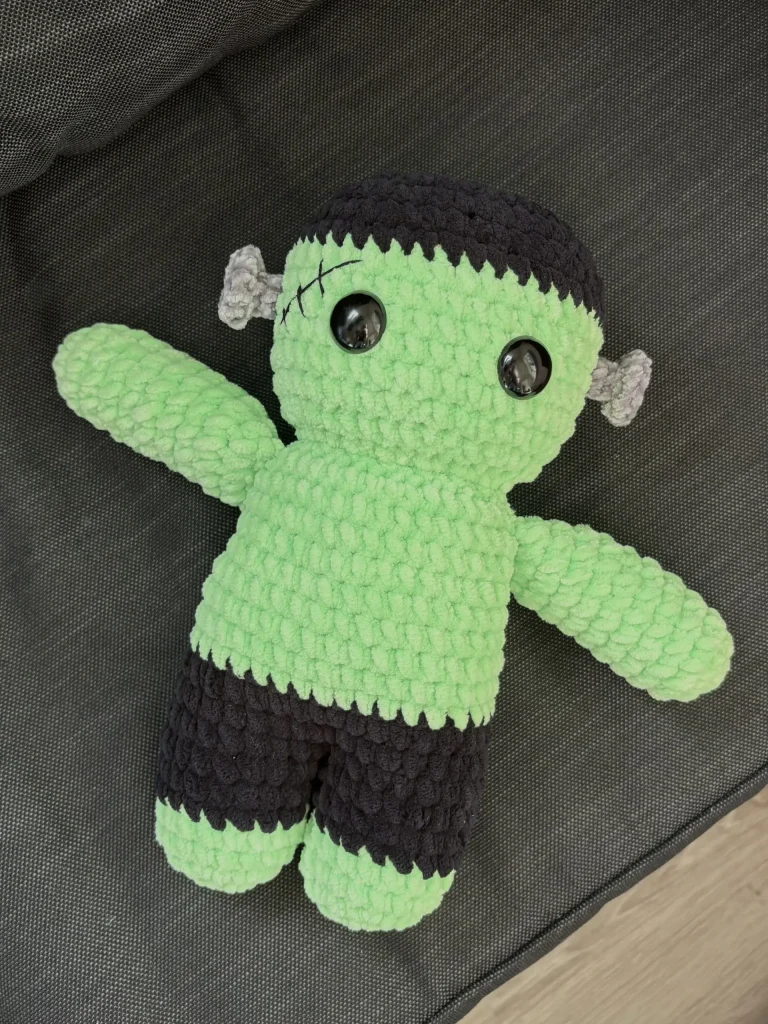
Your Frankenstein is ready!
The easily printable Frankenstein Plushie PDF version is available in our shop:
Thank you for using this pattern! Let us know how you liked it in the comments section below.
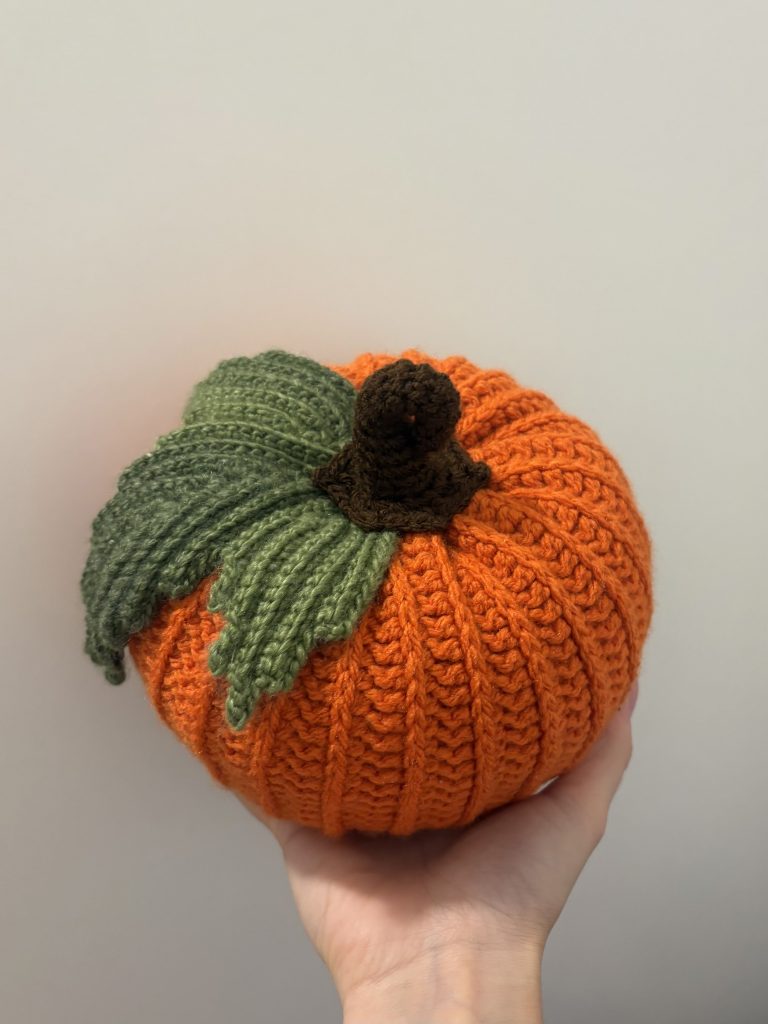
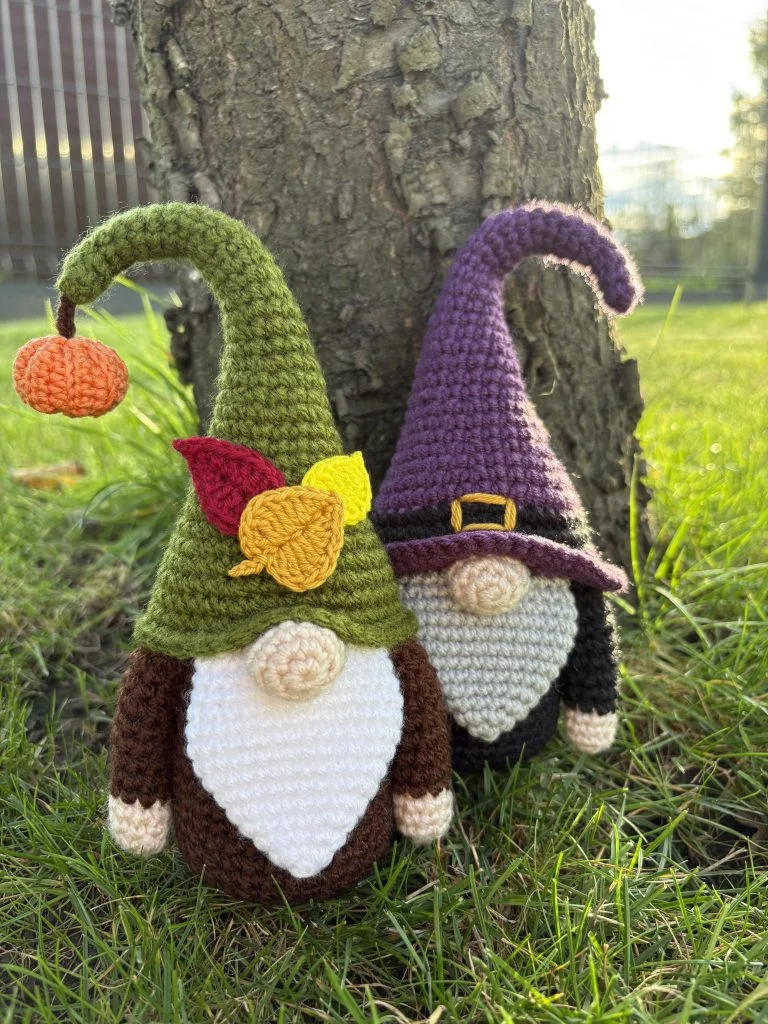
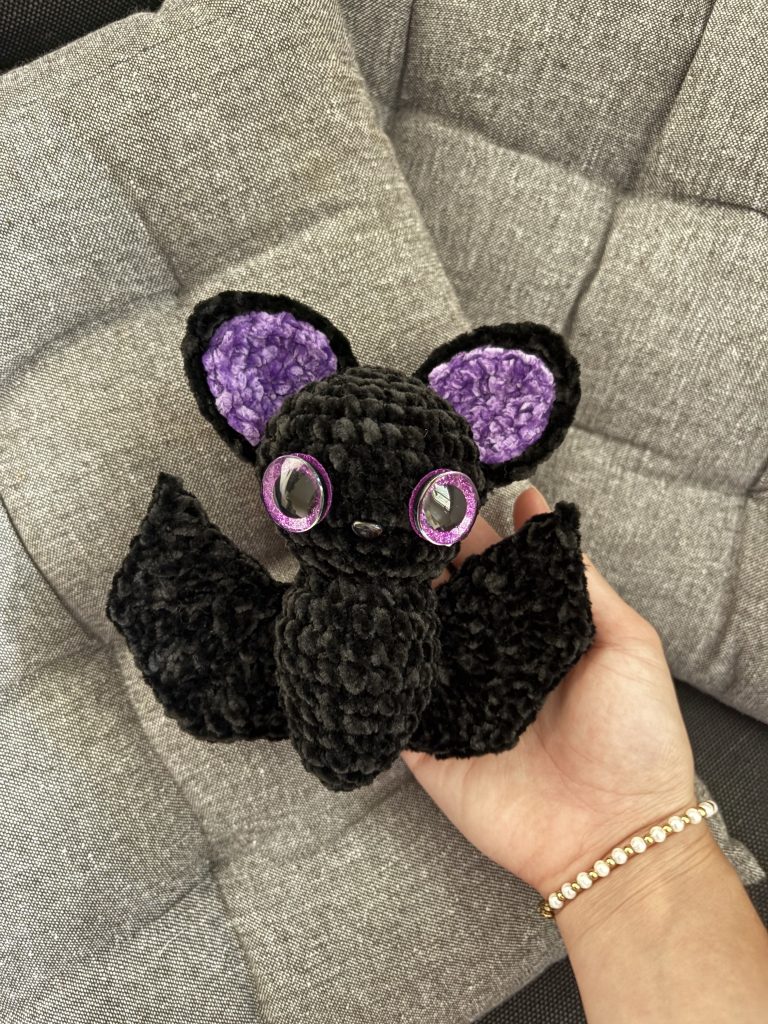
Check out our other fall decorations like Pumpkin Free Crochet Pattern , Halloween Gnomes Free Crochet Pattern or Halloween Bat.