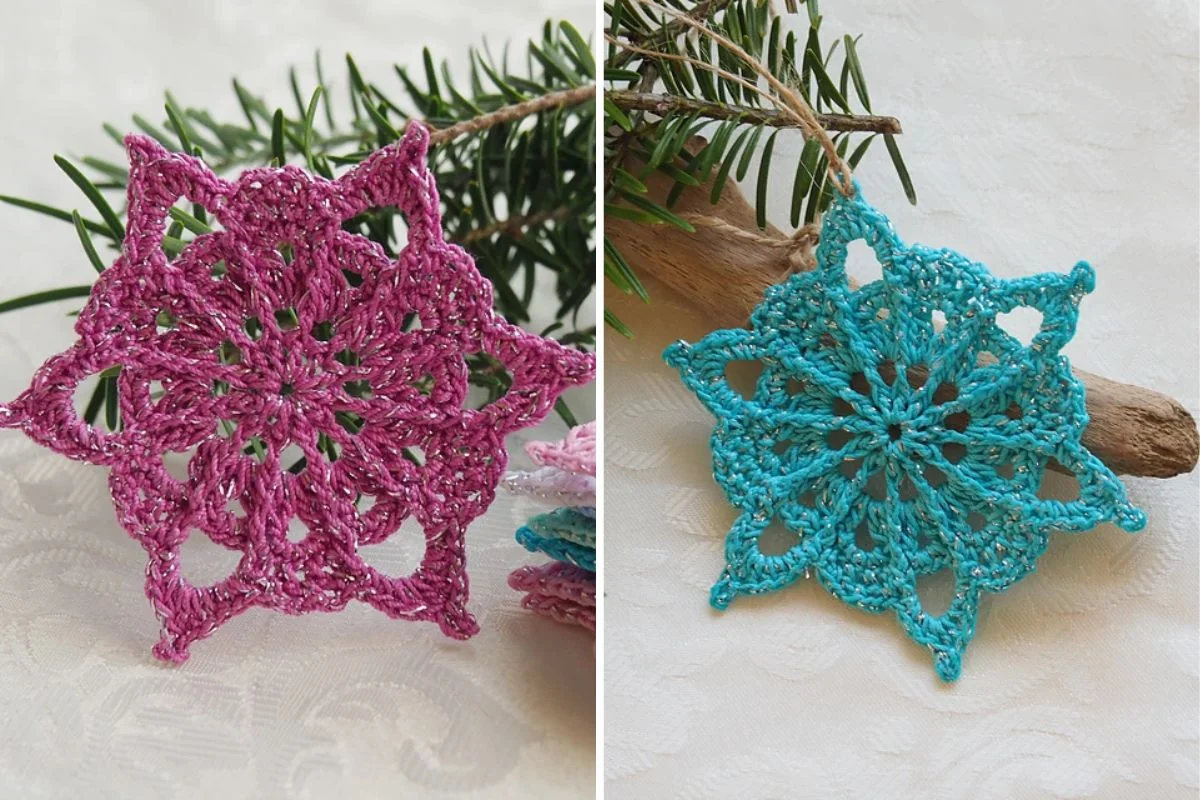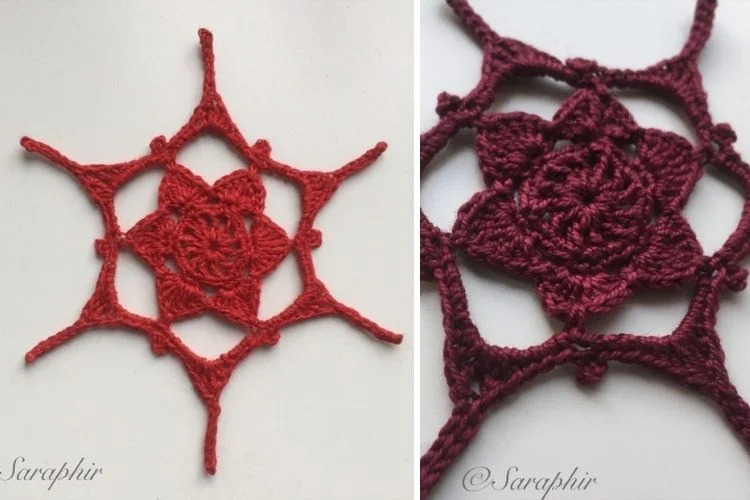
This captivating design by Saraphir Legind combines the elegance of a poinsettia flower with the timeless charm of a snowflake. Follow this easy ornament pattern to add a touch of intricate beauty to your holiday decor! The finished pieces are perfect for adorning a Christmas tree, windows, or any corner of your home. I’m definitely going to give them a try – how about you?
Who Can Crochet This Snowflake Ornament?
This crochet snowflake pattern invites crocheters of different skill levels to create a stunning ornament that captures the magic of the season. The project will suit particularly those with a good understanding of crochet techniques who are ready to make something more intricate. Advanced beginners determined to create unique lace decorations should also feel free to give it a go.
Saraphir Legind provides clear written instructions to help you make your own set of winter ornaments without any trouble.
Techniques You’ll Use While Working This Pattern
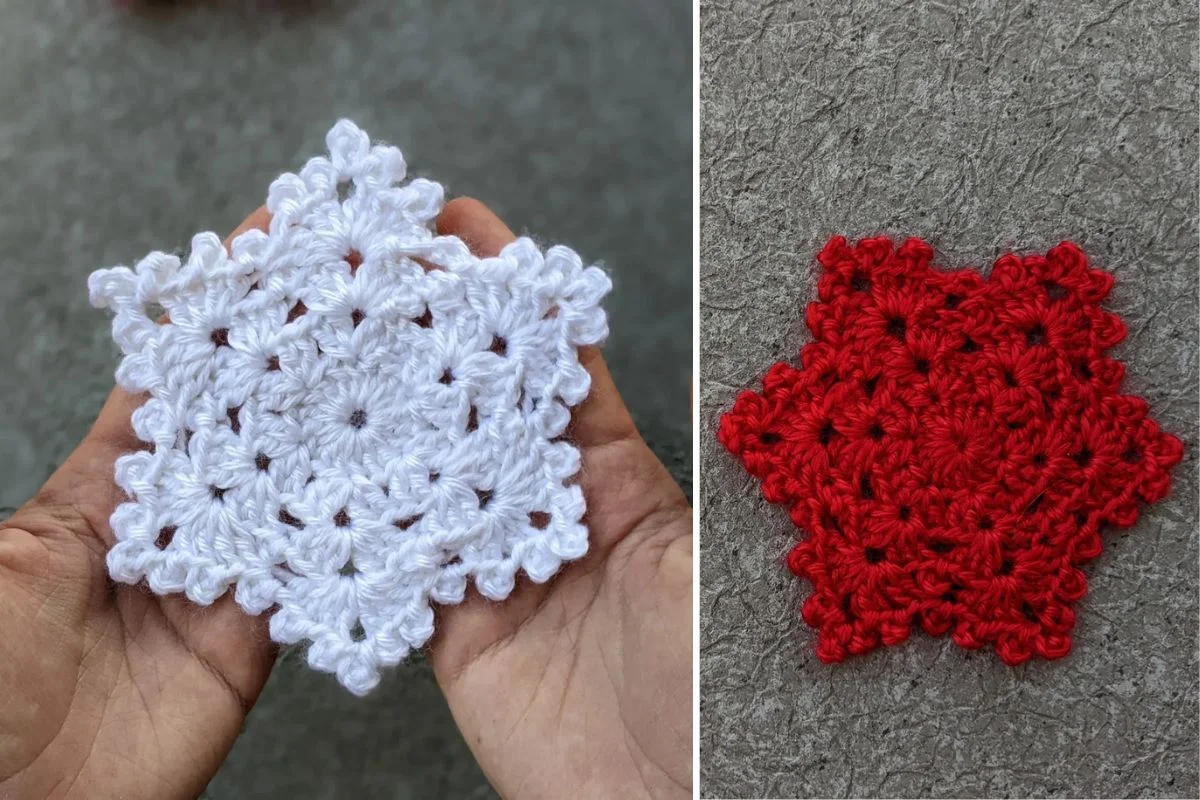
The Pointsetta Snowflake is done in 7 rounds using basic stitches, tall stitches, and some special stitches. The pattern starts with a flower center motif and then builds up a beautiful lace framing with a clever use of treble crochets, picots, and chain spaces.
If you want a classic snowflake appliqué, you can stop working up this pattern after a few rounds before moving on to the openwork section.
What Yarn and Hook Works Best for This Snowflake Pattern?
For this crochet snowflake pattern, use lace 100% cotton yarn paired with a small hook. The designer suggests choosing Scheepjes Maxi Bon Bon/Sugarrush and a 1.5 mm or 1.75 mm hook.
These materials allow for a perfect balance of softness and structure, enhancing the overall appeal of the Pointsetta Snowflake.
How Do I Make My Crochet Snowflake Hold Its Shape?
To give your crochet snowflakes a nice, polished finish and well-shaped look, you need to block them in water mixed with starch.
Spread the ornaments evenly on a blocking mat or a piece of cardboard, and then pin them down to keep them in place. Wait until they are completely dry, remove the pins, and your snoflakes are ready to go!