
In this article:

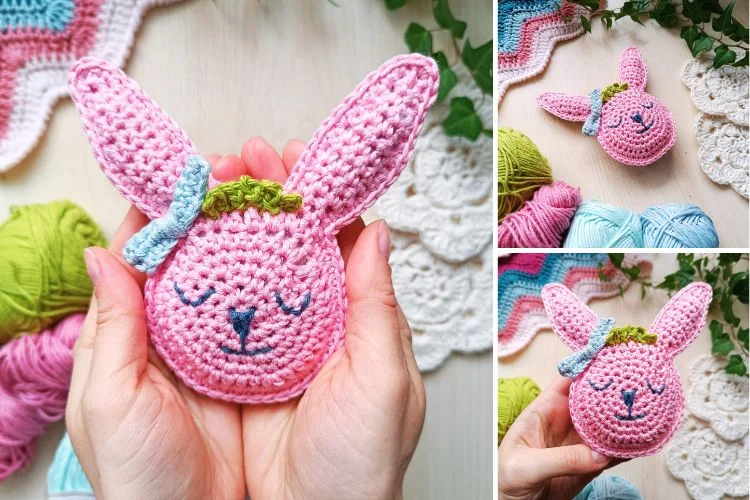
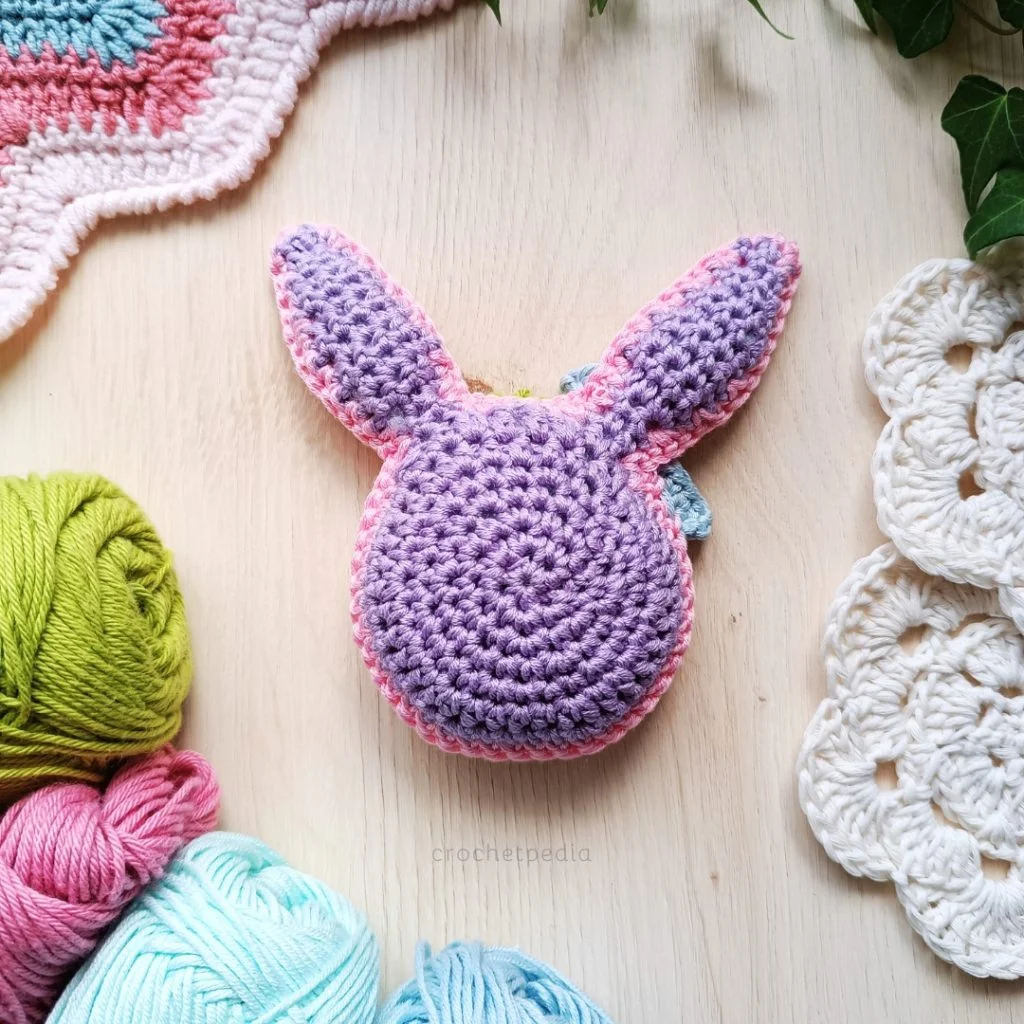
Celebrate spring with this easy ragdoll amigurumi bunny pattern! It’s perfect for Easter gifting but will bring joy all year round. Ragdoll toys are a fantastic choice for those of you, who feel a little intimidated by amigurumi. In this project, we create two flat shapes, which we then join and fill with polyfill. Once you’re done, adorn it with simple embroidery and make it truly unique!
In this post, you will find a free crochet pattern for the ragdoll bunny toy.
This free crochet pattern was designed exclusively for Your Crochet by Kate from Crochetpedia.
About the Author
Kate comes from a family of makers who never stop creating. She runs Crochetpedia, where she shares her free crochet patterns, video tutorials, and stitch ideas. Follow her if you want to hone your skills, try new techniques, or create something beautiful.
👇 FOLLOW CROCHETPEDIA 👇
Pattern Notes
This ragdoll bunny amigurumi is an easy / intermediate project, and the pattern uses standard US terms.
Materials and Tools
- Alison & Mae Cotton Bamboo, one skein of each color you want to use. You can use any worsted-weight yarn with a corresponding hook.
- 3.5 mm crochet hook
- polyfill
- stitch markers, scissors, yarn needle, embroidery thread (optional)
- REMEMBER! If you choose a different yarn weight, remember to use a corresponding hook size, and be prepared for the final product to have different measurements.
Measurements
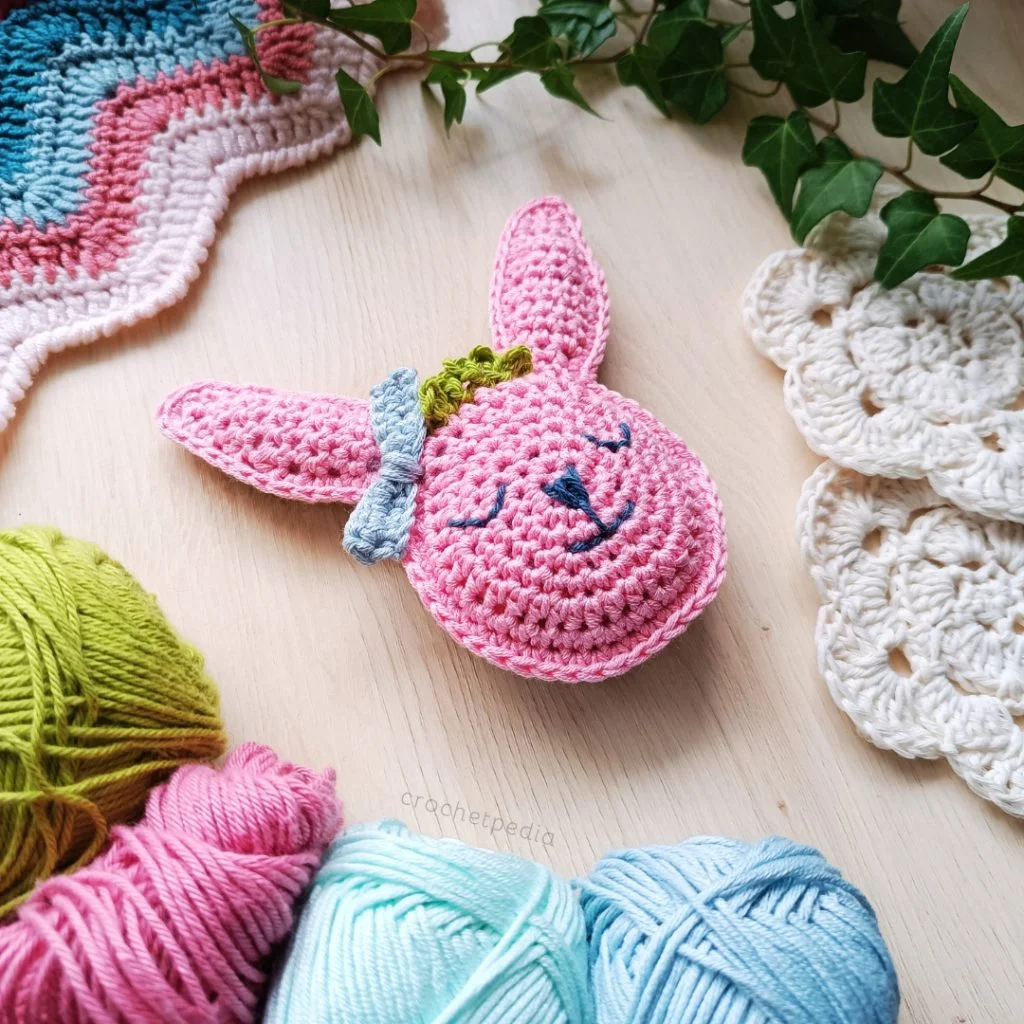
- ~13 cm tall (~5.12 inches)
Stitches and Abbreviations
- magic ring
- ch – chain stitch
- sl st – slip stitch
- sc – single crochet
- hdc – half double crochet
- dc – double crochet
- st – stitch
- inc – increase = 2 single crochets in one stitch
- dec – decrease = sc2tog – decrease using single crochet
- 2 hdc in one st – increase using half double crochet
Ragdoll Bunny Free Crochet Pattern
First, we crochet two flat bunny heads: a flat egg-shaped circle with two ears worked in back-and-forth rows. Then, we join the two parts using sc stitches and we fill the toy with polyfill as we go. Lastly, we add embroidery, fringe, and a bow.
Notes
- The numbers in brackets (#) signify the overall stitch count for a given row or round.
- 1 ch and 2 ch at the beginning of the round (turning chains) don’t count as a stitch and aren’t included in the overall stitch count.
The Bunny Face
Make the circle:
- Start: magic ring
- Round 1: 6 sc into the loop, close with a slip stitch
- Round 2: 1 ch, (inc = 2 sc in one st) x6, sl st (12)
- Round 3: 1 ch, (inc, 1 sc) x6, sl st (18)
- Round 4: 1 ch, (1 sc, inc, 1 sc) x6, sl st (24)
- Round 5: 1 ch, (2 sc, inc, 1 sc) x6, sl st (30)
- Round 6: 2 ch, (2 hdc in one st, 4 hdc) x6, sl st (36)
Shape the top:
- 1 ch, 1 sc, 2 hdc in one st, 2 dc in one st, 1 dc, 1 dc, 2 dc in one st, 2 hdc in one st, 1 sc.
Continue around:
Place the stitch marker on the first single crochet.
- (5 sc, inc) x2, 4 sc, inc, 5 sc, inc, 5 sc.
You now have 44 stitches all around.
Ear One
Turn after every row.
- Row 1 / RS: 1 sl st, 1 ch, 3 sc, turn. (3)
- Row 2 / WS: 1 ch, 3 sc. (3)
- Row 3 / RS: 1 ch, inc, 1 sc, inc (5)
- Rows 4-7: 1 ch, 5 sc (5)
- Row 8 / WS: 1 ch, 3 sc, dec (4)
- Row 9 / RS: 1 ch, 4 sc (4)
- Row 10 / WS: 1 ch, 2 sc, dec (3)
- Row 11 / RS: 1 ch, 3 sc (3)
- Row 12 / WS: 1 ch, 1 sc, dec (2)
- Row 13 / RS: 1 ch, dec (1)
Cut the yarn and secure the last stitch.
Ear Two
Turn the work wrong side up and attach the yarn to the stitch marked with the marker. You start on the other side, but the instructions remain the same.
Turn after every row.
- Row 1 / WS: 1 sl st, 1 ch, 3 sc, turn. (3)
- Row 2 / RS: 1 ch, 3 sc. (3)
- Row 3 / WS: 1 ch, inc, 1 sc, inc (5)
- Rows 4-7: 1 ch, 5 sc (5)
- Row 8 / RS: 1 ch, 3 sc, dec (4)
- Row 9 / WS: 1 ch, 4 sc (4)
- Row 10 / RS: 1 ch, 2 sc, dec (3)
- Row 11 / WS: 1 ch, 3 sc (3)
- Row 12 / RS: 1 ch, 1 sc, dec (2)
- Row 13 / WS: 1 ch, dec (1)
Cut the yarn and secure the last stitch.
Make two of these bunny faces.
Joining Two Parts
When you have two identical bunny faces ready, secure the yarn ends first, so your stitches don’t unravel. You don’t have to weave them in, but they must be firmly tied.
- Put one piece on the other wrong side inside.
- Take the color of yarn you used for the front of the face and attach it to the inside corner of the Ear Two (in the crevice – as shown in the photo below).
- Join two parts by working single crochet stitches along the edge through both parts at once.
- When you reach the top of the ear, work 3 sc in the top stitch. Add increases wherever you feel the need to make the edge more rounded.
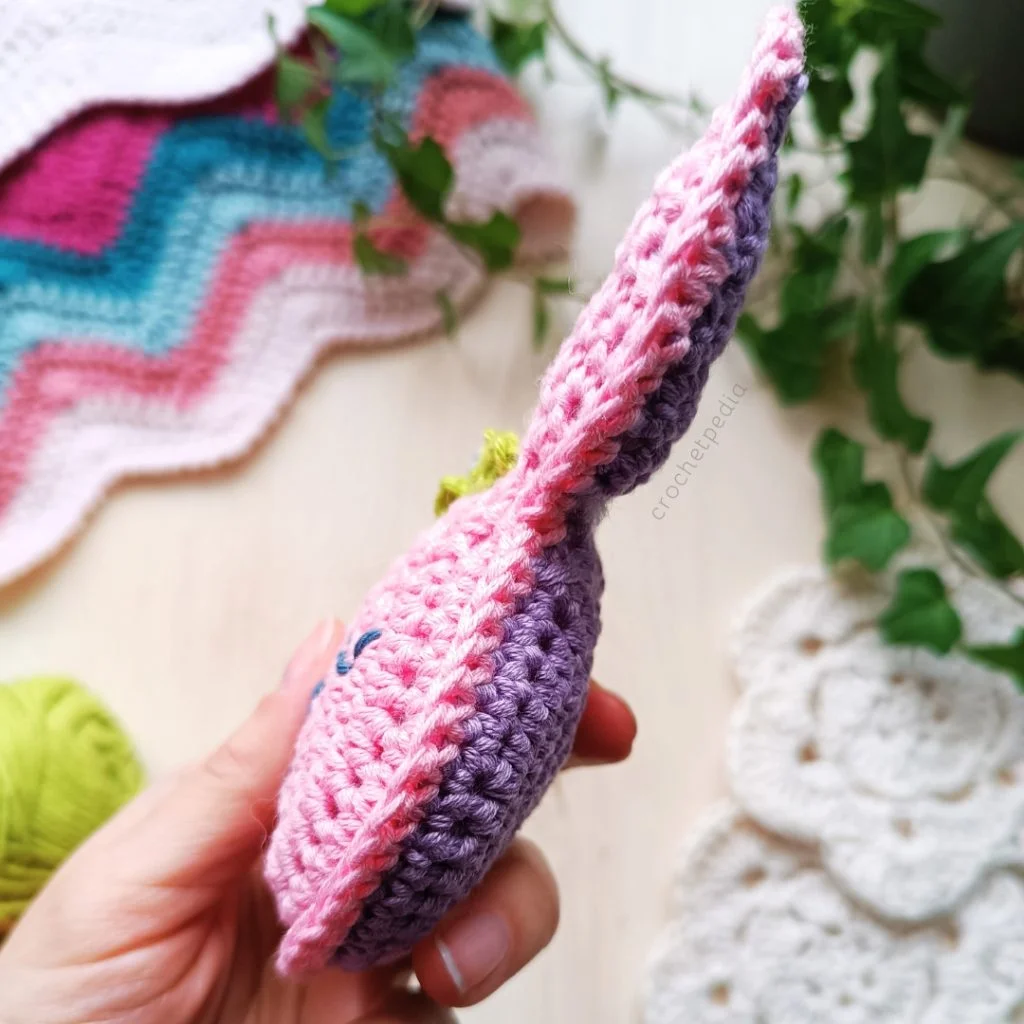
- Stuff the ear with polyfill before you continue. It may be harder to fill it later on because of the small opening.
- Continue working all around the bunny face, roughly 1 sc per 1 row or stitch.
- Crochet around Ear One and stuff it.
- Fill the Bunny Face.
- Continue to close the ragdoll. When you reach your starting point, slip stitch in the first sc, cut the yarn, and weave in the ends.

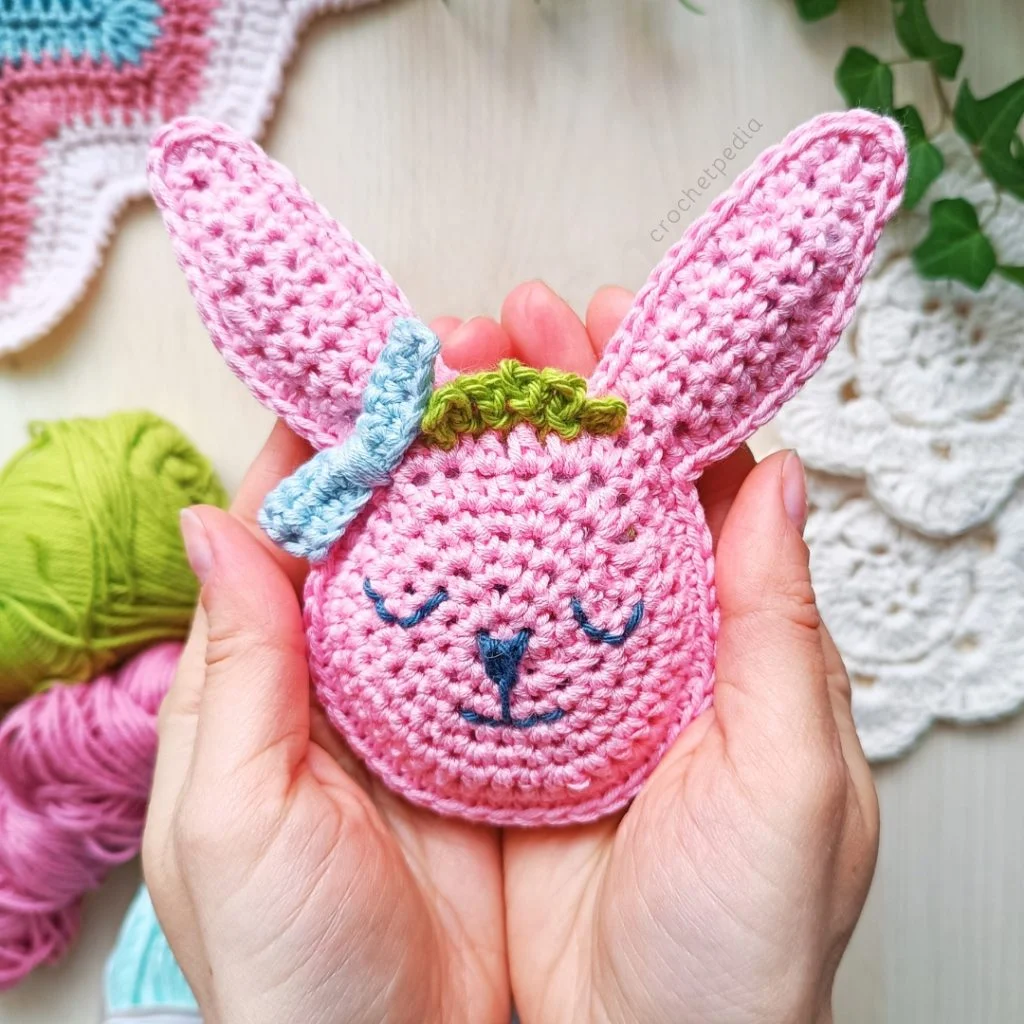
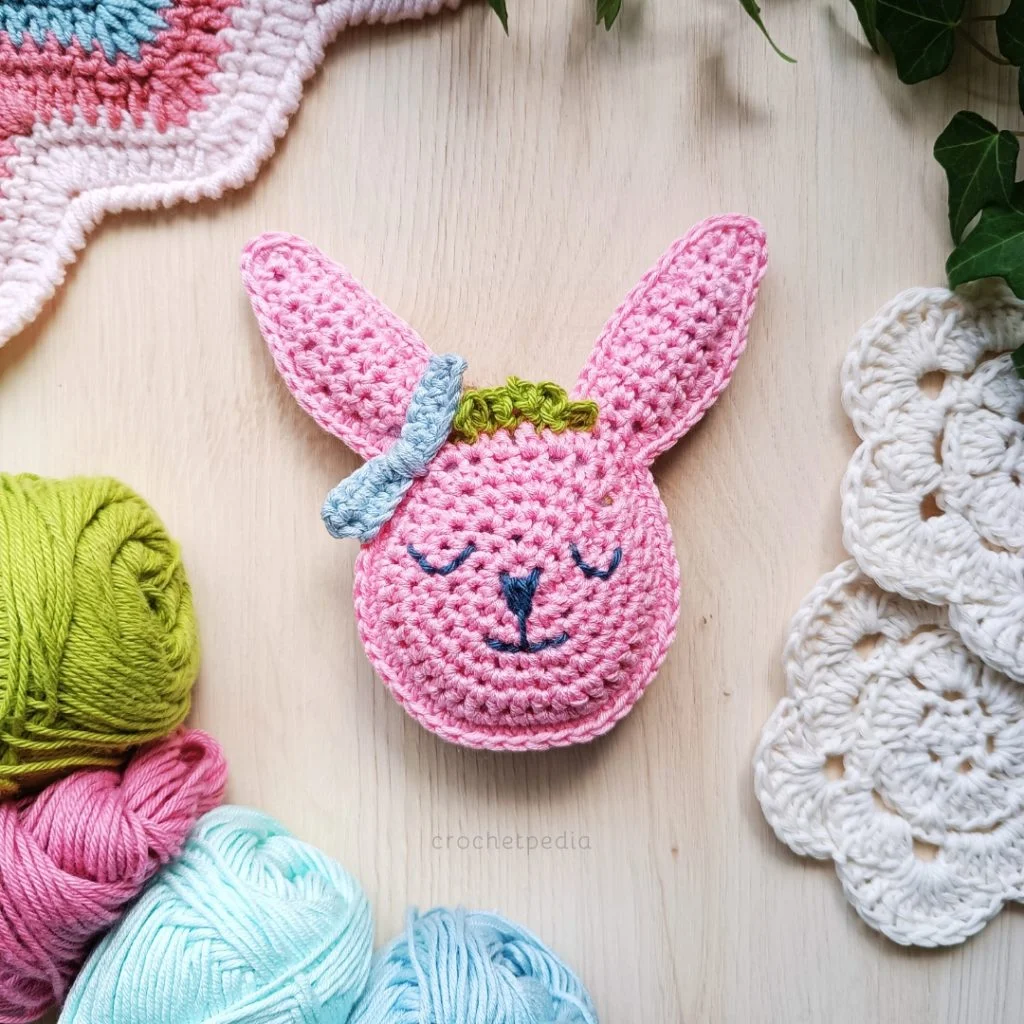
Embroidery
Use a tapestry needle and yarn in a contrasting color to create the bunny face. Hide the yarn inside the doll by weaving it through the filling (it will get stuck there). You can make two faces showing different emotions on each side.
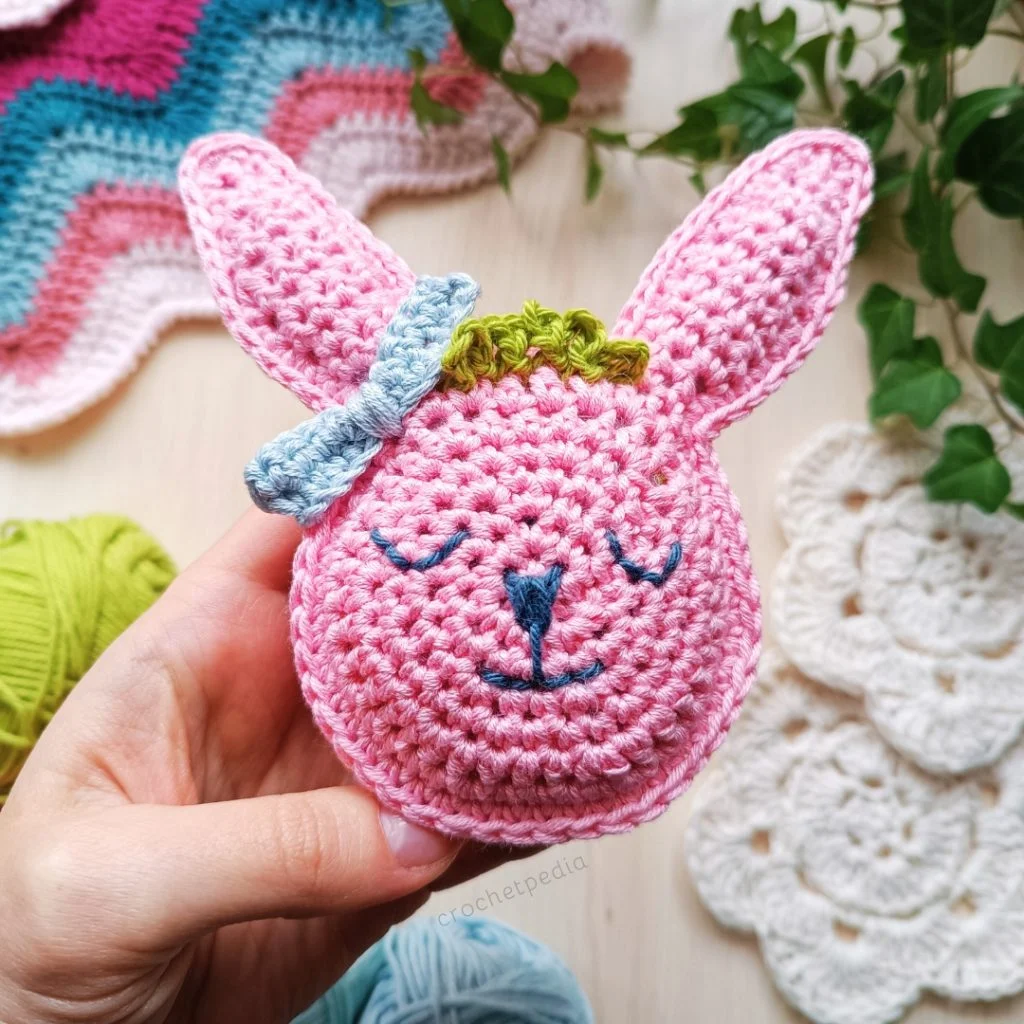
Fringe
- Find 6 central stitches between the bunny ears.
- Attach the yarn to the first stitch on your right, inserting the hook under the stitch.
- Chain 5 and slip stitch it to the next stitch, again going under.
- Repeat until you reach the last of your 6 stitches. Make a slip stitch, cut the yarn, and hide the ends.
Bow
Take another color of yarn and make a small rectangle:
- Start: Chain 10.
- Row 1: 1 ch, 1 sc in each stitch, turn. (10)
- Row 2: 1 ch, 1 sc in each stitch. (10)
Cut the yarn and weave in the ends.
Sew it with lots of yarn to the bunny head, creating the thick center of the bow. Weave the ends inside the crochet ragdoll bunny.
It’s done!
Thank you for using this pattern! Let us know how you liked it in the comments section below. 🙂