In this article:

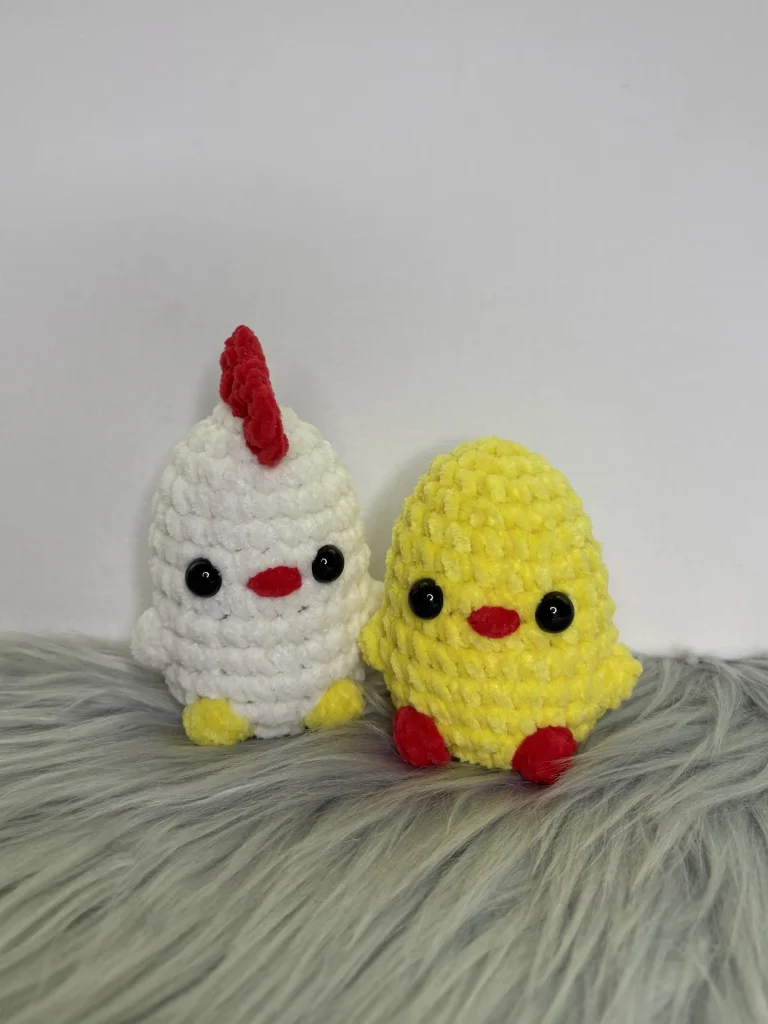
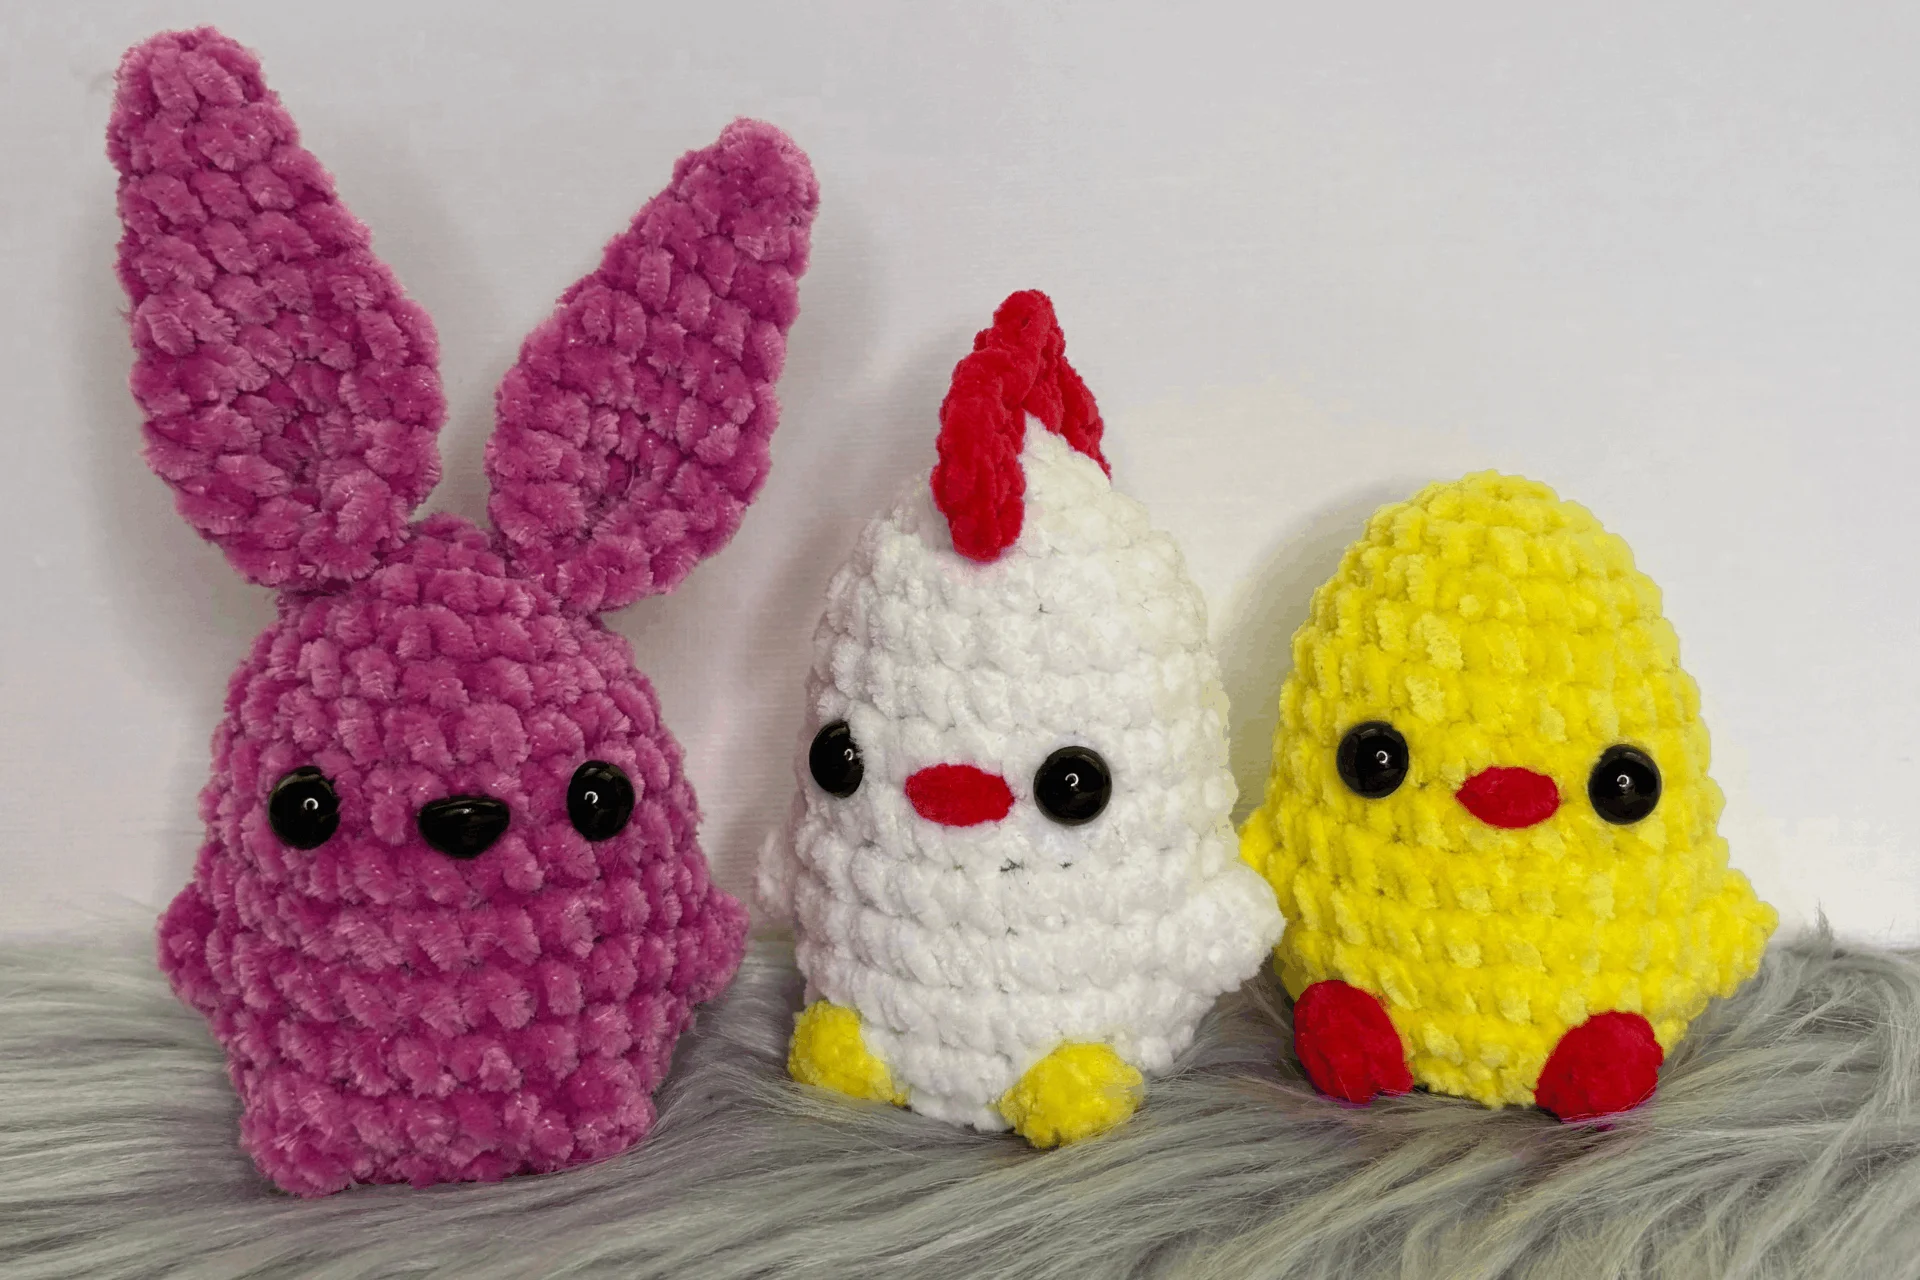
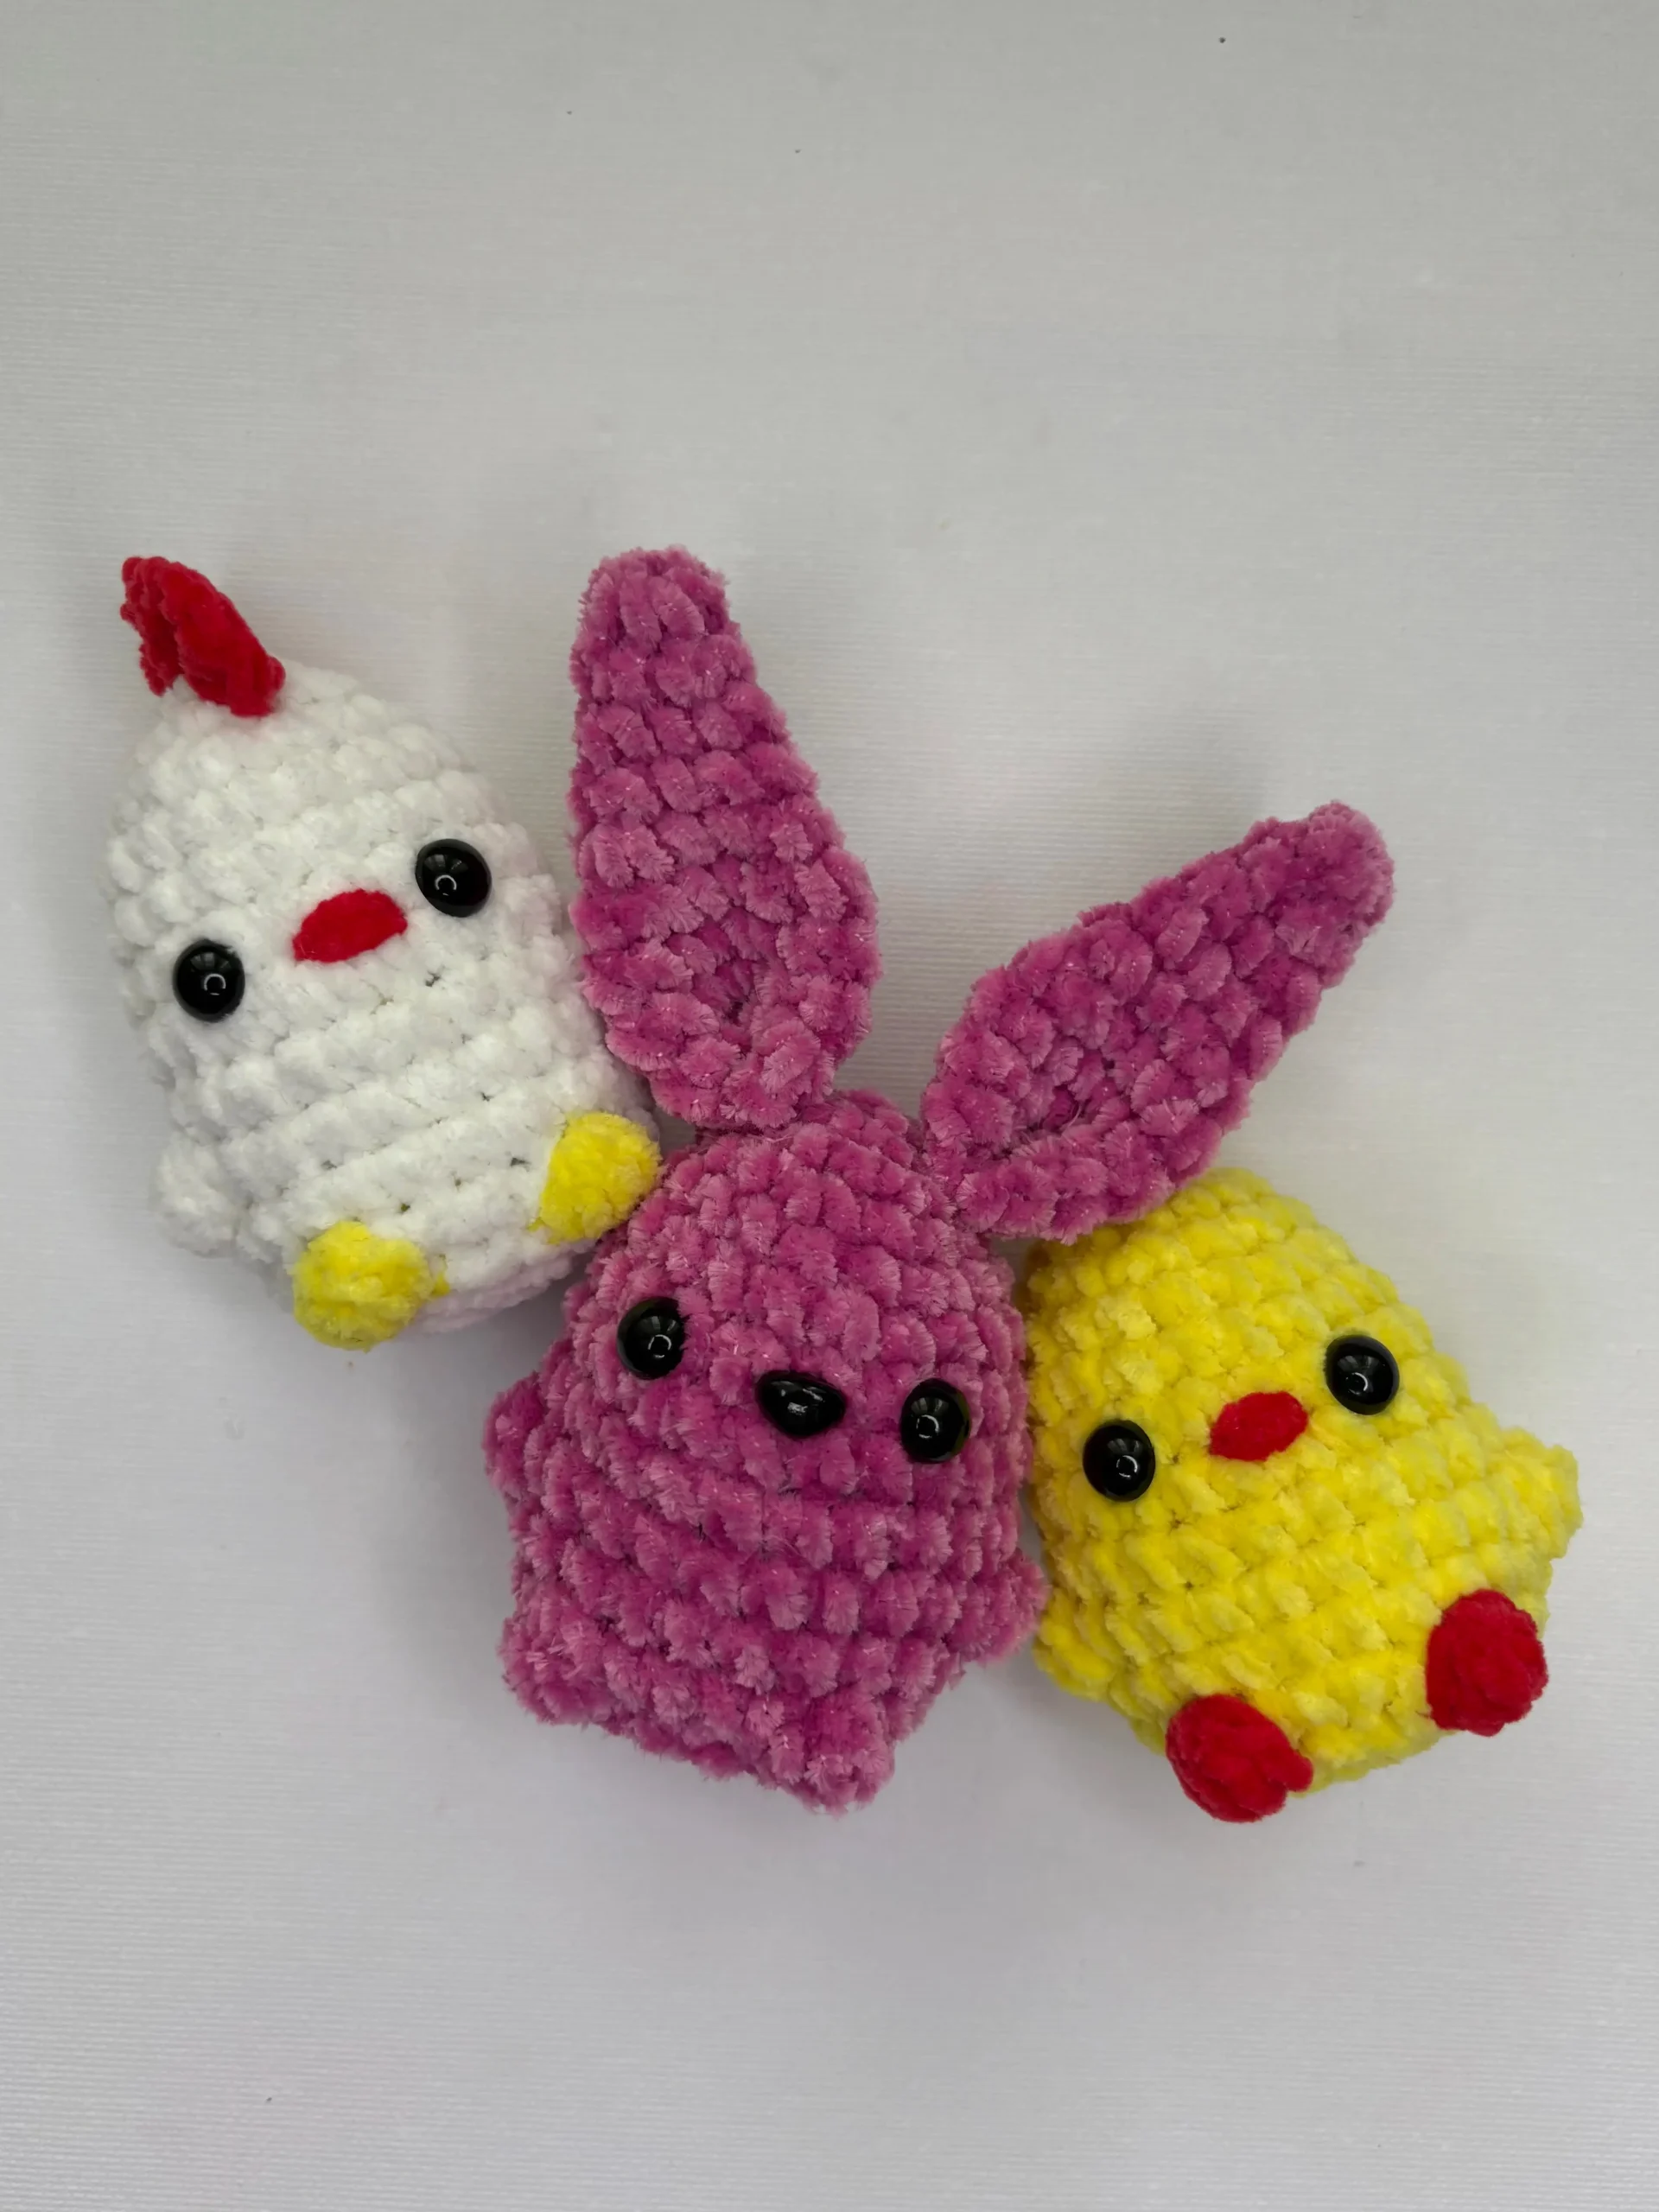
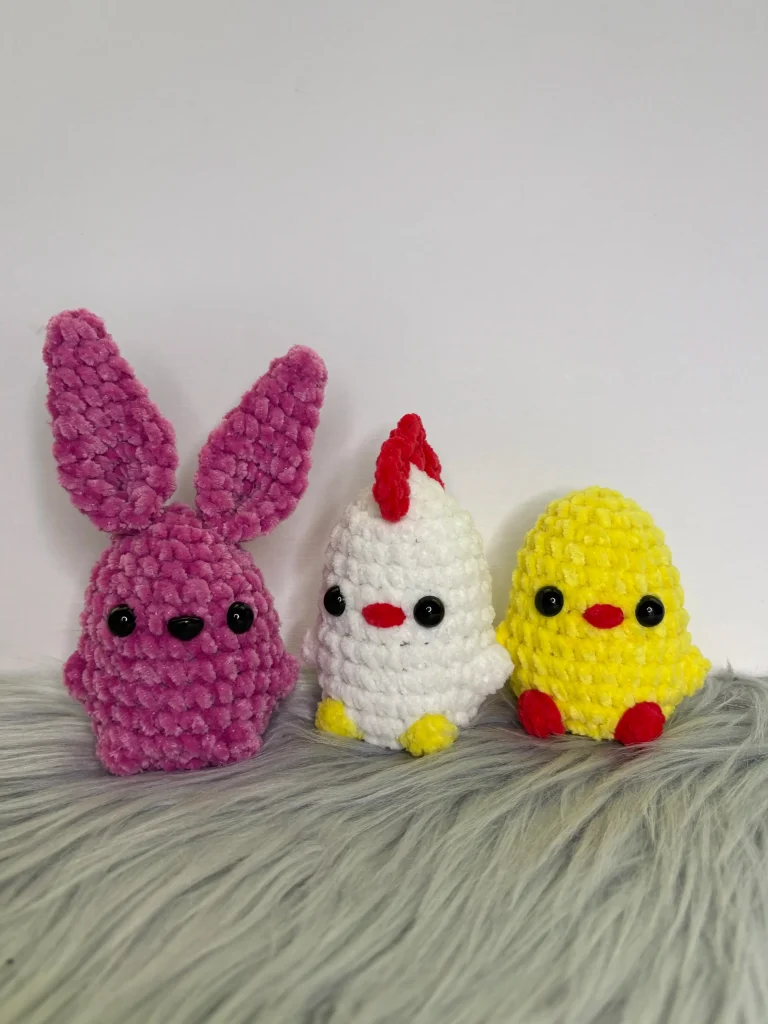
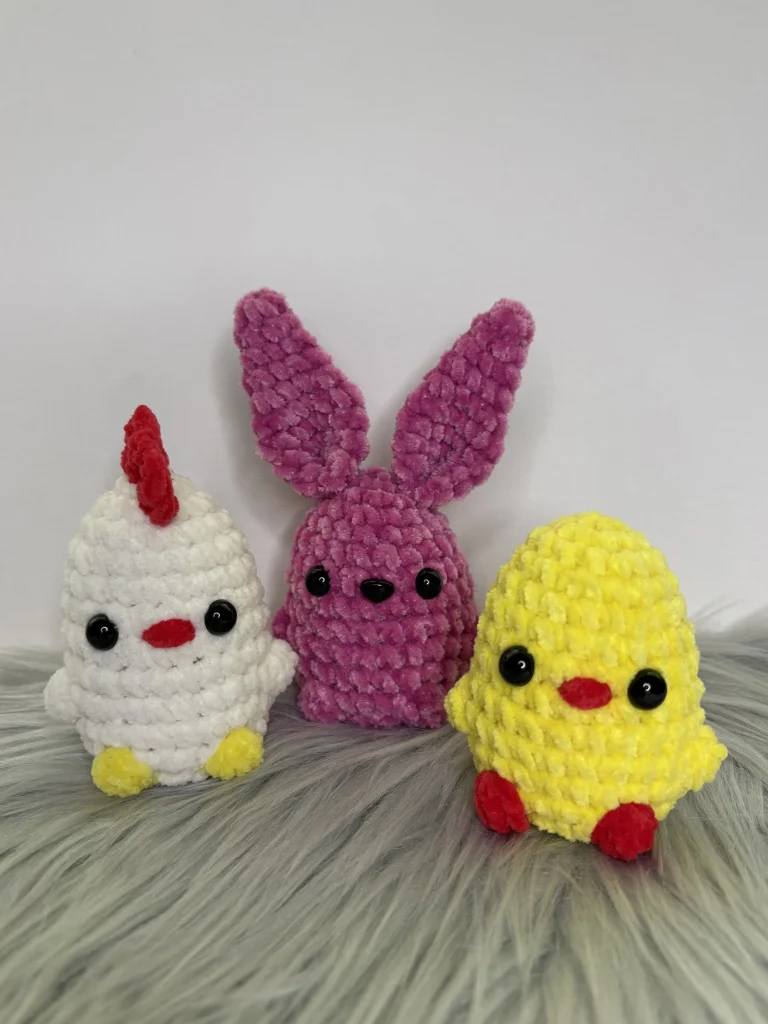
This set of three crochet Easter eggs is a simple and fun project for spring decorating. Each egg has its own character—a small chick, a chicken, and a bunny—making the set feel a bit more playful while still keeping a clean, simple shape. Their small size makes them easy to use as decorations in an Easter basket, on a table, or as part of a seasonal display.
The pattern includes clear step-by-step instructions and photos to guide you through each version. The construction is straightforward, with the base egg shape staying the same and small details added to create each design. This makes it easy to repeat and create a matching set without too much extra work. You can also change the colors to suit your style, from soft pastels to brighter tones.
These eggs are quick to make and work well as small decorations, gift additions, or part of a larger Easter setup. It’s a simple project that adds a bit of variety and a handmade touch to your holiday décor.
In this post, you will find a free pattern for Easter Eggs. Don’t forget to also check our Exclusive Patterns and other Easter posts.
The easily printable Easter Eggs PDF version is available in our shop:
This free crochet pattern was designed exclusively for Your Crochet by Weronika Miechowicz.
About the Author
Weronika has a real passion for crocheting and enjoys creating patterns that reflect her love for handmade, seasonal projects. She shares her designs to inspire others to pick up their hooks and make something fun for themselves, their homes or gifts for their loved ones.
Ravelry | Etsy | YourCrochet Shop
Pattern Notes
This is a beginner-friendly crochet pattern, and I’m using US terms.
Materials and Tools
- DK weight yarn – DMC Happy Chenille: yellow, white, red, pink
- crochet hook: 3 mm
- 6x plastic eyes
- 1x plastic nose
- stuffing
- tapestry needle
- scissors
- stitch markers
Measurements
- HEIGHT: 7-8 cm / 2.75″ – 3.14”
- WIDTH: 5-6 cm / 1.96″ – 2.36”
Stitches and Abbreviations
- st(s) – stitch(es)
- ch – chain(s)
- rnd – round
- sc – single crochet
- hdc – half double crochet
- dc – double crochet
- slst – slip stitch
- MR – magic ring
- inc – increase
- dec – decrease
- yo – yarn over
- bobble stitch
Notes
- This pattern contains 3 eggs tutorials.
- Bobble Stitch:
- Yarn over (YO) and insert the hook into the next stitch.
- Pull up a loop (3 loops on hook).
- YO and pull through two loops (2 loops on hook – this is half of a double crochet).
- Repeat steps 1-3 four times in the same stitch. You will have 6 loops on your hook.
- YO and pull through all 6 loops on the hook.
Easter Eggs Free Crochet Pattern
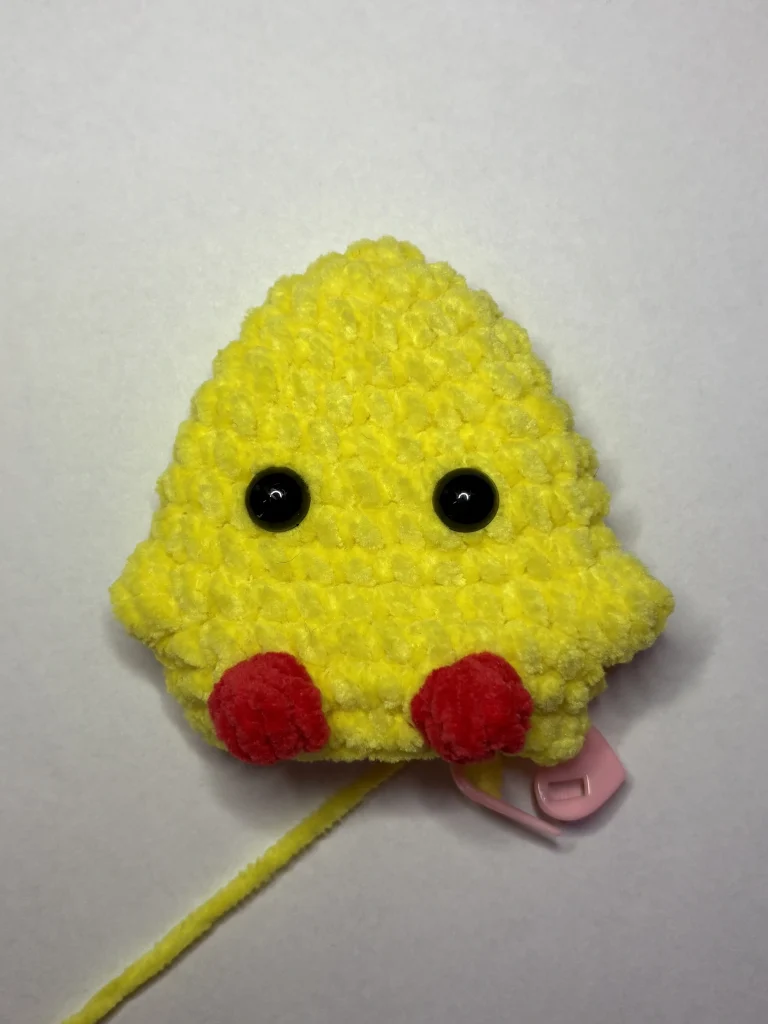
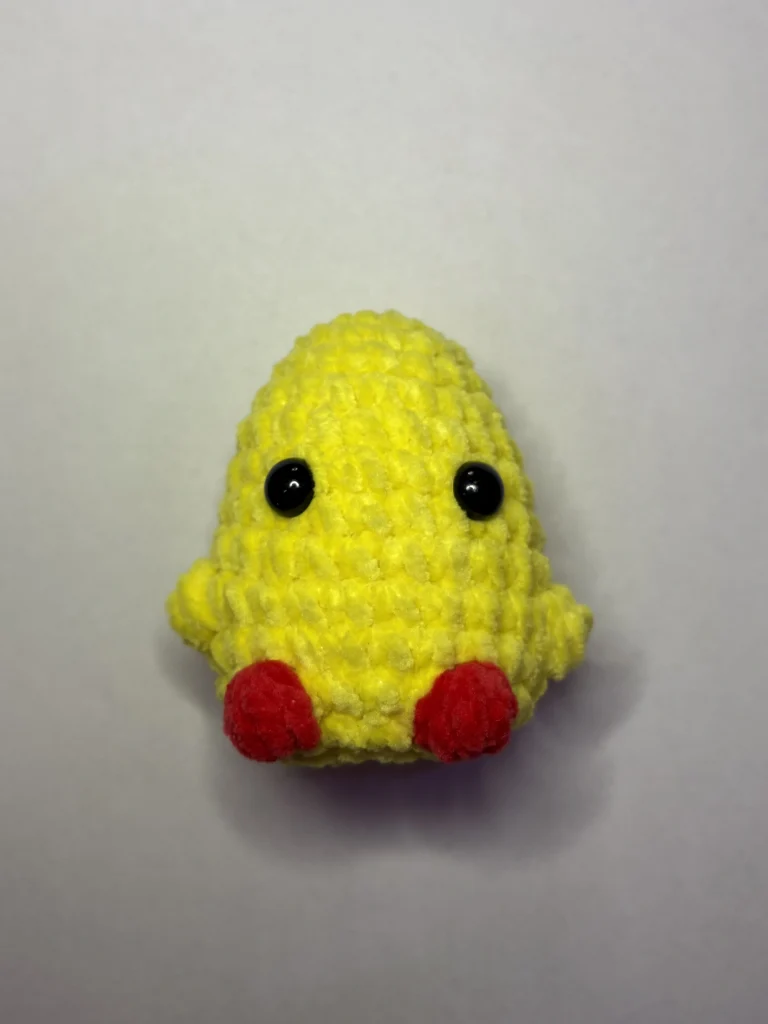
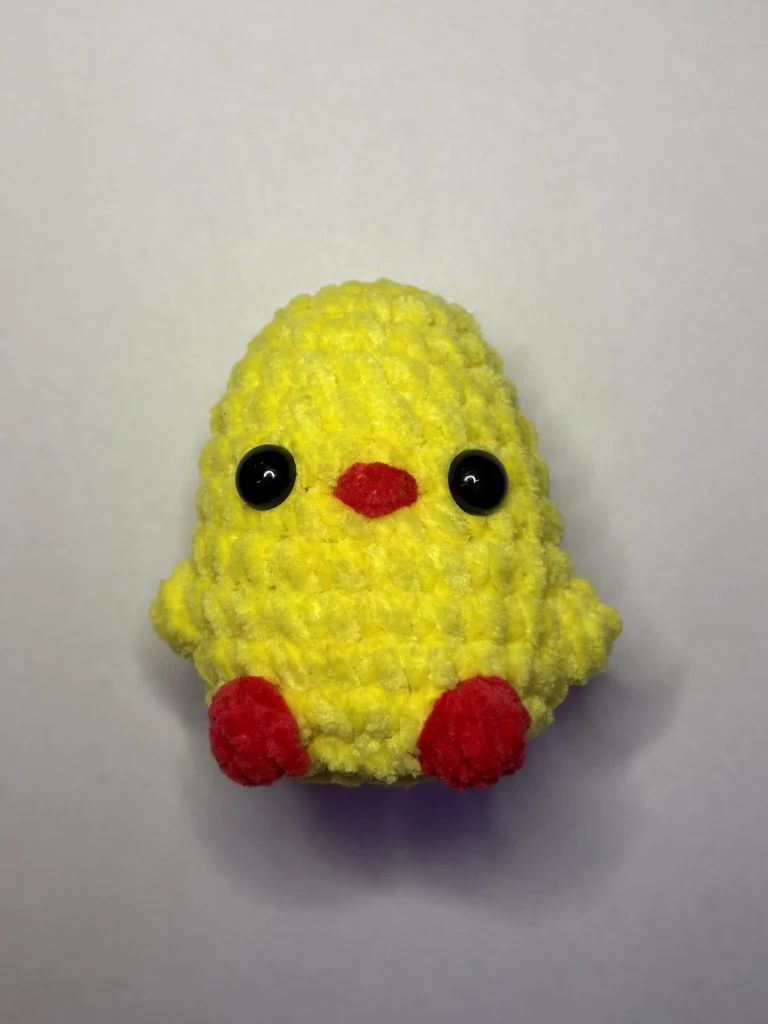
Little Chick Egg
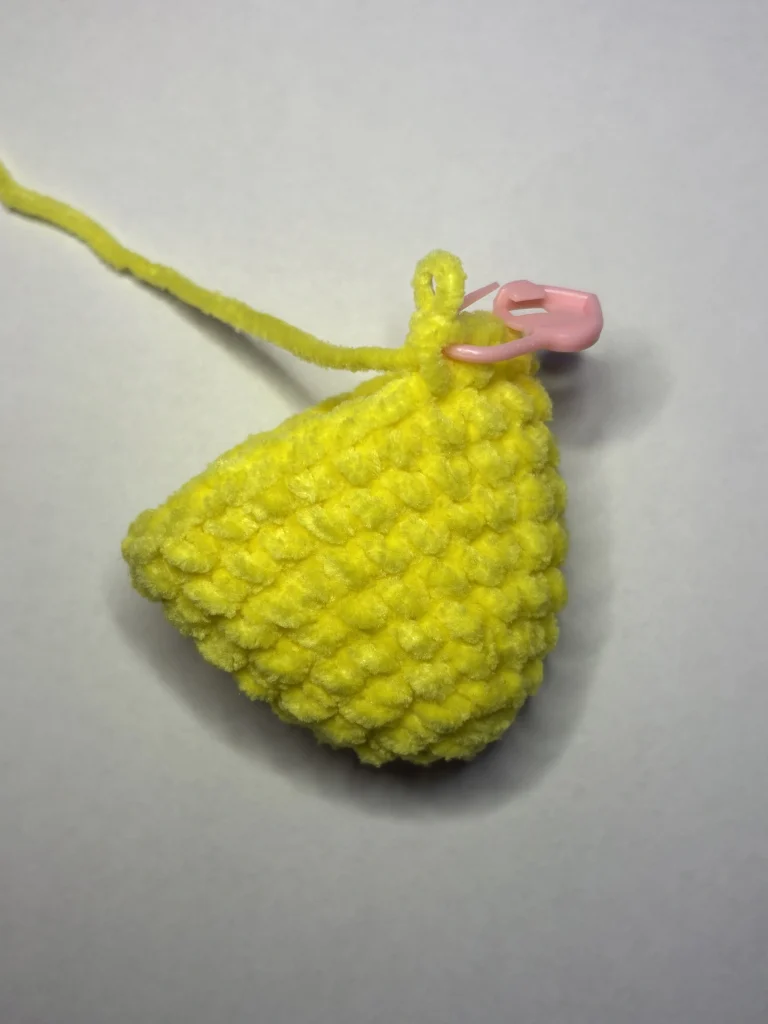
Using yellow yarn:
Rnd 1: 6 sc in MR (6)
Rnd 2: inc 6 (12)
Rnd 3: (sc 3, inc) 3x (15)
Rnd 4: sc 2, inc, (sc 4, inc) 2x, sc 2 (18)
Rnd 5: (sc 5, inc) 3x (21)
Rnd 6: sc 21 (21)
Rnd 7: sc 3, inc, (sc 6, inc) 2x, sc 3 (24)
Rnd 8-9: sc 24 (24)
Rnd 10: sc 7, bobble st, sc 10, bobble st, sc 5 (24)
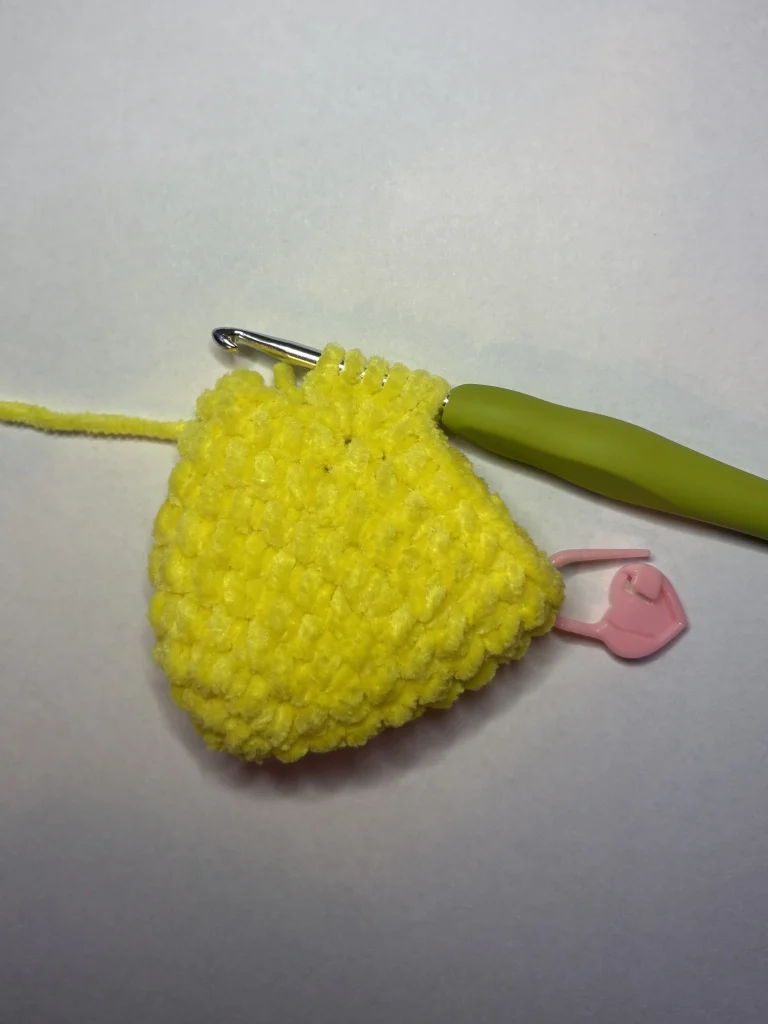
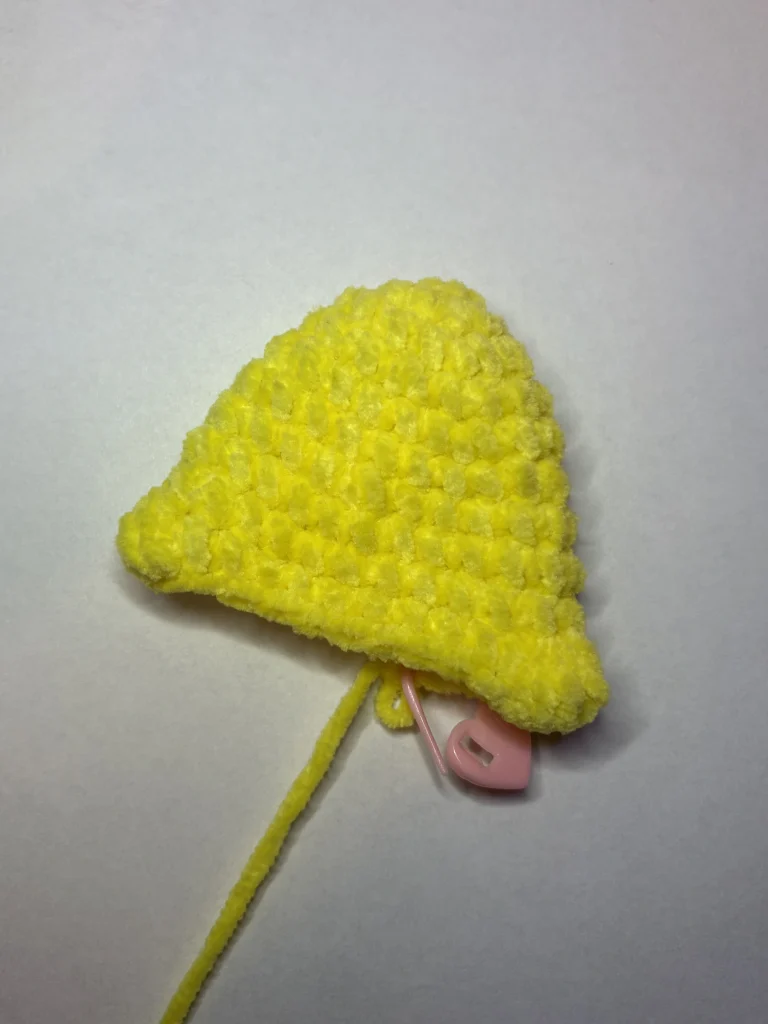
Rnd 11: sc 24 (24)
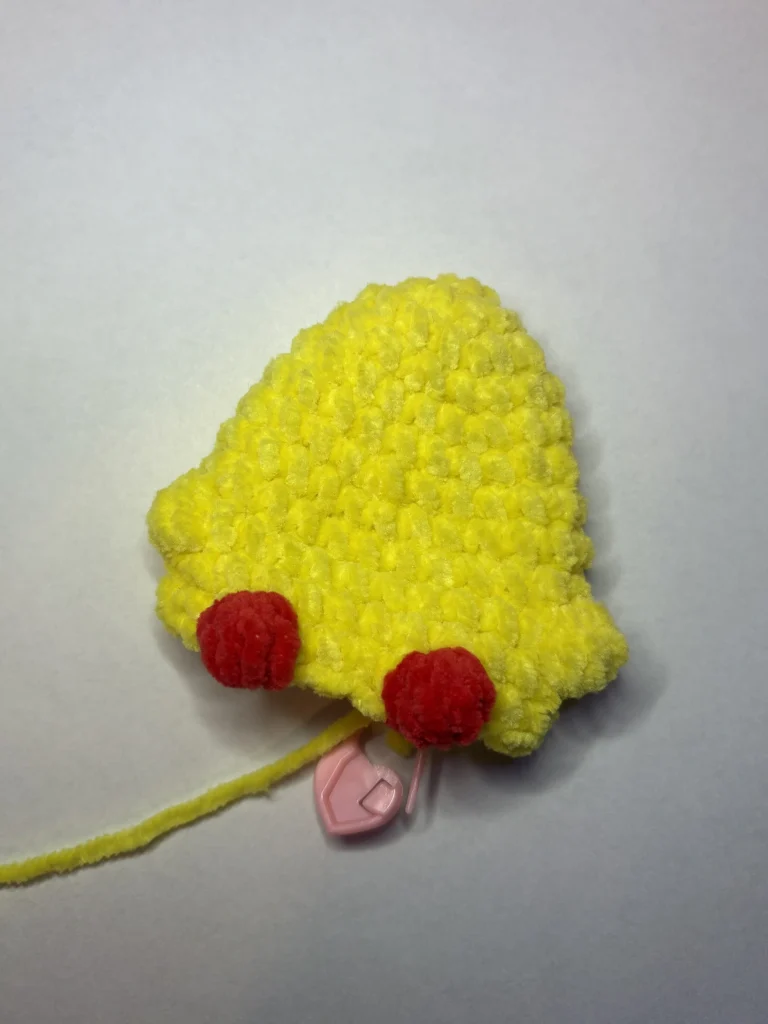
Rnd 12: sc 10, switch to red, bobble st, switch to yellow, sc 4, switch to red, bobble st, switch to yellow, sc 8 (24)
Place the plastic eyes between rows 7-8, approximately 4 sts away from each other.
Rnd 13: sc, dec, (sc 2, dec) 5x, sc (18)
Stuff the egg.
Rnd 14: (sc, dec) 6x (12)
Rnd 15: dec 6 (6)
Close the hole, fasten off, and weave in ends.
Embroider small beak between the eyes, using red yarn.
The easily printable Easter Eggs PDF version is available in our shop:
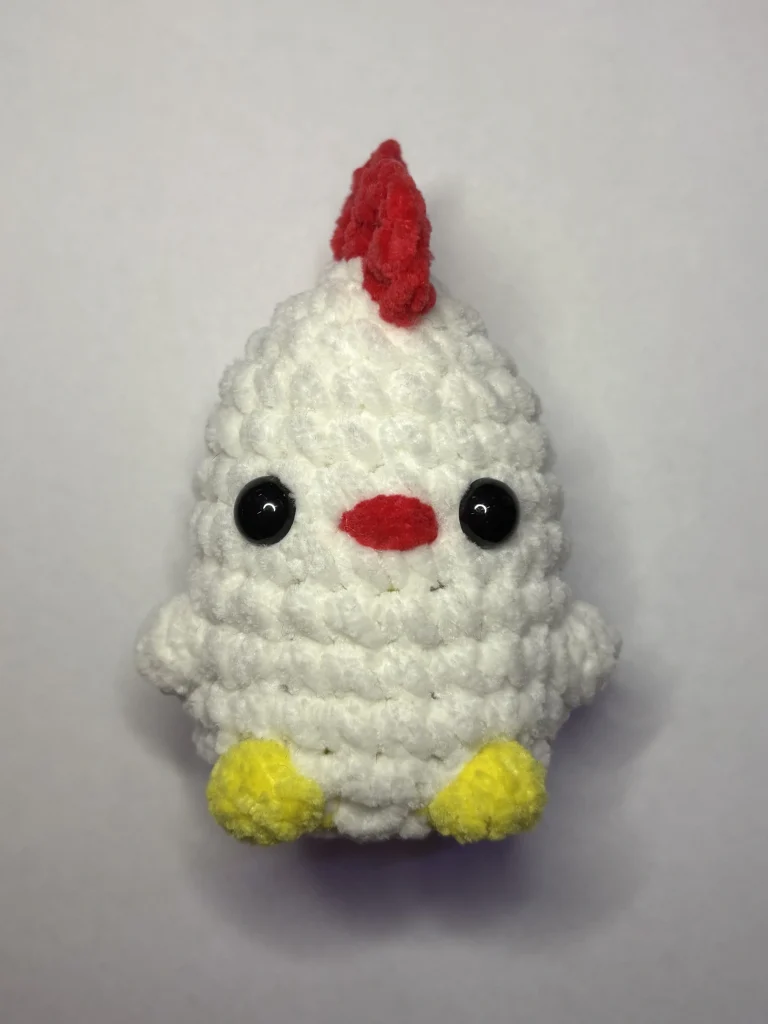
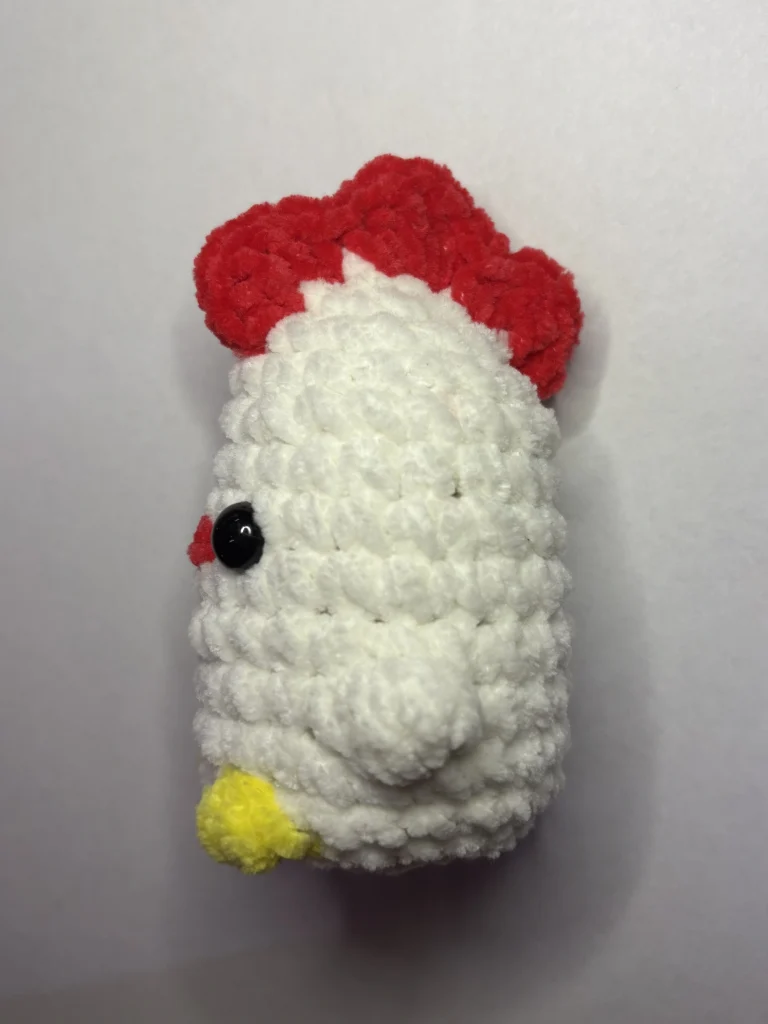
Chicken Egg
Using white yarn:
Rnd 1: 6 sc in MR (6)
Rnd 2: inc 6 (12)
Rnd 3: (sc 3, inc) 3x (15)
Rnd 4: sc 2, inc, (sc 4, inc) 2x, sc 2 (18)
Rnd 5: (sc 5, inc) 3x (21)
Rnd 6: sc 21 (21)
Rnd 7: sc 3, inc, (sc 6, inc) 2x, sc 3 (24)
Rnd 8-9: sc 24 (24)
Rnd 10: sc 7, bobble st, sc 10, bobble st, sc 5 (24)
Rnd 11: sc 24 (24)
Rnd 12: sc 10, switch to yellow, bobble st, switch to white, sc 4, switch to yellow, bobble st, switch to white, sc 8 (24)
Place the plastic eyes between rows 7-8, approximately 4 sts away from each other.
Rnd 13: sc, dec, (sc 2, dec) 5x, sc (18)
Stuff the egg.
Rnd 14: (sc, dec) 6x (12)
Rnd 15: dec 6 (6)
Close the hole, fasten off, and weave in ends.
Embroider small beak between the eyes, using red yarn.
Chicken’s Comb
Using red yarn:
Attach the yarn at the back of the head, [(sc, hdc, dc), (dc, hdc, sc)] 3x
Fasten off and weave in ends.
Bunny Egg
Using pink yarn:
Rnd 1: 6 sc in MR (6)
Rnd 2: inc 6 (12)
Rnd 3: (sc 3, inc) 3x (15)
Rnd 4: sc 2, inc, (sc 4, inc) 2x, sc 2 (18)
Rnd 5: (sc 5, inc) 3x (21)
Rnd 6: sc 21 (21)
Rnd 7: sc 3, inc, (sc 6, inc) 2x, sc 3 (24)
Rnd 8-9: sc 24 (24)
Rnd 10: sc 7, bobble st, sc 10, bobble st, sc 5 (24)
Rnd 11: sc 24 (24)
Rnd 12: sc 10, bobble st, sc 4, bobble st, sc 8 (24)
Place the plastic eyes between rows 7-8, approximately 4 sts away from each other.
Put the nose between the eyes.
Rnd 13: sc, dec, (sc 2, dec) 5x, sc (18)
Stuff the egg.
Rnd 14: (sc, dec) 6x (12)
Rnd 15: dec 6 (6)
Close the hole, fasten off, and weave in ends.
The easily printable Easter Eggs PDF version is available in our shop:
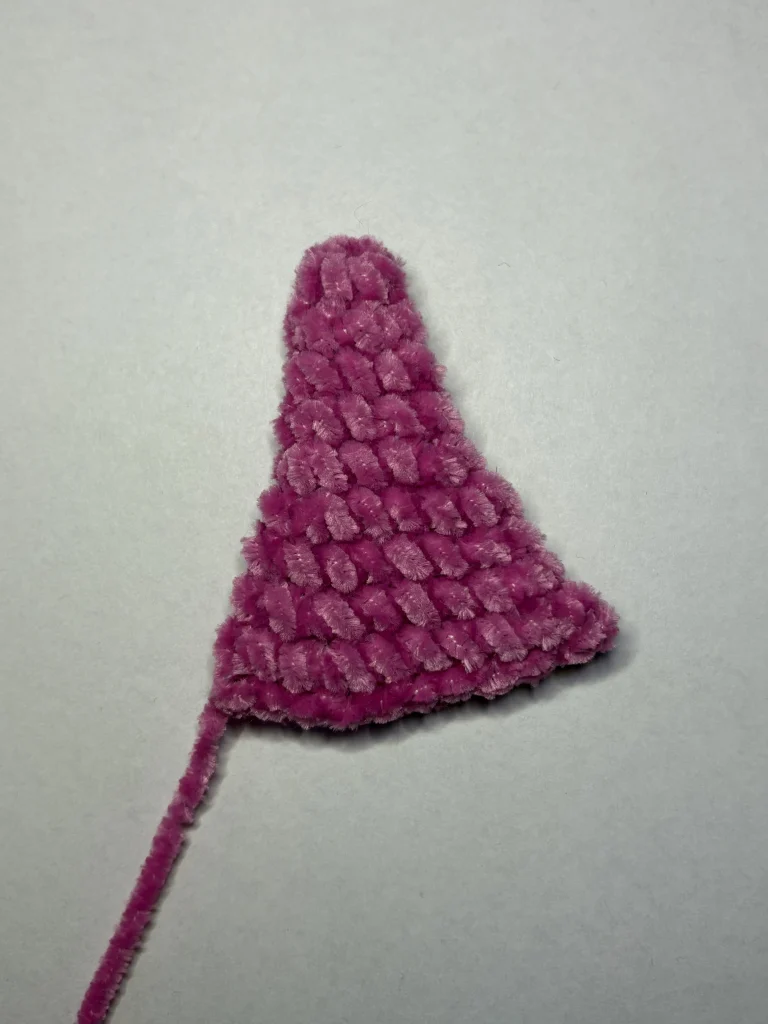
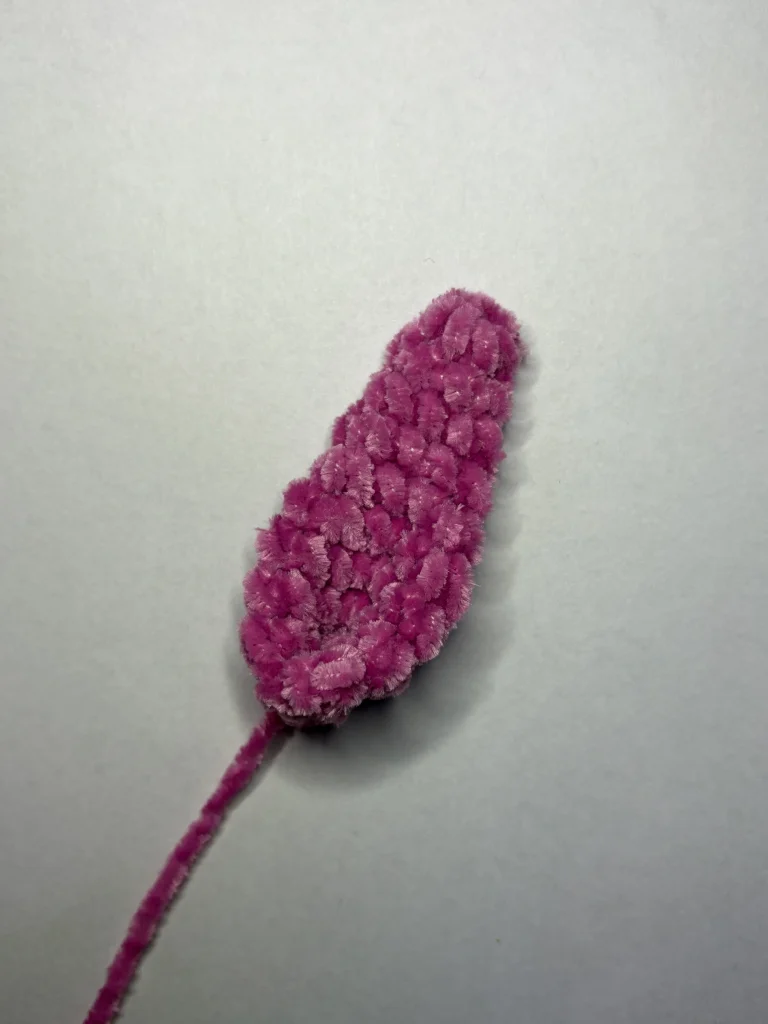
Bunny’s Ears – make 2
Using pink yarn:
Rnd 1: 6 sc in MR (6)
Rnd 2: sc 6 (6)
Rnd 3: (sc, inc) 3x (9)
Rnd 4: sc 9 (9)
Rnd 5: (sc 2, inc) 3x (12)
Rnd 6: (sc 3, inc) 3x (15)
Rnd 7: sc 15 (15)
Rnd 8: (sc 4, inc) 3x (18)
Rnd 9: (sc 5, inc) 3x (21)
Fold in half and slst along. Cut off, fold in half again, and sew the sides together.
Sew up the ears on top of the head.
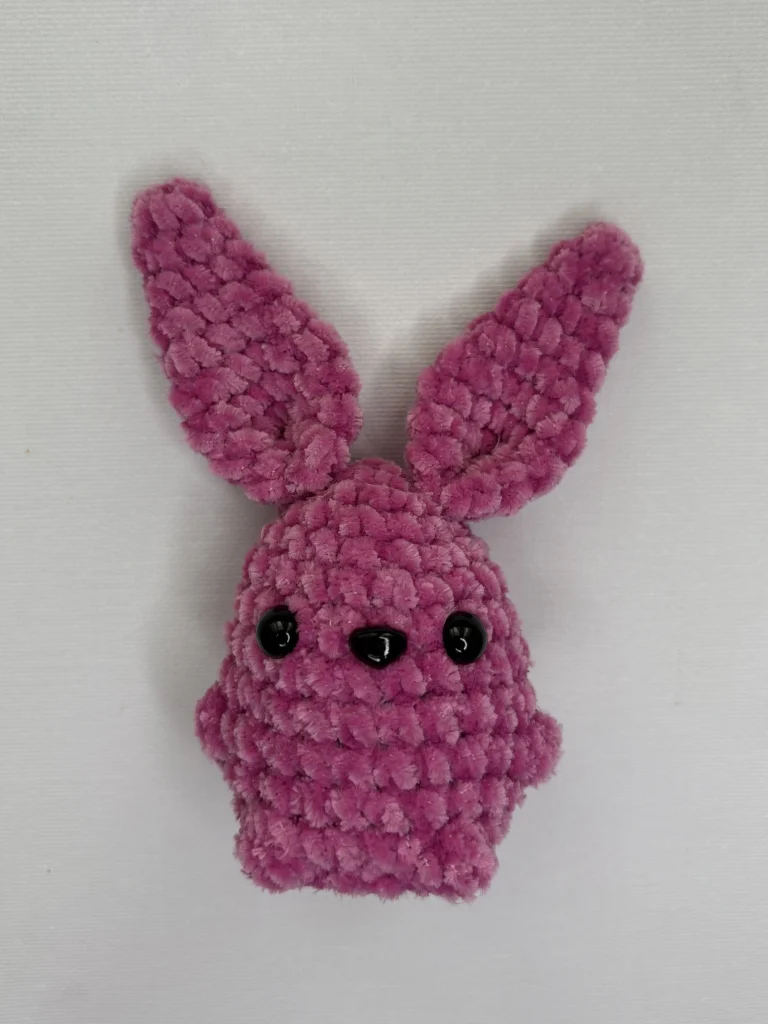
Your Easter Eggs are ready!
The easily printable Easter Eggs PDF version is available in our shop:
Thank you for using this pattern! Upload your photos and let us know how you liked it in the comments section below. 🙂