In this article:

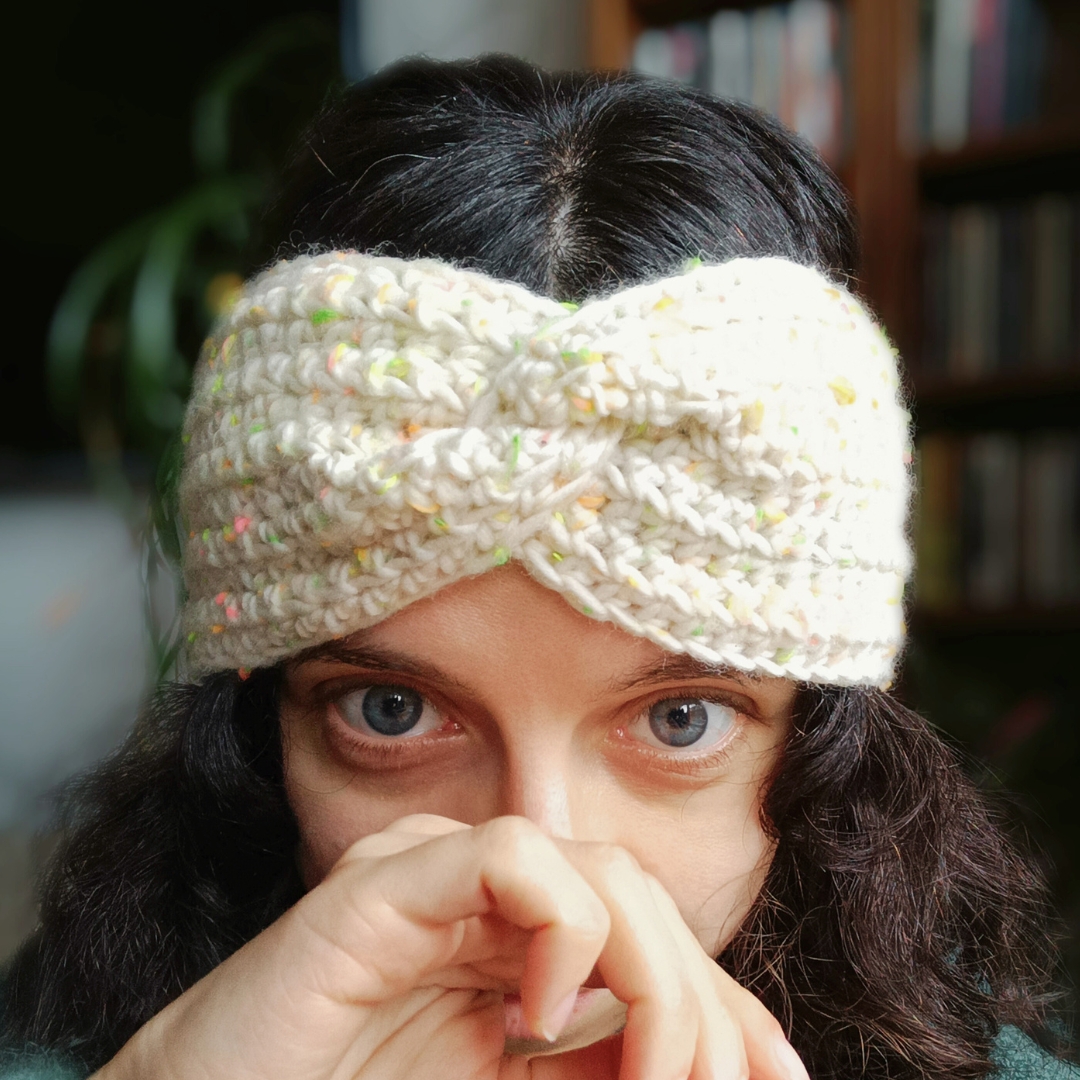
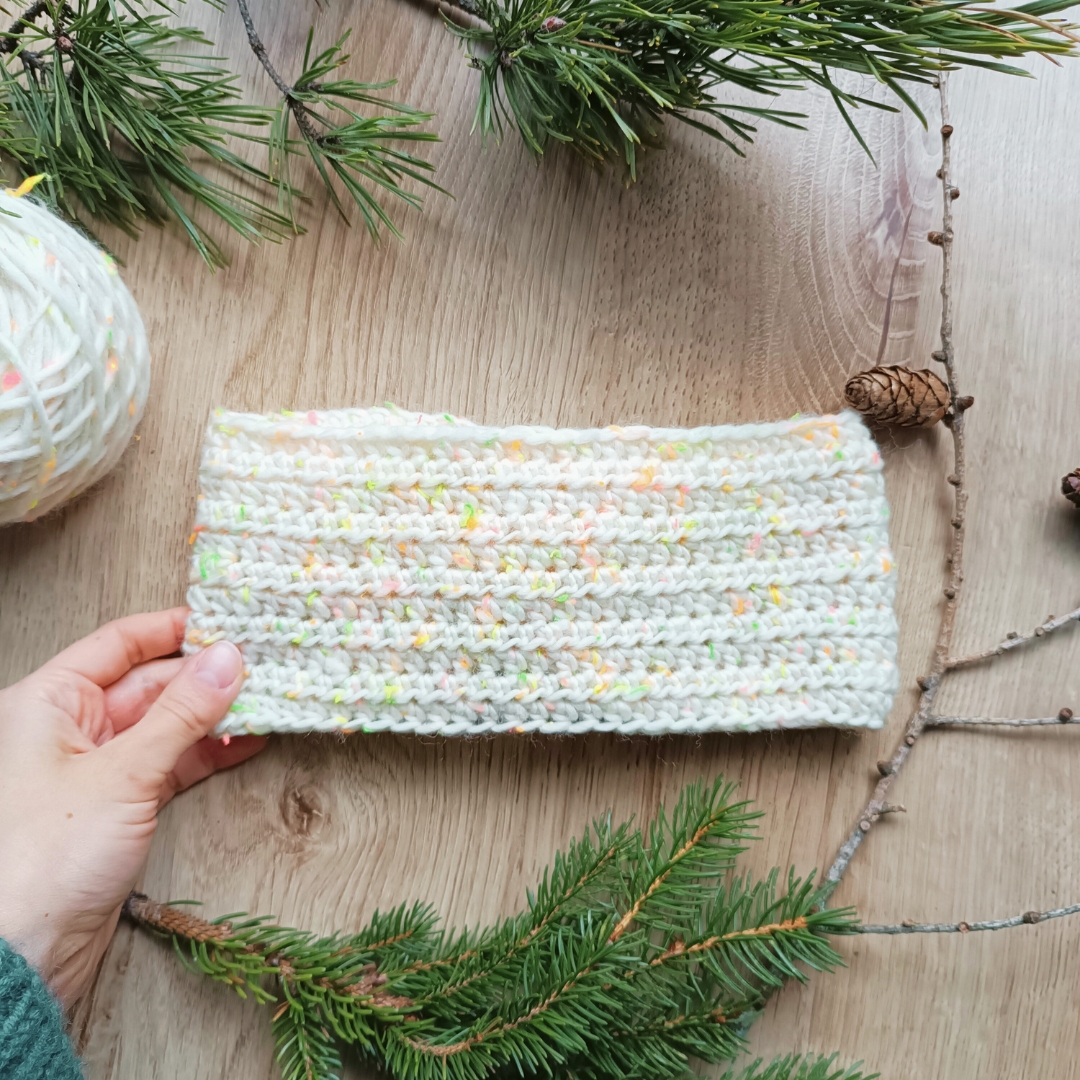
Try one of the easiest crochet headband patterns. This project uses basic stitches and works up super quickly. You can easily adjust its size thanks to its simple construction. It’s basically a rectangle with a clever front twist – a perfect combination for beginners! Make one for every member of your family, no matter the age. Get comfy this winter or prepare for the next!
This free crochet headband pattern was designed exclusively for Your Crochet by Kate from Crochetpedia.

About the Author
Kate comes from a family of makers who never stop creating. She runs Crochetpedia, where she shares her free crochet patterns, video tutorials, and stitch ideas. Follow her if you want to hone your skills, try new techniques, or create something beautiful.
👇 FOLLOW CROCHETPEDIA 👇
Measuring Your Head
For the headband to fit snuggly, it should be 5-8 cm (2-3 in) smaller than your head circumference. As the general guideline, you can use our Hat Size Chart.
For example, my head circumference is 56 cm (22 in), and my headband is 50 cm (20 in). Feel free to add or reduce the number of rows if you need.
Pattern Notes
This is a beginner-level project and the pattern uses standard US terms.
Materials and Tools
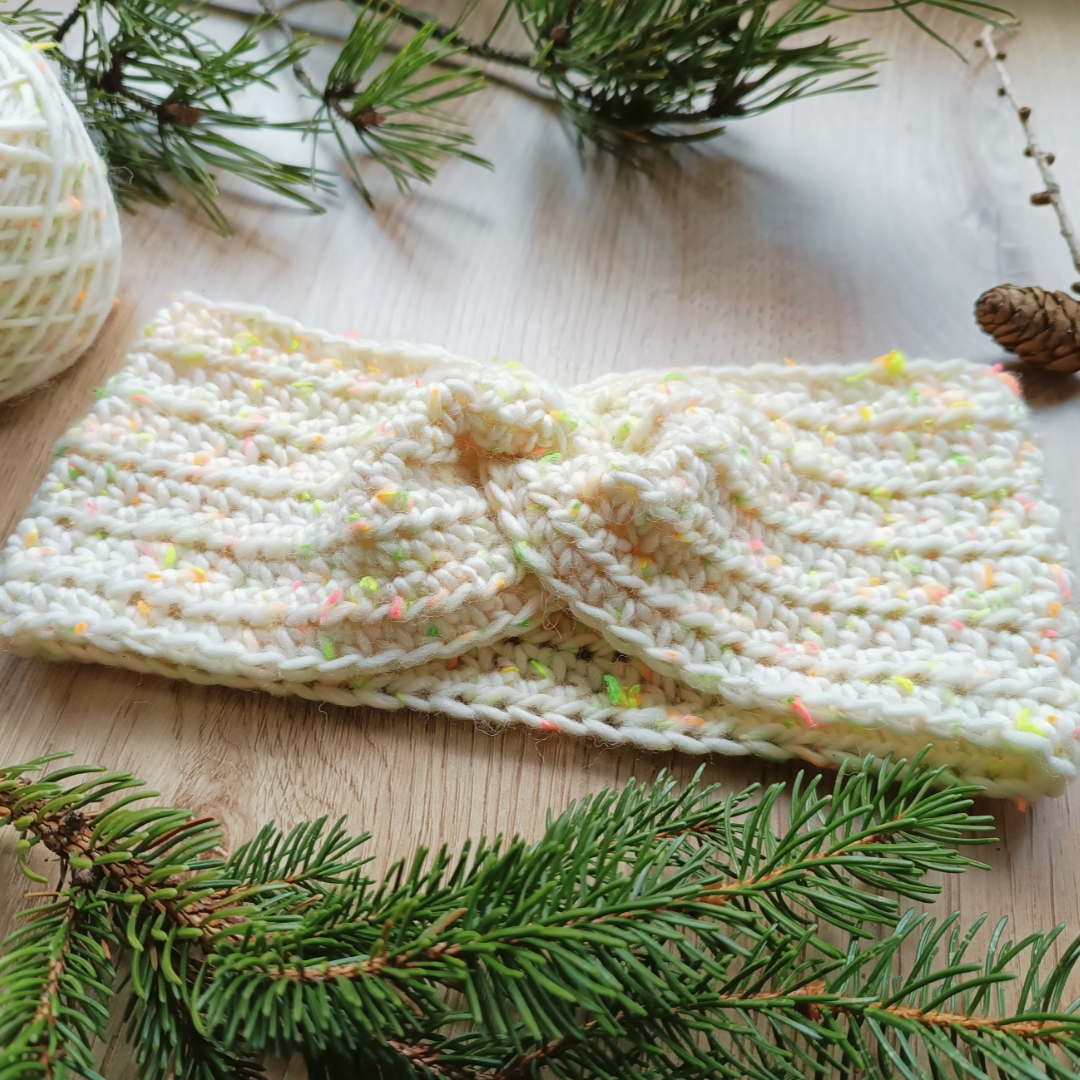
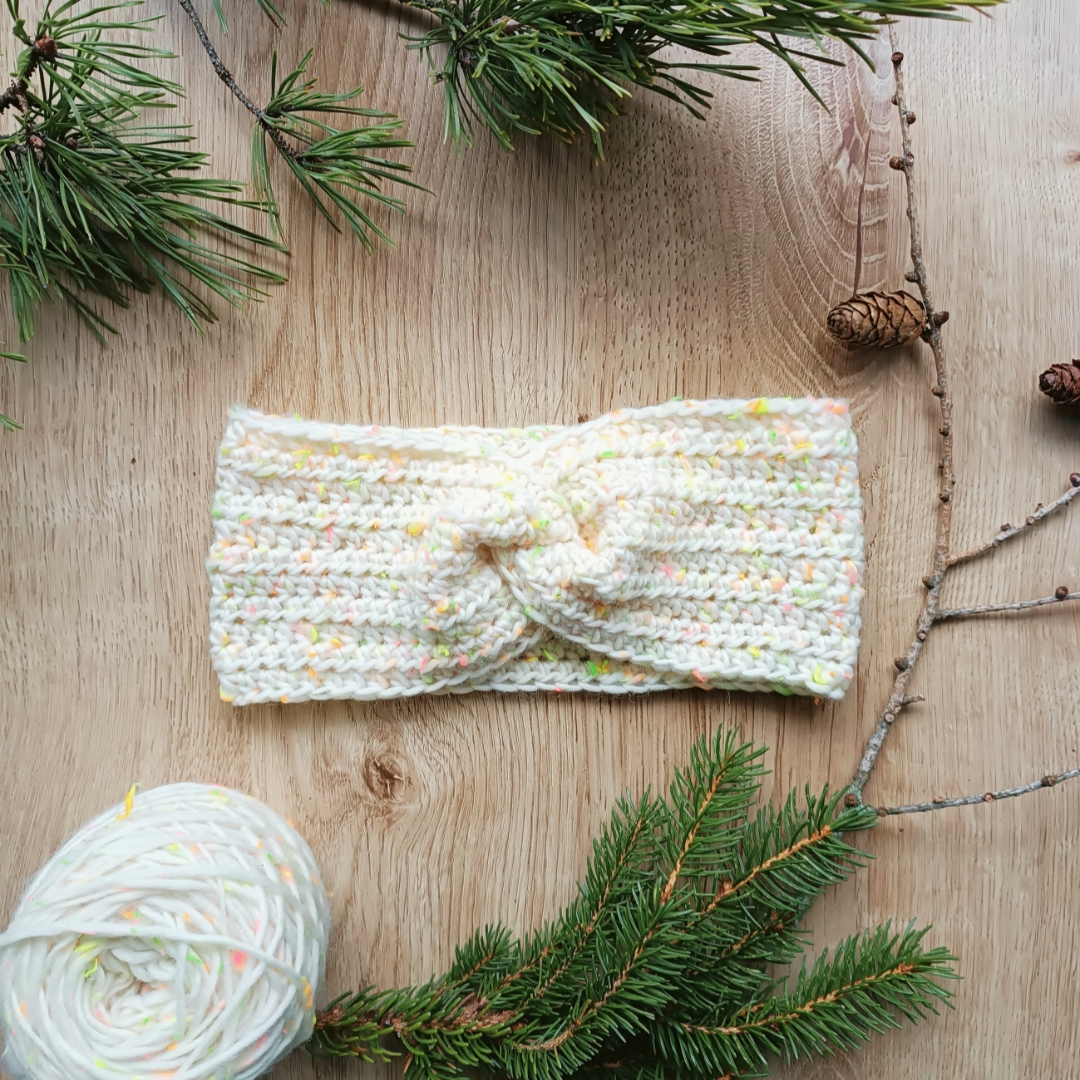
- One skein of Hobbii Tweed Delight – 100 m per 50 g (109 yds per 1.75 oz). The content of this yarn is 85% Wool, 10% Acrylic, 5% Viscose. I used exactly 32 g (1.13 oz) of the color 02 Ivory Neon. You can use any other Aran-weight yarn.
- 5 mm crochet hook
- scissors
- yarn needle (optional)
Measurements
- the rectangle is 10 cm (4 in) wide and 50 cm (20 in) long before sewing.
Gauge
- 13 sts x 11 rows in half double crochet stitch per 10 x 10 cm (4”x4”)
Stitches and Abbreviations
- ch – chain stitch
- hdc – half double crochet
- st – stitch
Important!
- In this project, the initial number of chain stitches creates a longer edge of the headband. Determine its length by measuring your head circumference. See the Measuring Your Head section above. Once you establish your length, you won’t be able to adjust it later.
- You can adjust the width of the headband by working more or fewer row repeats.
Beginner Headband Free Crochet Pattern
Start: Chain 70 or however many chains you need to achieve the desired length.
Note: In the first round work the stitches into the “back bumps” of the foundation chain. It will give you a nice edge.
Row 1: 2 ch, 1 hdc in each stitch, turn.
Note: I don’t count the “2 ch” as a stitch. However, it doesn’t matter as long as you keep the same number of stitches in each row.
Repeat row 1 for 10 more rows or until you reach your desired width. My headband is 10 cm wide.
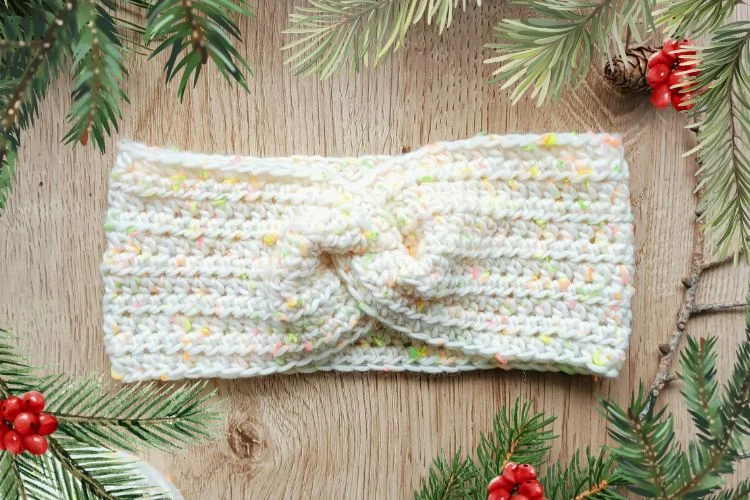
Making the Front Twist

Fold the headband in half right sides in, ends pointing up. Slide the top part to the right, so that its left edge is in the center of the bottom part.
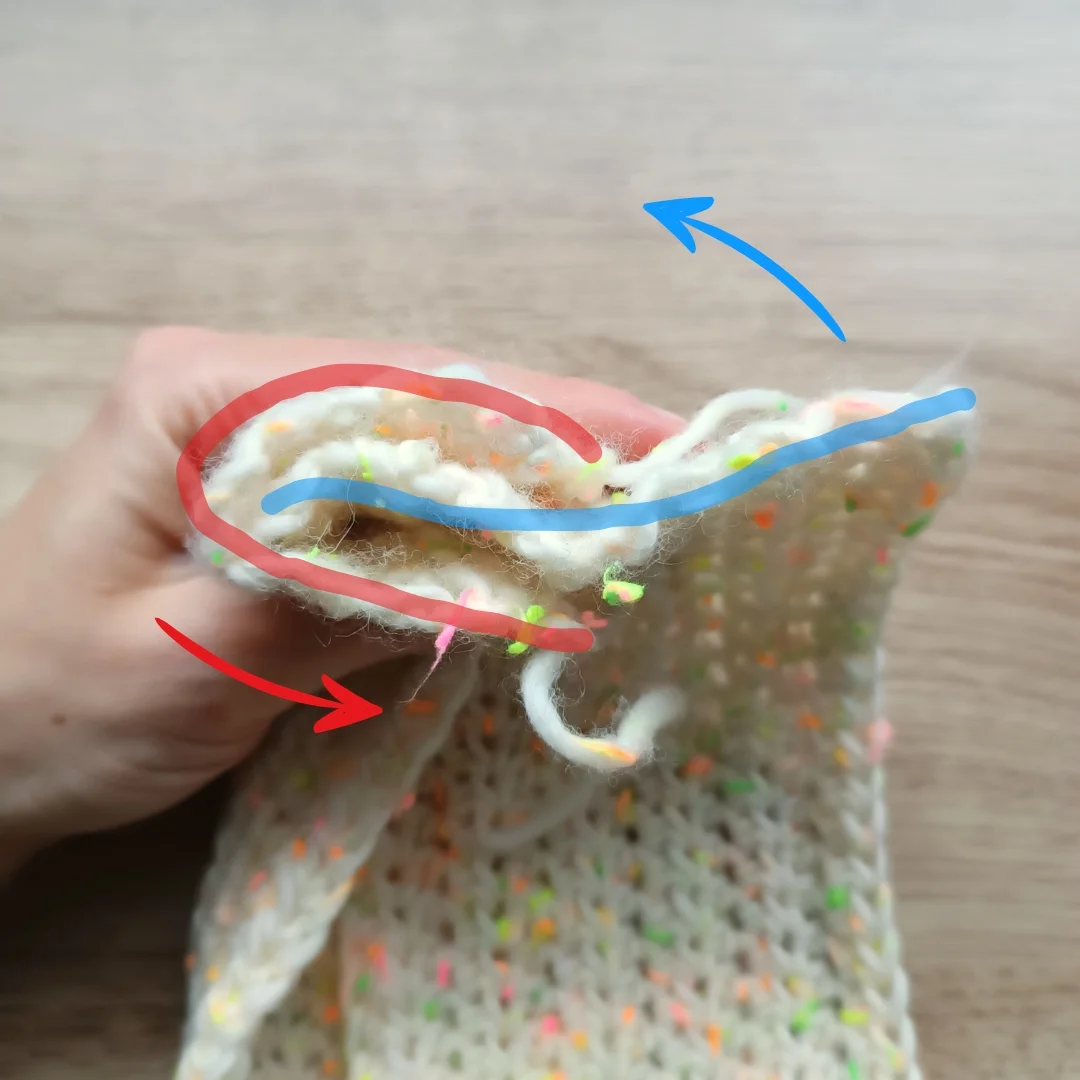
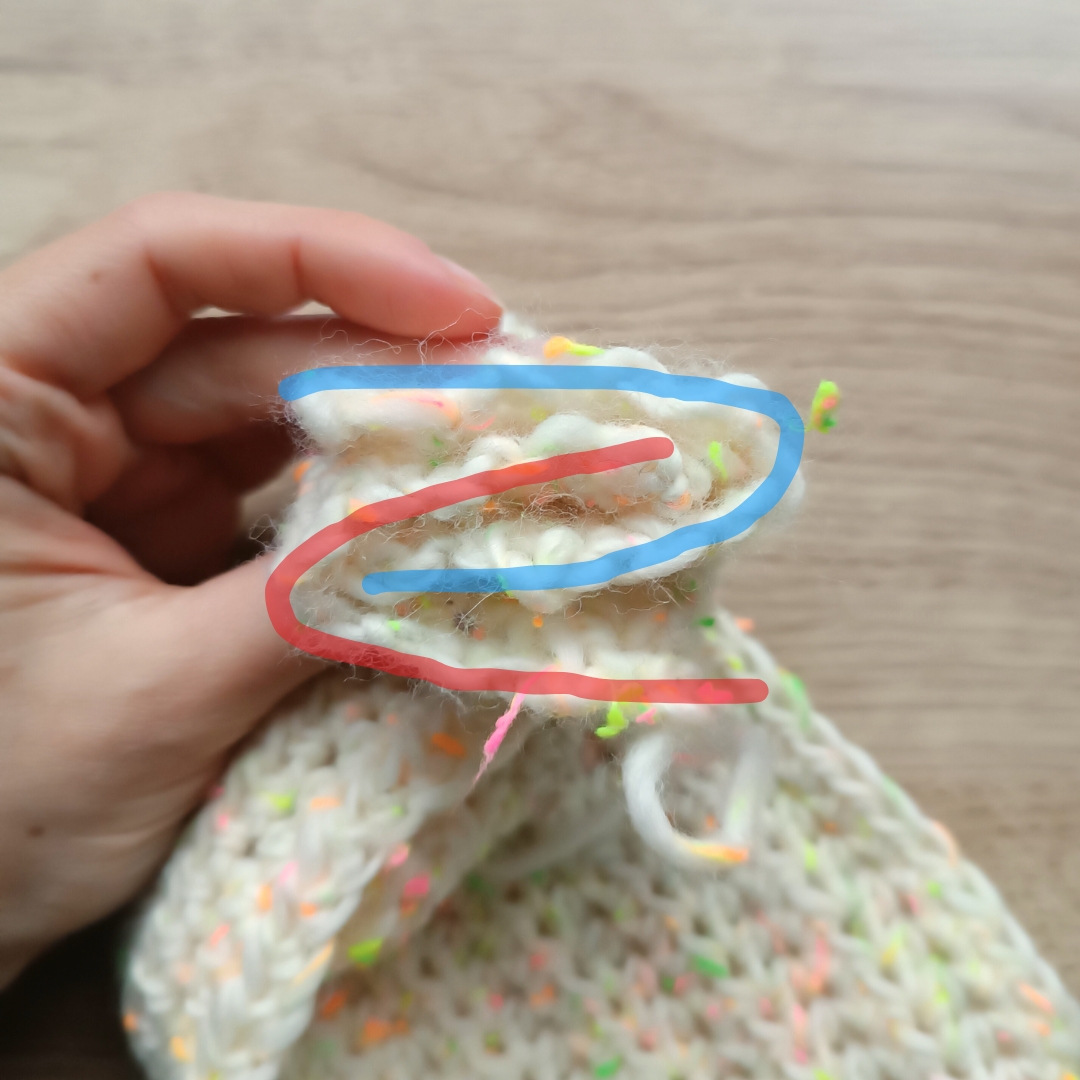
Now fold the right edge over the bottom part, as if it was hugging it. Then, bring the left edge of the bottom part to the top. The “sandwich” should now be half the width of the headband. Adjust each element so they are roughly the same width.
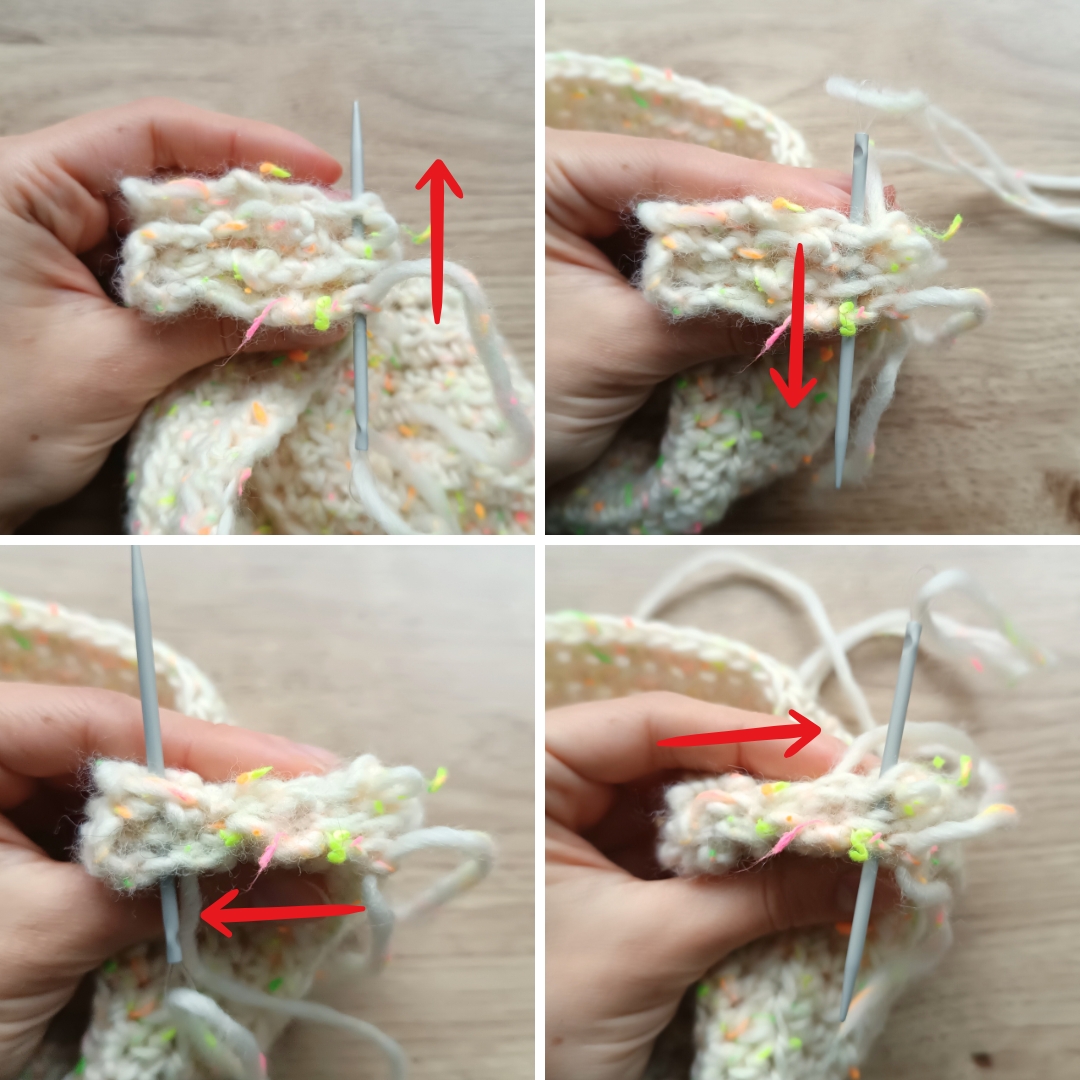
Sew the top part using some yarn and a yarn needle. Carefully go through all four layers at once. Keep the seam near the edge.
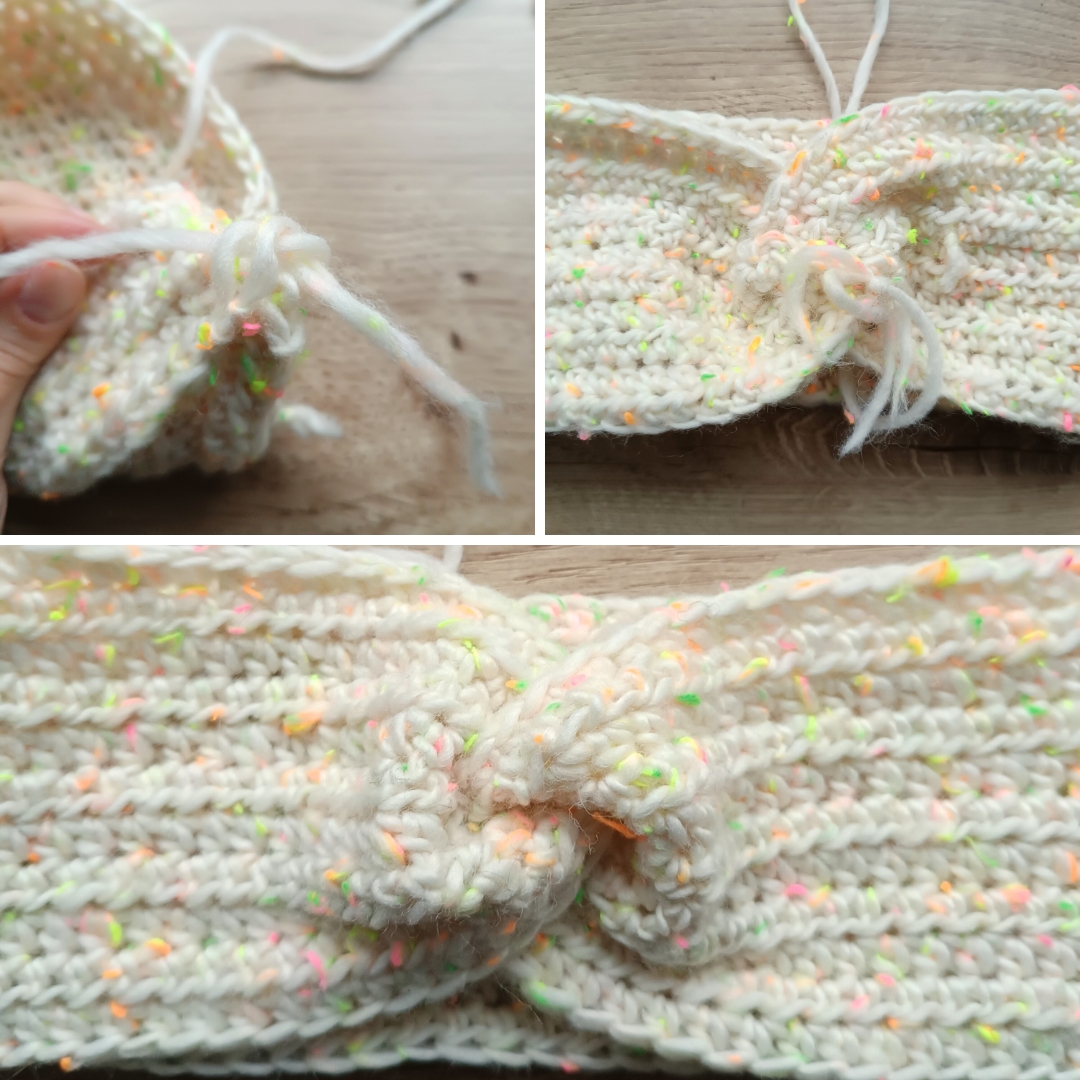
When the seam is secured and the yarn ends weaved in, unfold the headband. The part you just sewed up should hide inside.
It’s done!
Thank you for using this pattern! Let us know how you liked it in the comments section below 🙂