In this article:
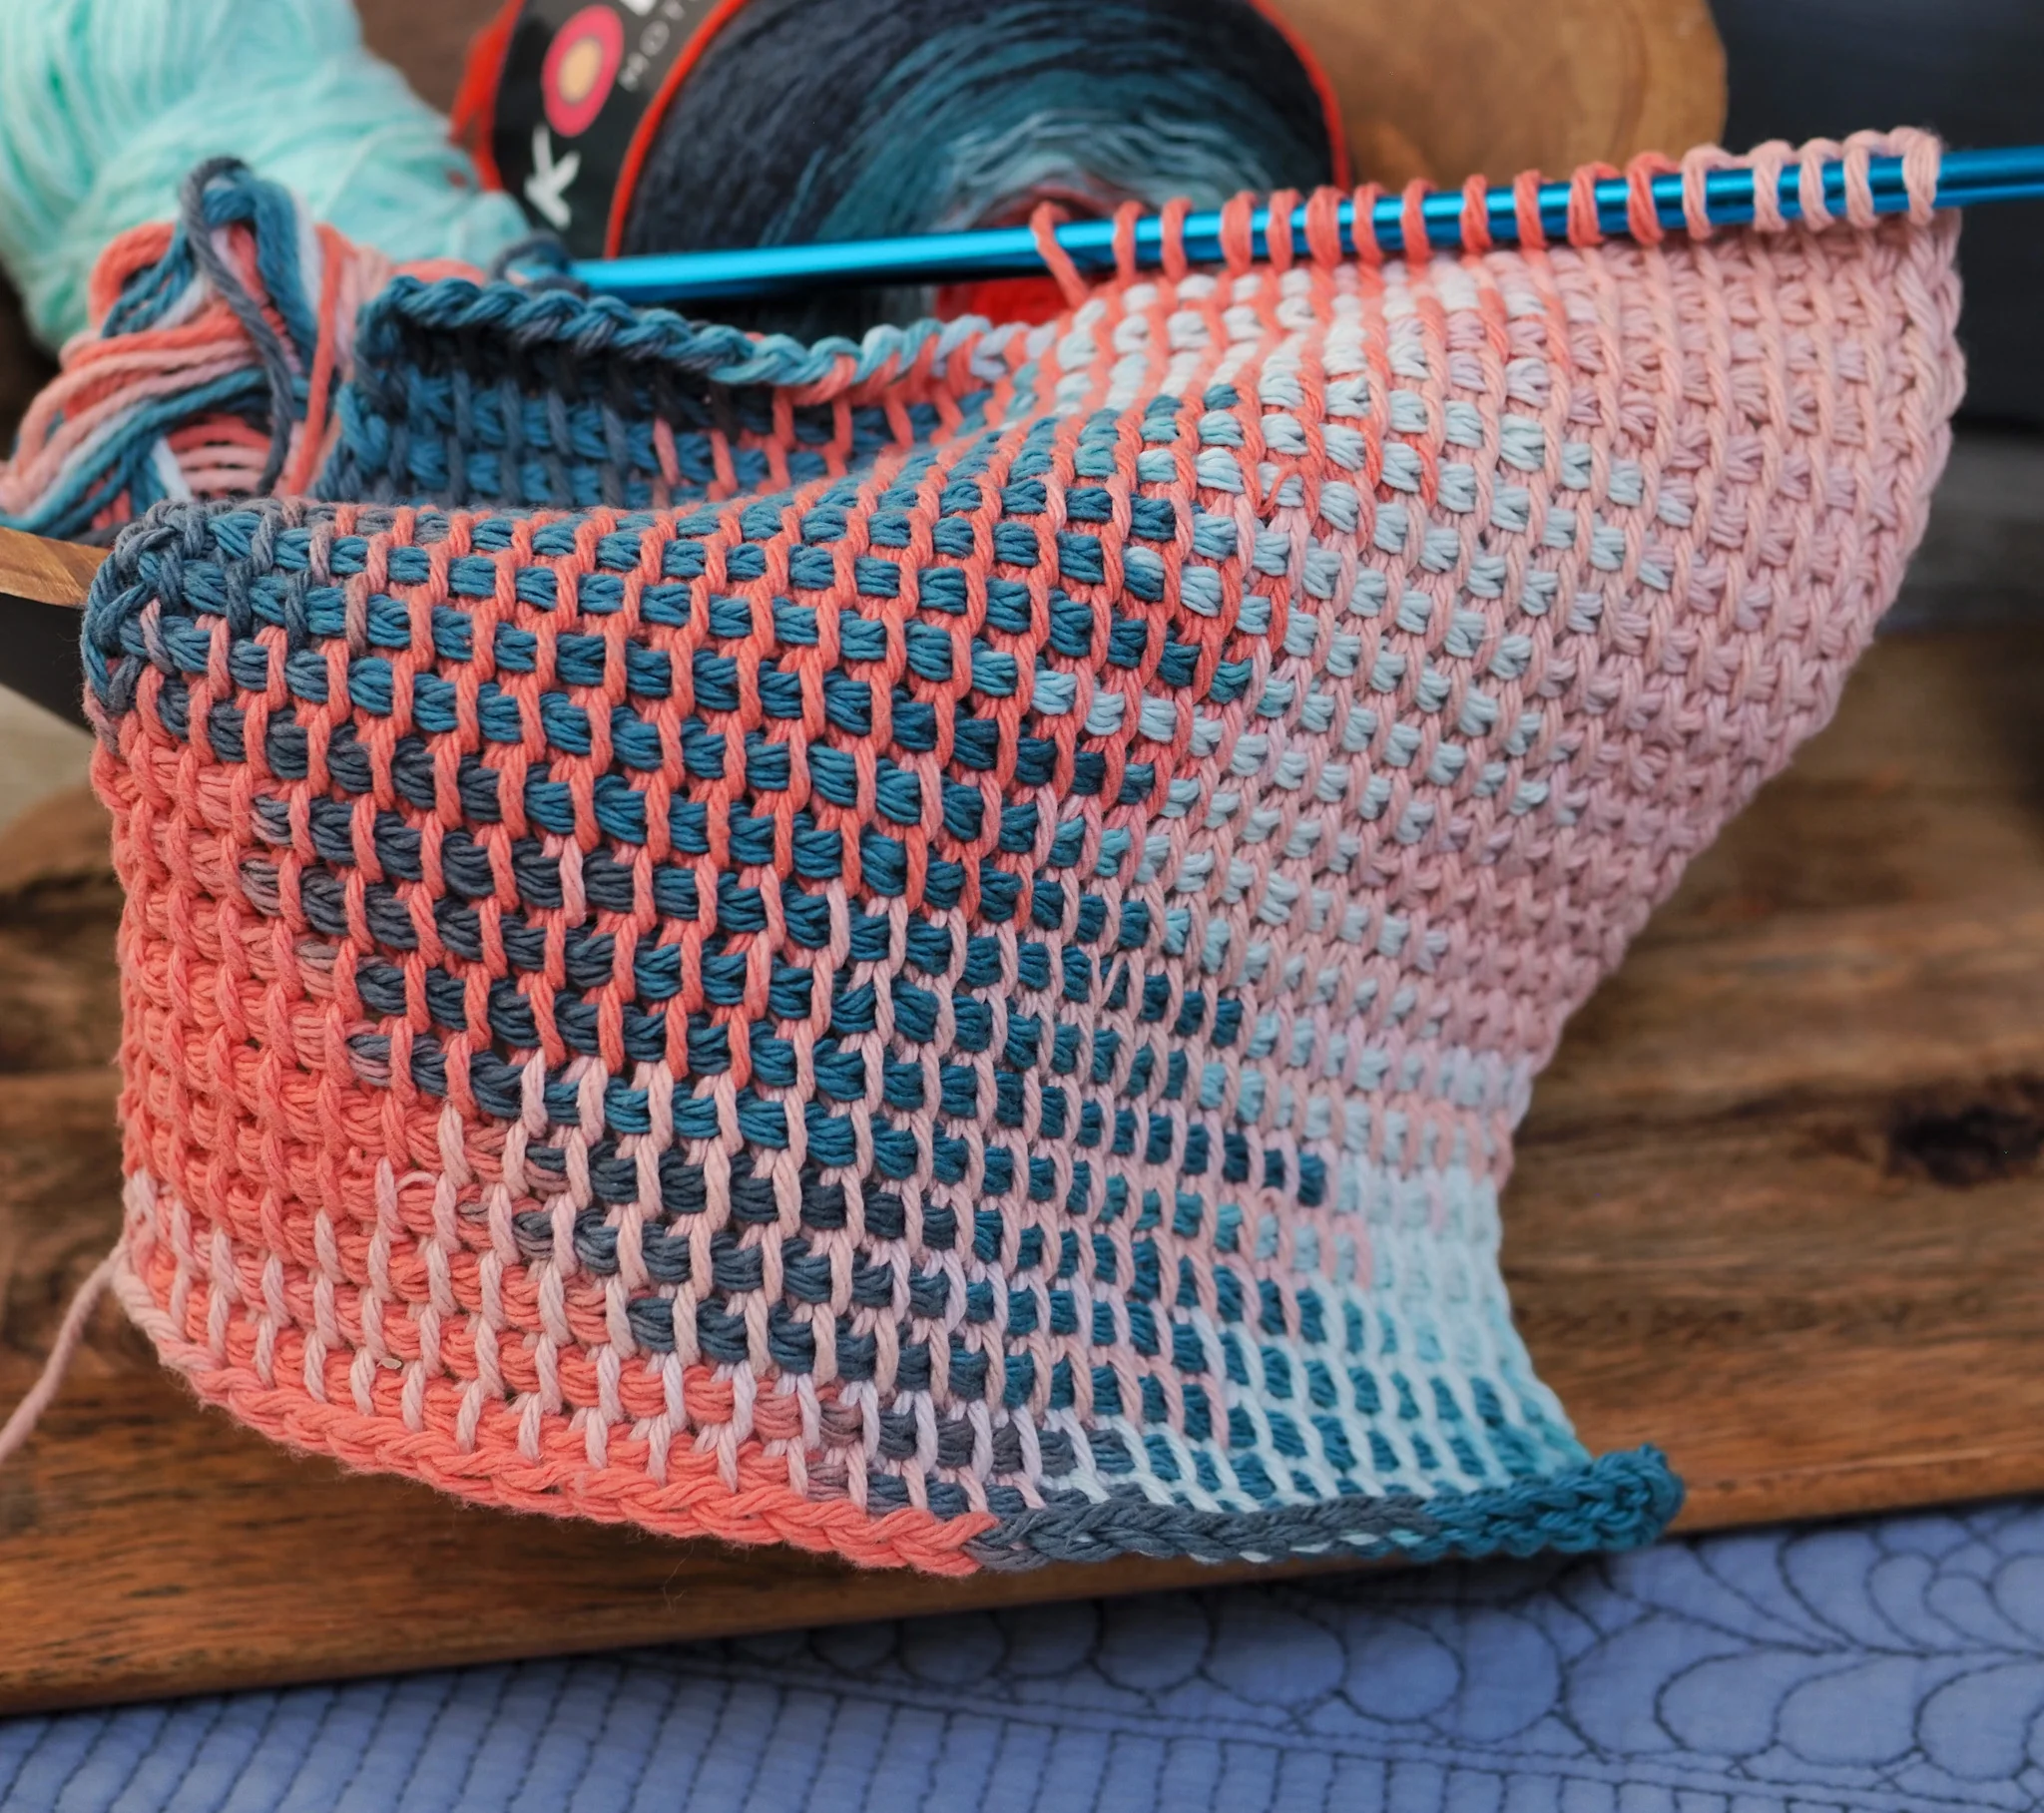
The Tunisian Simple Stitch features characteristic rows of vertical bars that creates a grid-like look. Its dense, warm texture can be used for winter wearables (eg. scarfs) or to isolate items from a surface (potholders, rugs). Its nice, regular look and sturdy texture works perfectly for bags and totes. It’s also perfect to give softness to a modern contemporary interior in the form of pillows, placemats, runners or sofa covers.
Materials You’ll Need
- Yarn – you can use any yarn to make a Tunisian Stitch, although I find a medium-weight yarn will be the best for practice. I used the Classic 100% Cotton Loops and Threads yarn.
- Tunisian Crochet Hook – use a bigger hook that is suggested for your yarn. Size 1 or 2 sizes up. For my yarn the recommended regular crochet hook size is H-8 (5 mm), and I’m using a 6 mm Tunisian hook
- Scissors: For cutting the yarn at the end
- Tapestry (Yarn) Needle: For weaving in the ends
Abbreviations
- Ch Chain
- TSS Tunisian Simple Stitch
- St(s) Stitch(es)
- YO Yarn Over
- Sl St – Slip Stitch
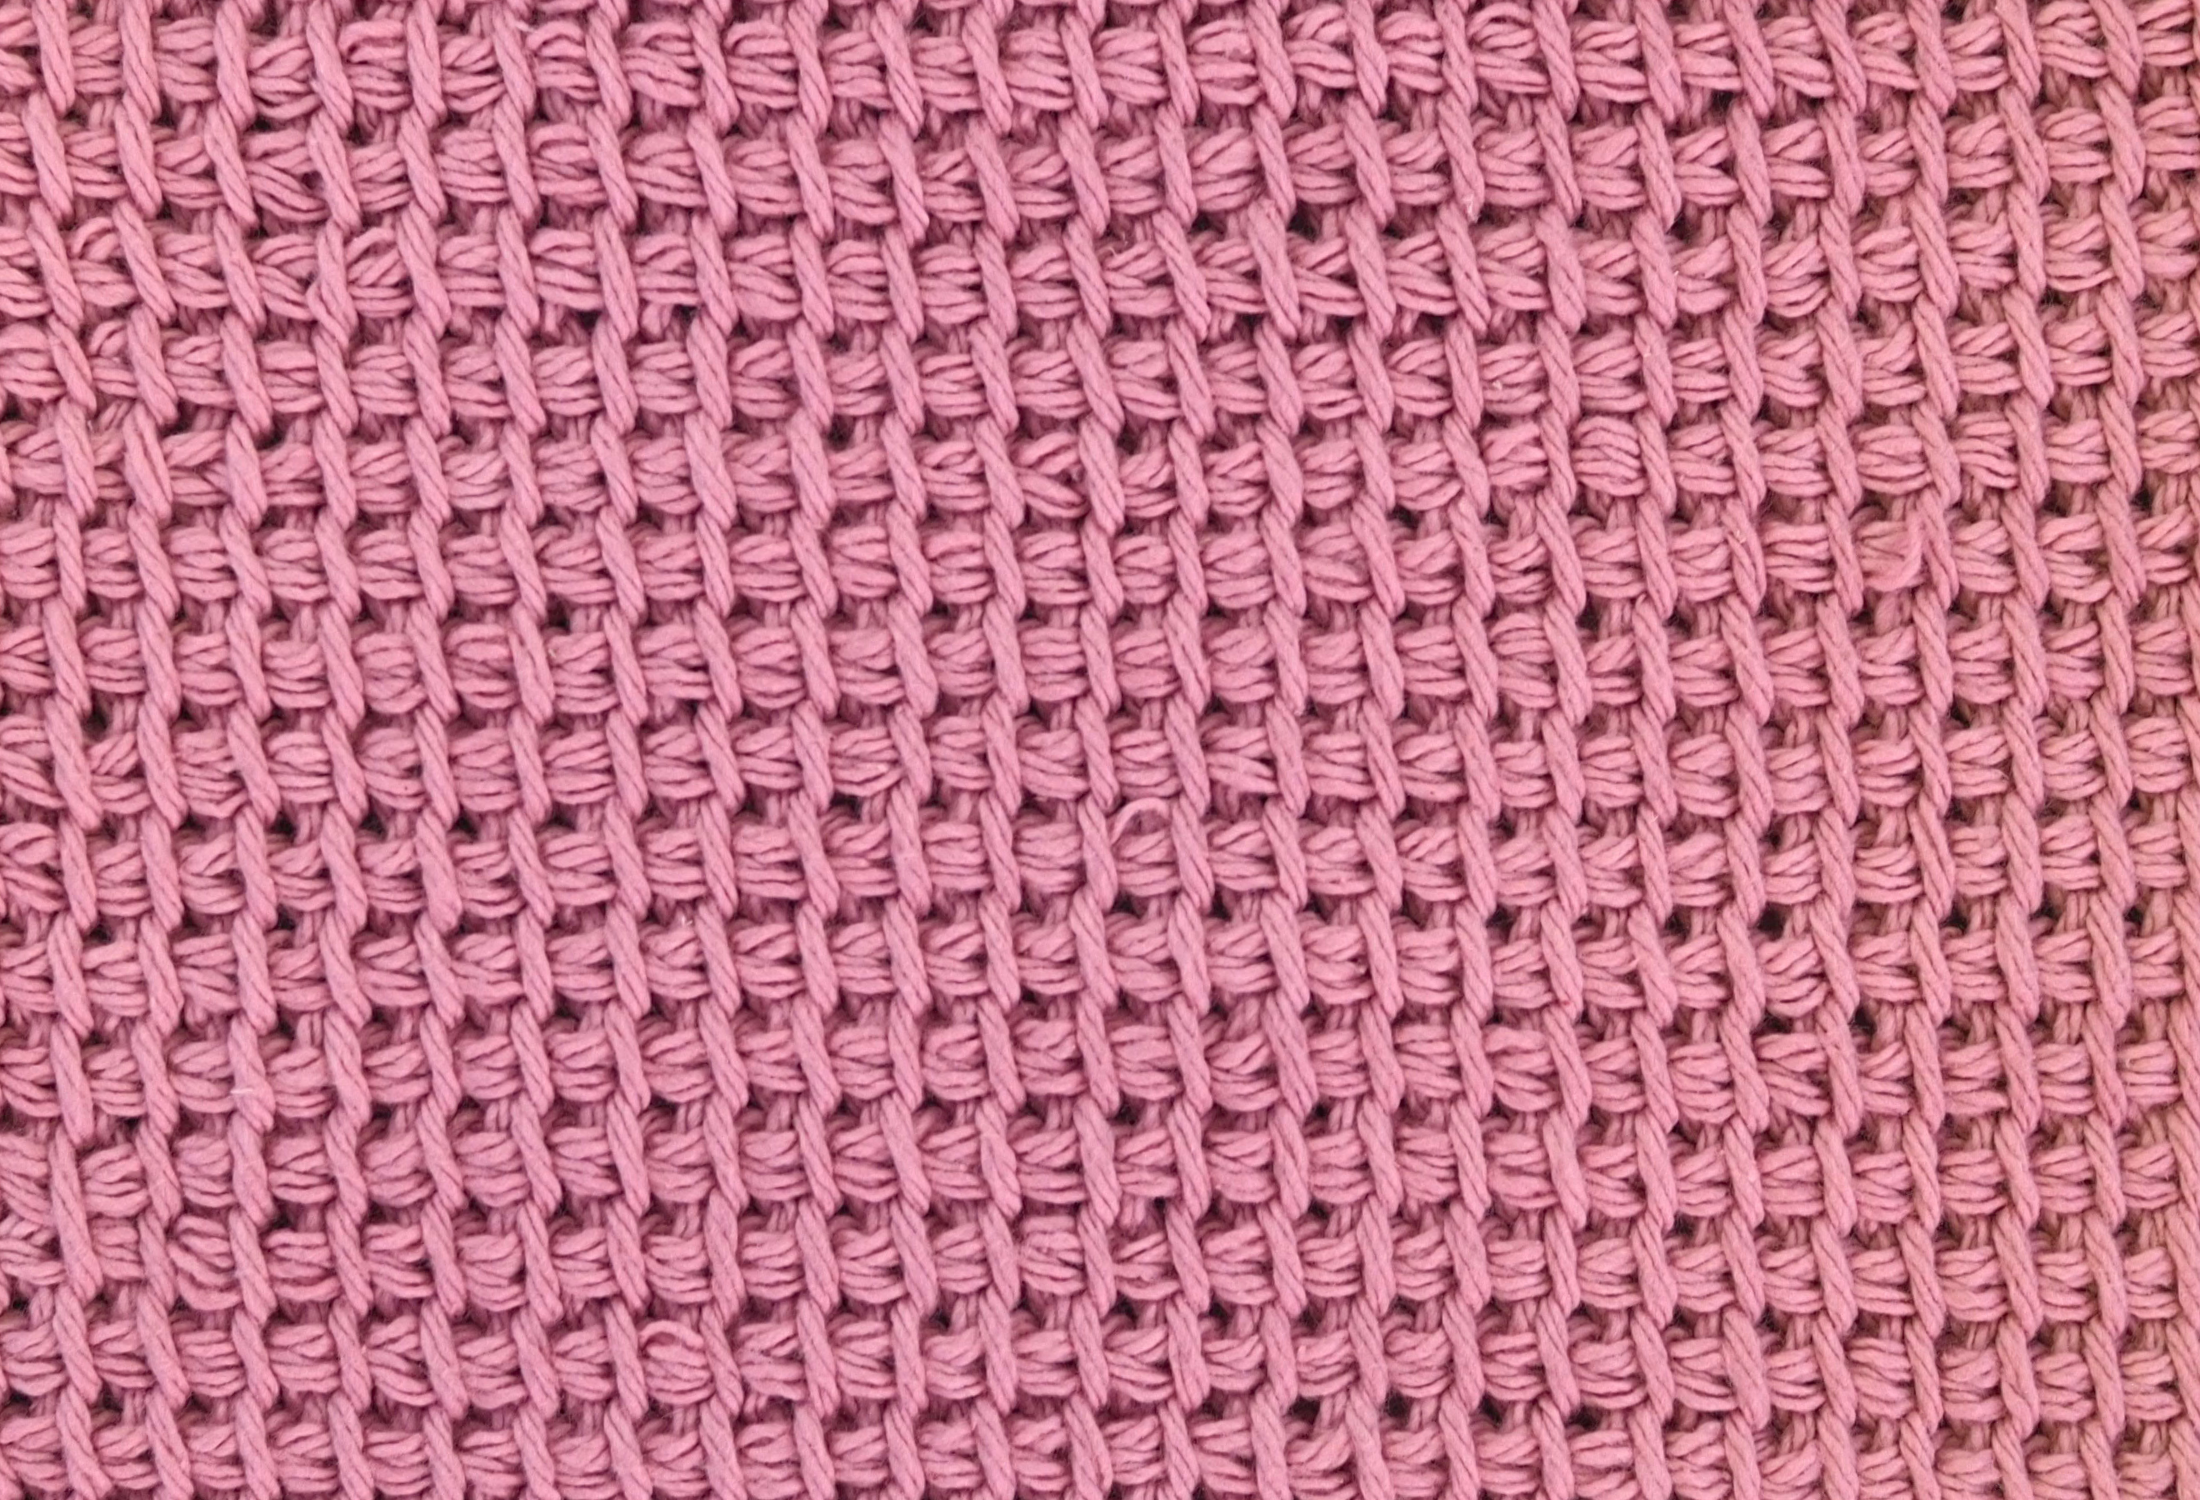
How to make a Tunisian Simple Stitch (TSS) Step by Step
The Tunisian Simple Stitch is the easiest basic Tunisian stitch, so crocheters usually try learning the Tunisian crochet with it. We will be moving forward (right to left) and backwards (left to right) in every second row. But first, make a foundation chain.
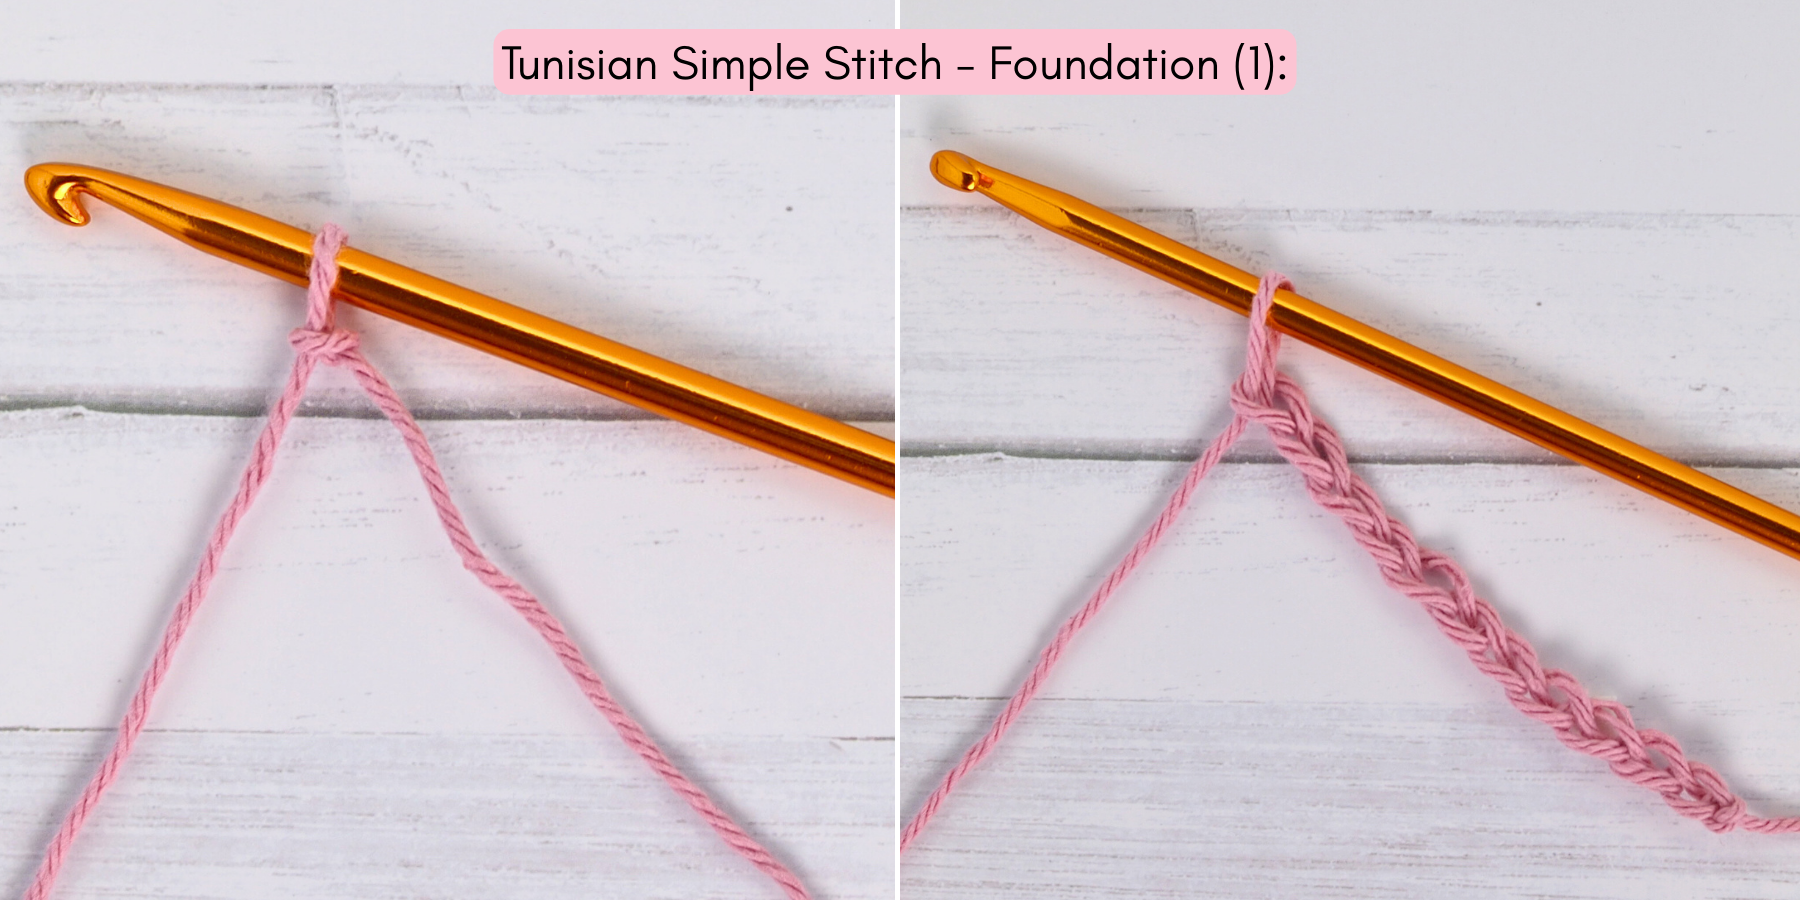
Step 1: Start with a Foundation
Make a slip knot and crochet a number of chains (Ch11 in my example). Try to keep your chains loose.
Foundation Row: Moving forward
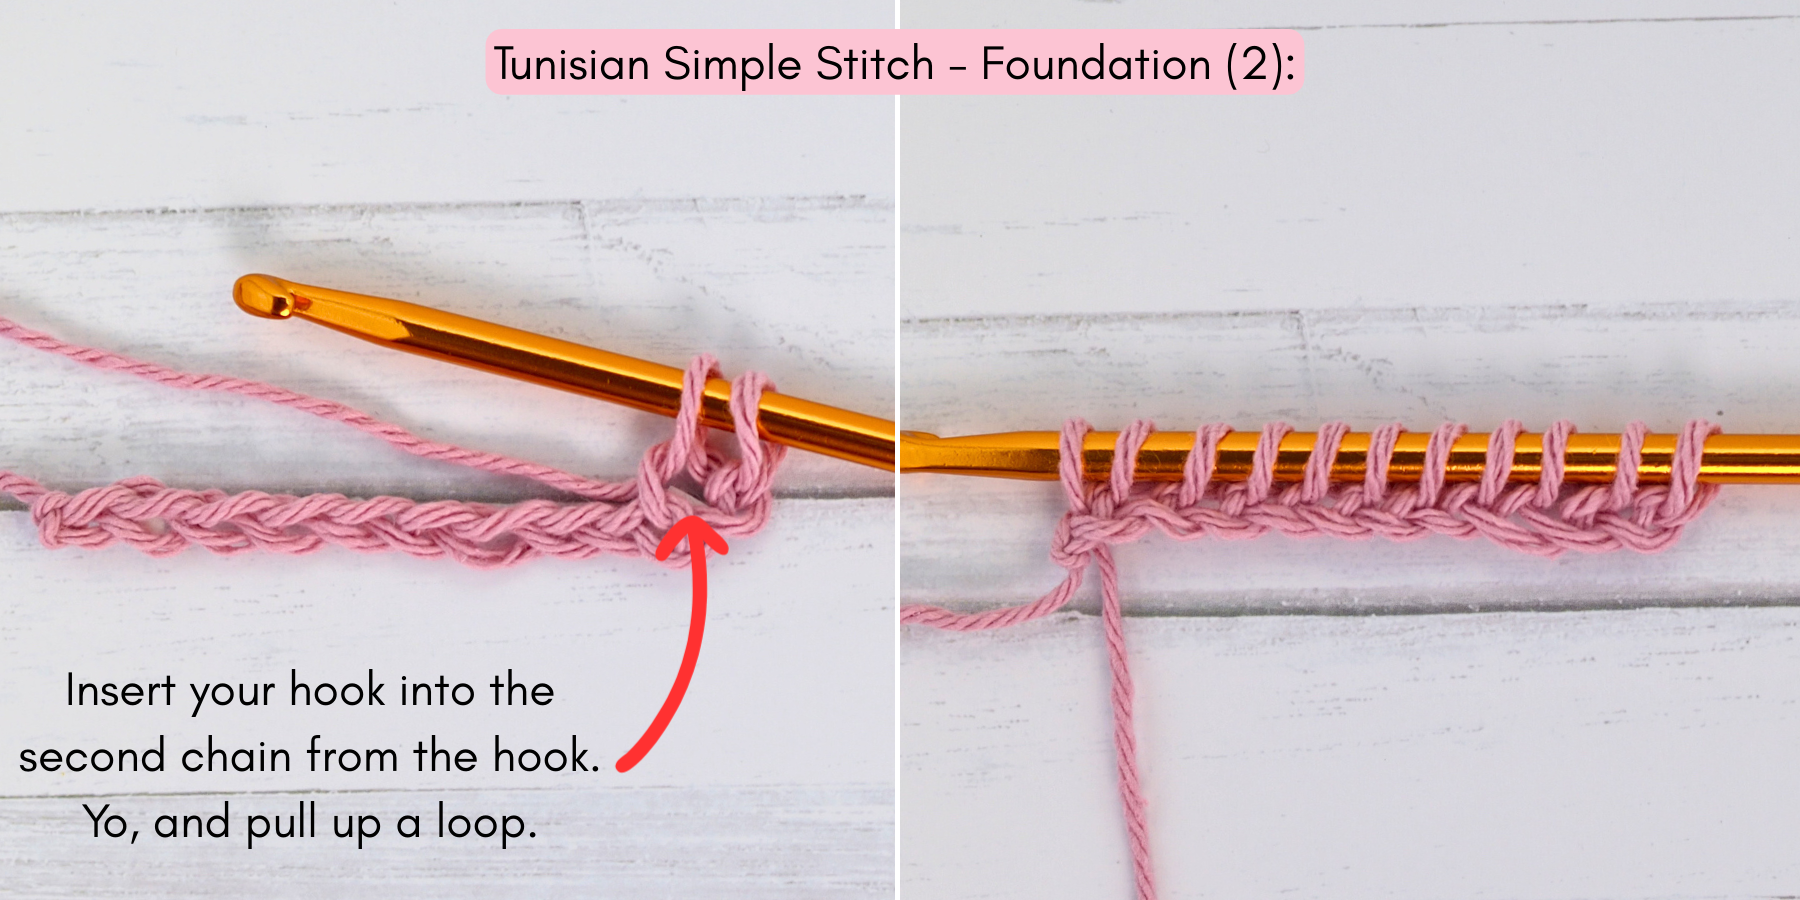
In the Tunisian Crochet Stitches we often make a foundation row by working on the backside of chains. It will give us a nicer edge. However as we are making only a swatch I will start with a ‘regular front’ side of foundation chains – it is much quicker and easier to explain. If you’re curious how to start on the backside of chains, see the foundation row explanation in the Tunisian Full Stitch (TFS) Tutorial.
Insert your hook into the second chain from the hook. Yarn over, and pull up a loop. * Insert your hook into the next chain, yo and pull up a loop. Repeat from * to the end of a row. You should have the same number of loops on your hook as the number of chains you’ve started with.
Foundation Row: Moving backwards
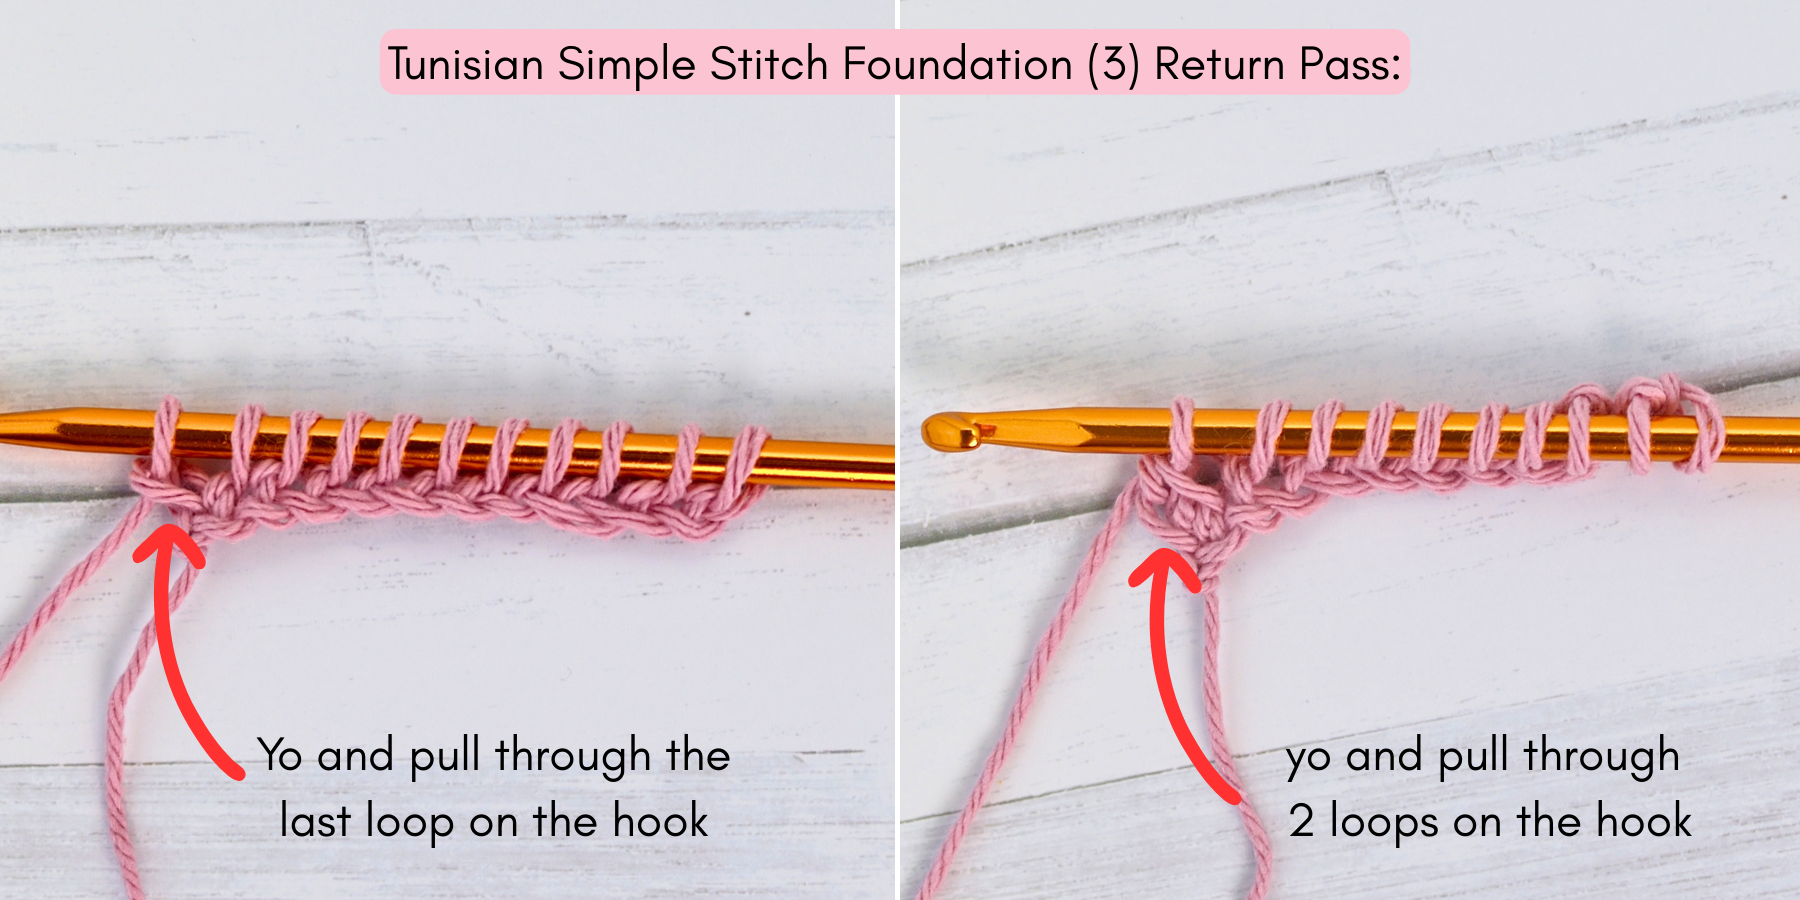
Yo and pull through the last loop on the hook. Next, * yo and pull through two loops on the hook. Repeat from * to the end of a row losing all loops from the hook except the last one.
These steps (return pass) will be the same for all rows when we move backwards. First, we will yo and pull thought one loop on the hook only, and then yo and pull through 2 loops till the end of the row. This one loop at the beginning when moving backwards gives a hight to the new row, so it’s a basically works as a turning chain of a row.
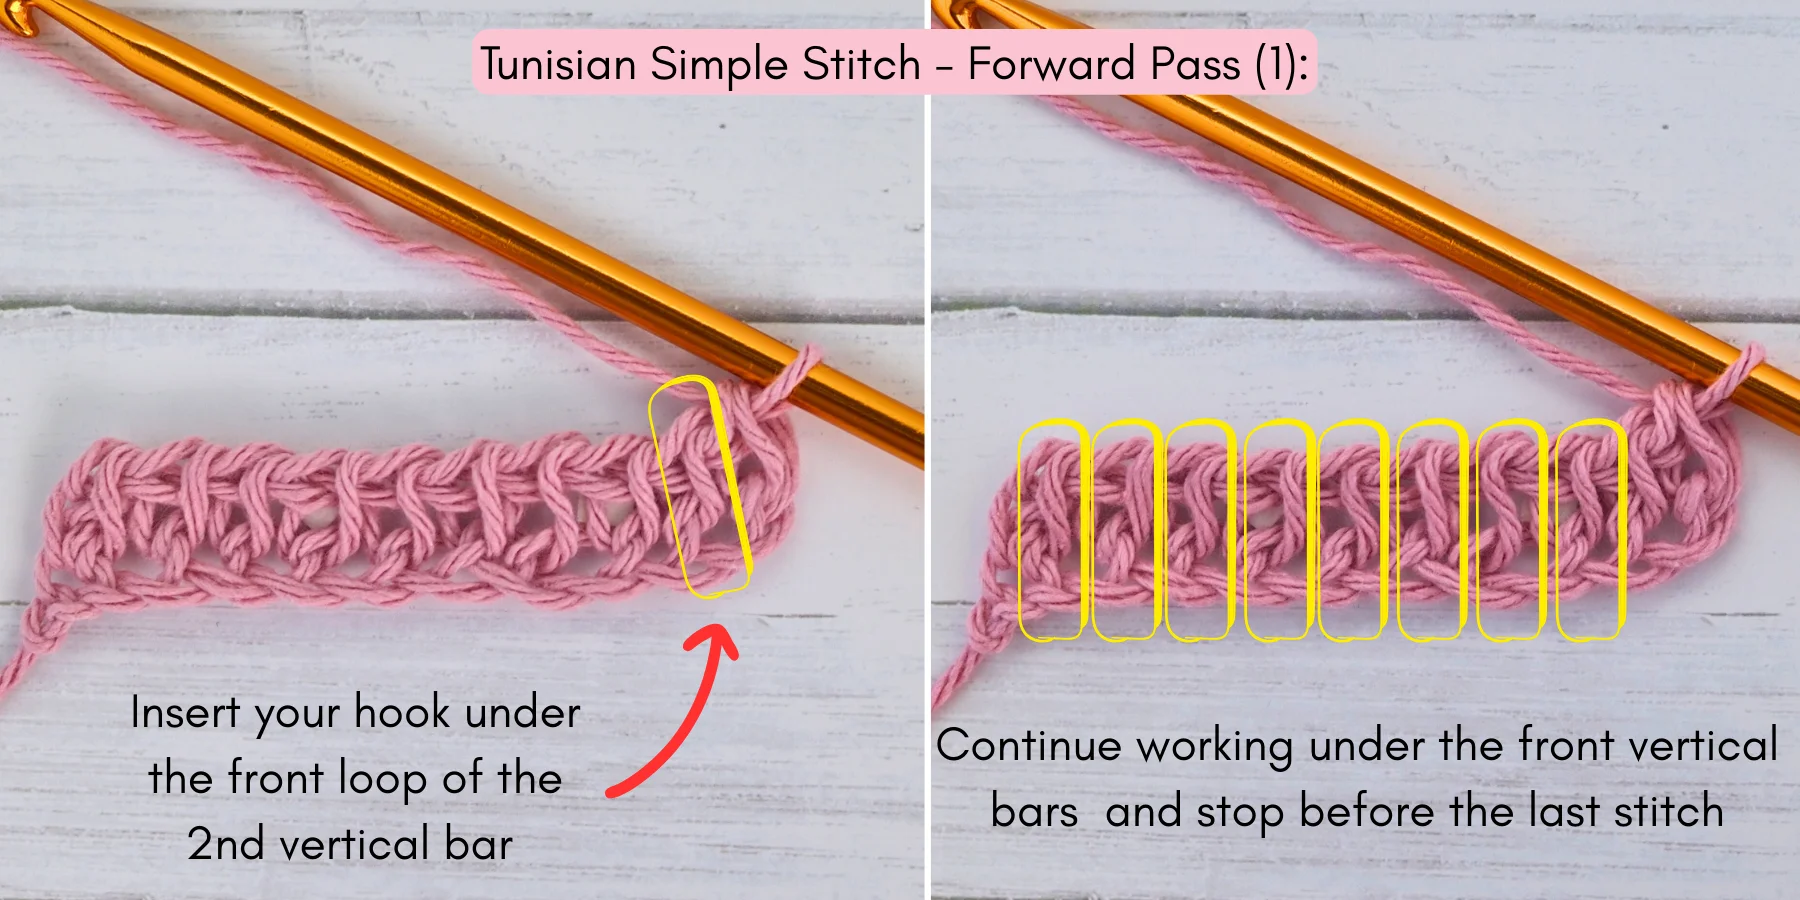
Step 2: First row of TSS: Forward pass
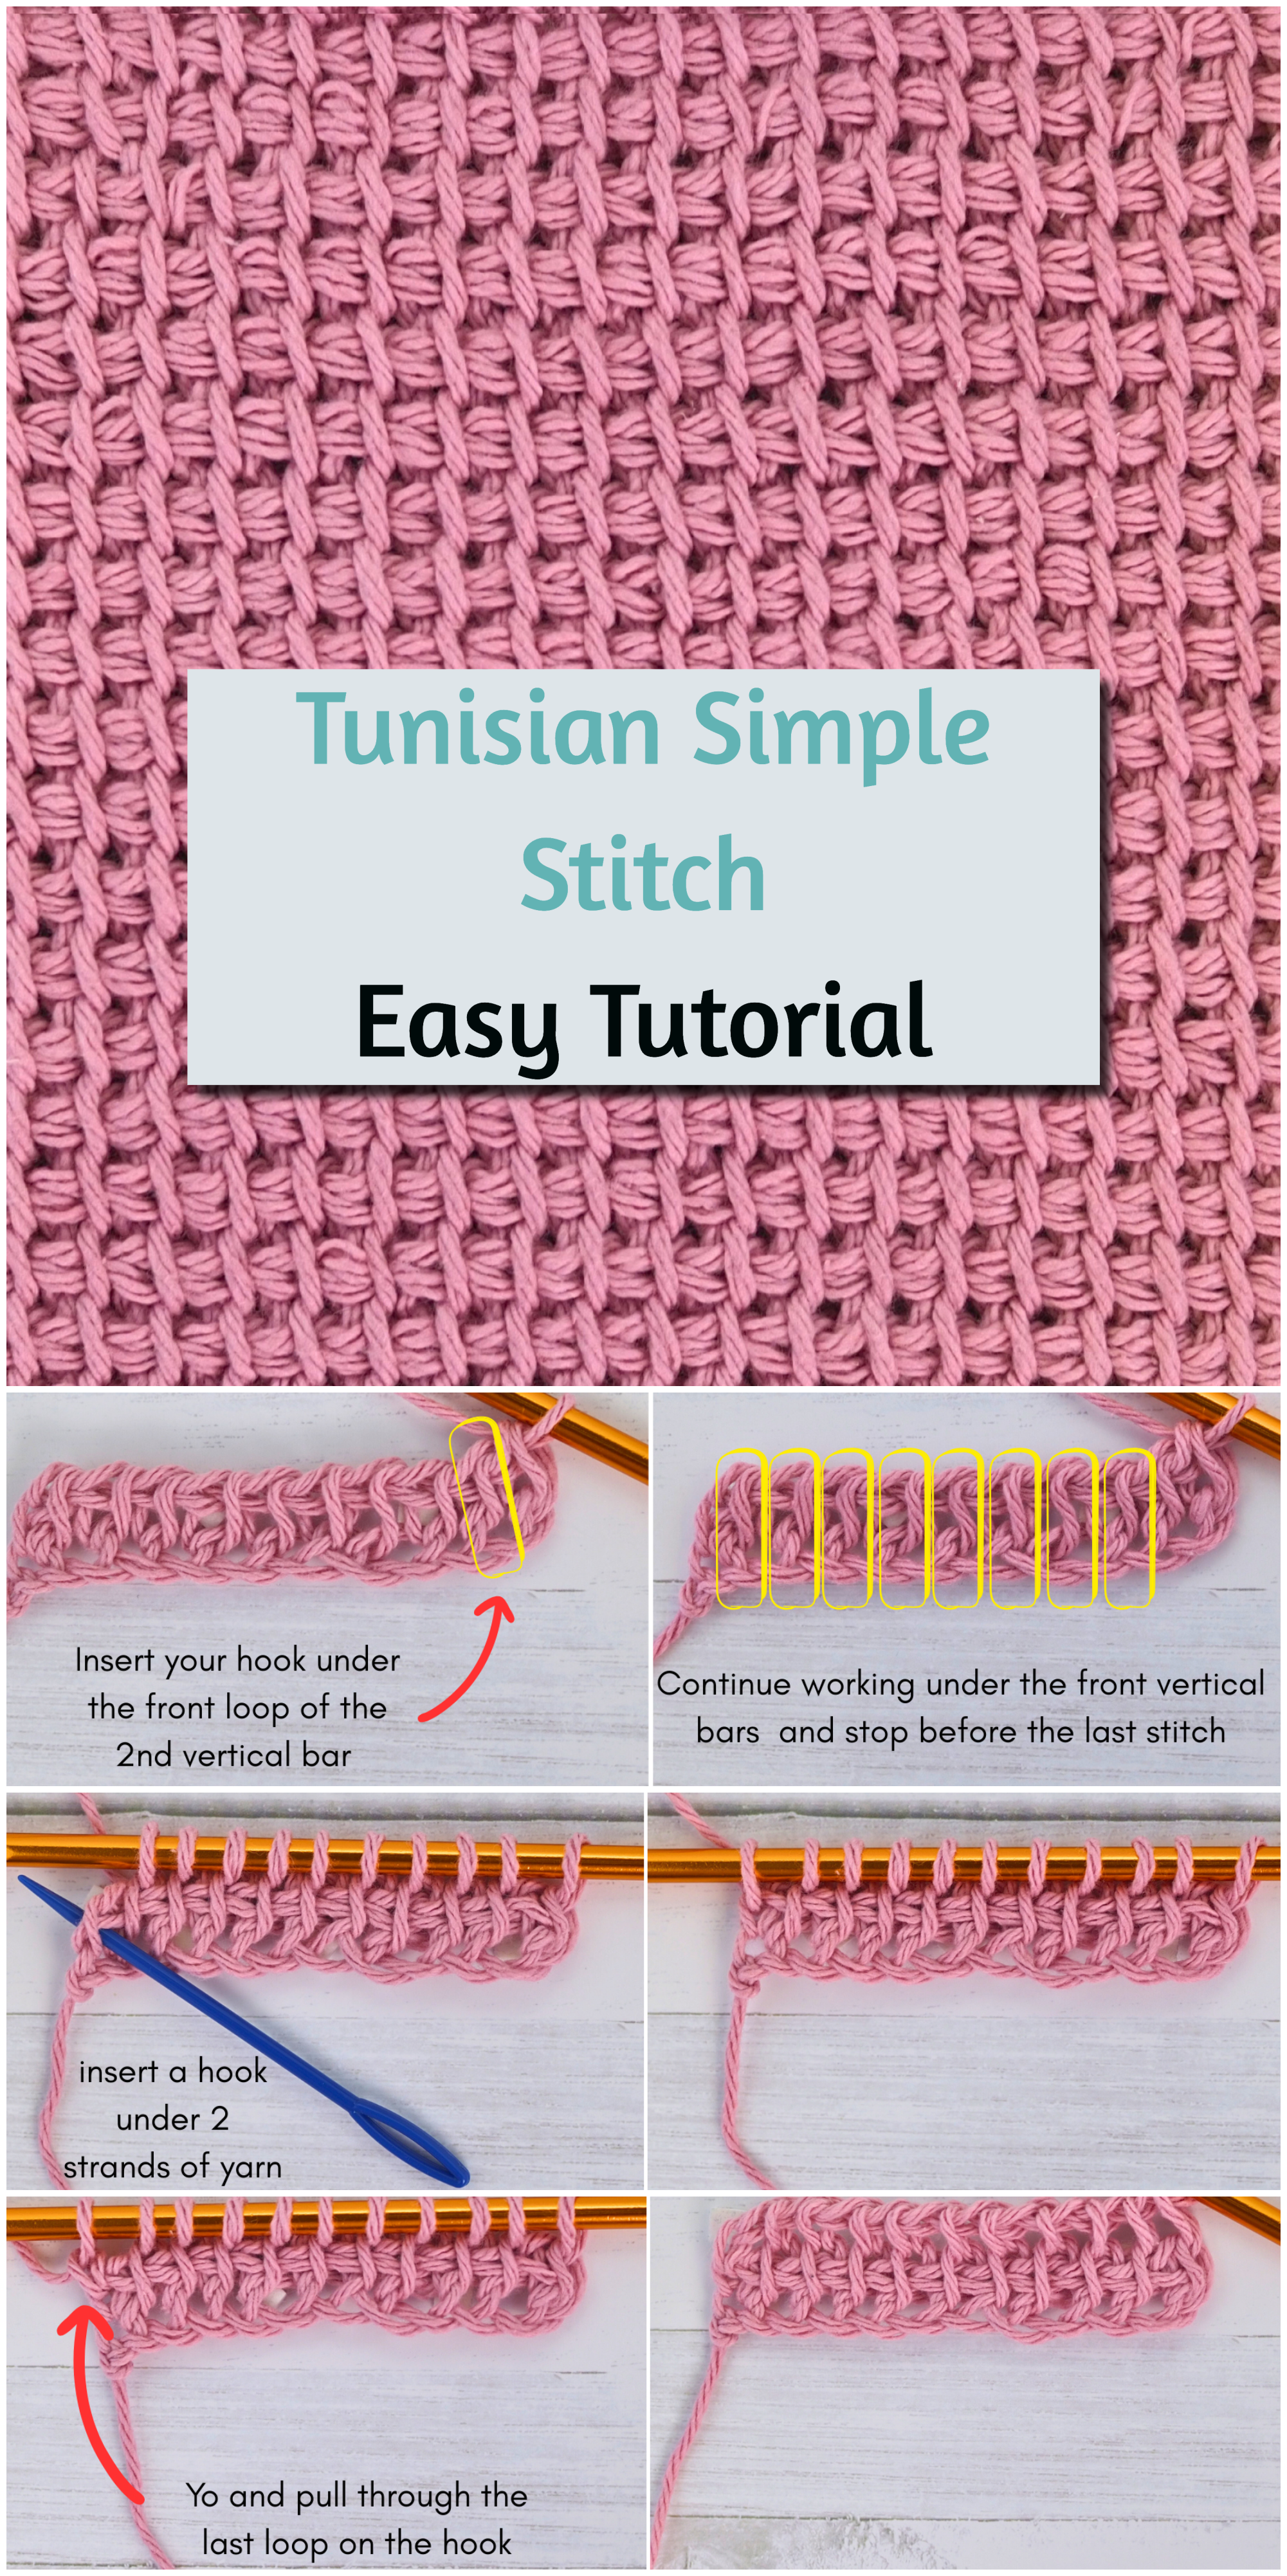
To start *Insert your hook under the front loop of a second vertical bar created in the row beneath. Yarn over, and pull up a loop. Continue from * across the row.
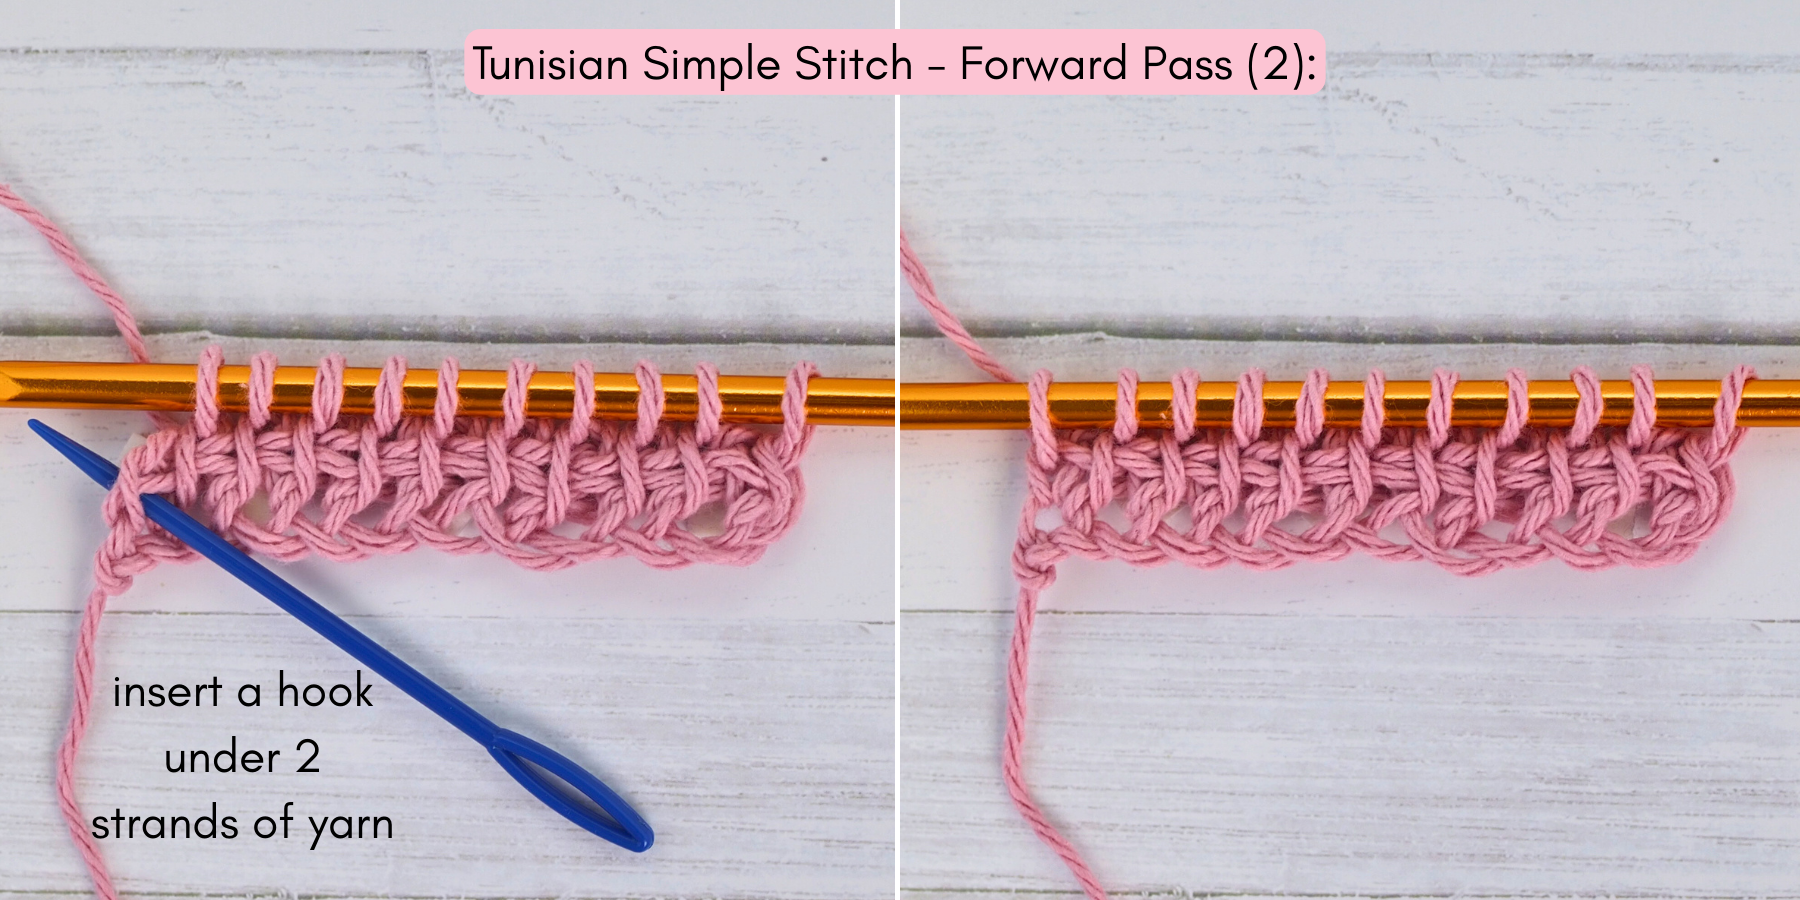
To get a nice even edge, insert your hook in the last loop under 2 strands of yarn instead of one as you can see on the photo below. Place to insert your hook is marked by blue needle. Yo and pull up a loop.
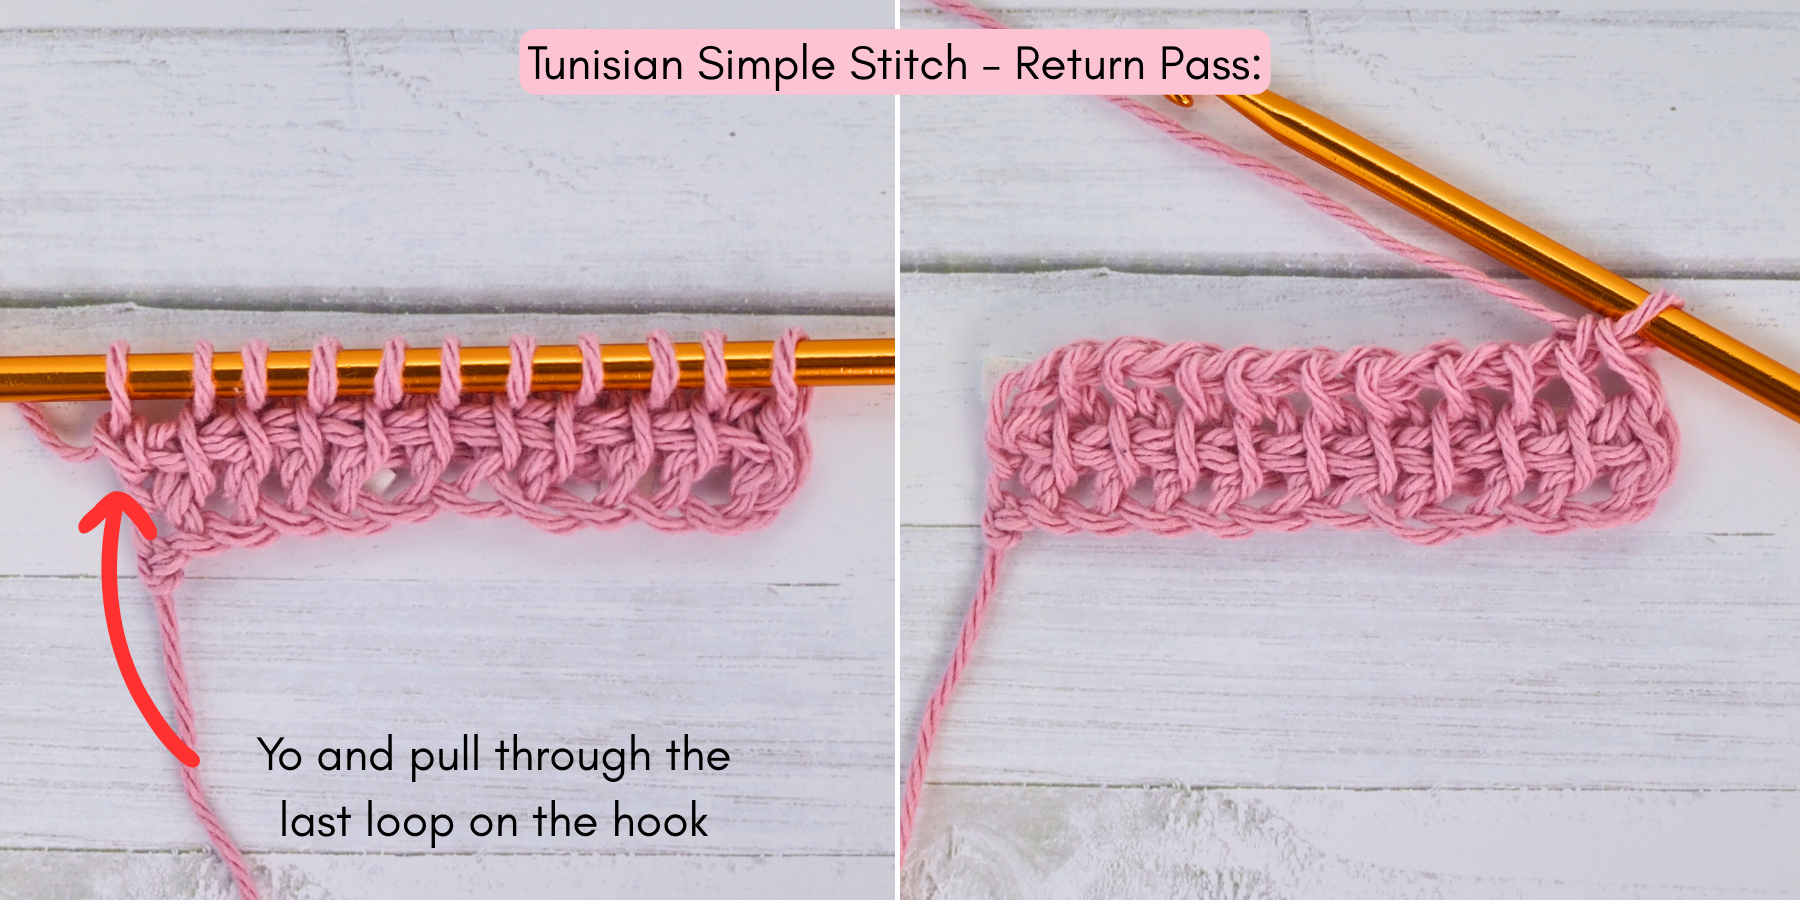
Step 3: First row of TSS: Return pass
Yo and pull through the last loop on the hook. Next, * yo and pull through 2 loops on the hook. Repeat from * to the end of a row when only one loop will be left on the hook.
Step 4: Next rows of TSS
Continue working the forward pass and a return pass, as described in Steps 2 and 3, until you have the desired number of rows.
Step 5: Bind off – The last row of TSS
Binding off a Tunisian crochet project is similar to slip stitching.
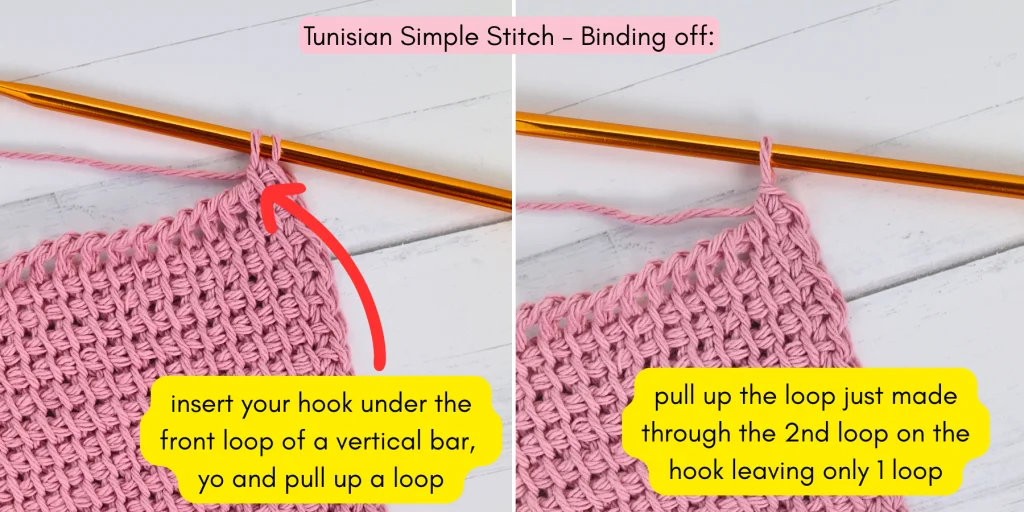
To finish the last row of TSS, *insert your hook under the front loop of a vertical bar, yo and pull up a loop (2 loops on the hook). Then pull up the loop just made through the second loop on the hook leaving only 1 loop on the hook. Repeat from * to the end of a row. Finish off.
How to Change Color of Yarn
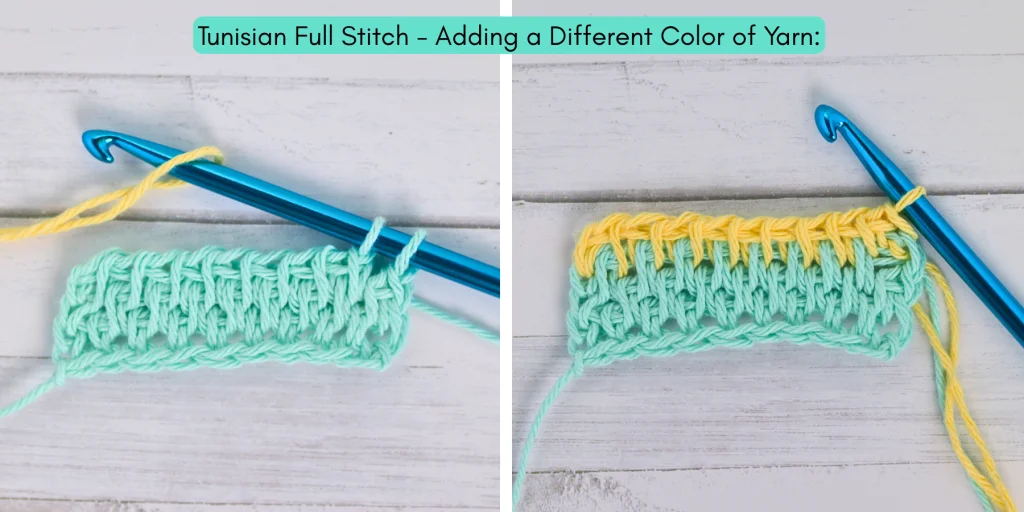
The best moment to add a new yarn color is usually at the end of the return pass (before you’re finishing off the last step of a stitch). Drop the old color (don’t cut it yet, unless you’re not coming back to it). Let it hang at the side of your work. Join the new yarn by placing it over your hook and pulling it through the last step of the stitch (or the final yarn over of the return pass). This secures the new color at the edge. Continue with a new yarn.
At the example you will find the Tunisian Full Stitch, but the method is the same for any basicTunisian crochet stitch.
Final Remarks
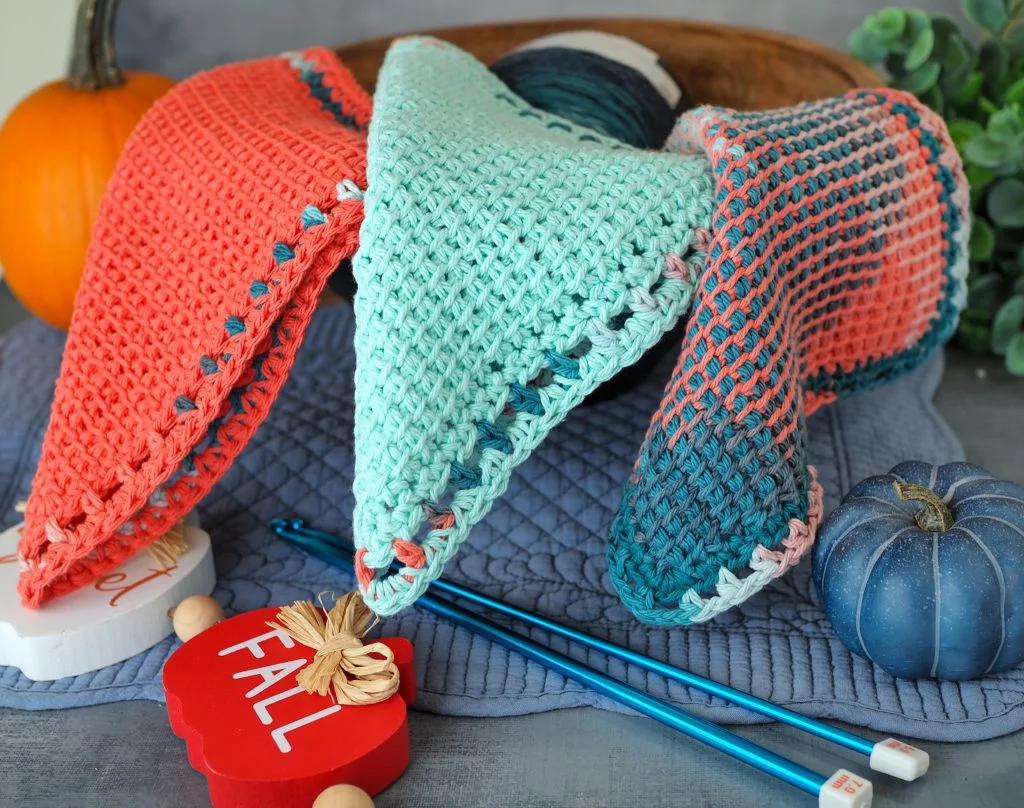
Practice the Tunisian Simple Stitch on a real pattern is a great way to build confidence and skill while creating something useful. Plus, you’ll end up with a beautiful handmade item instead of just a swatch!
You can combine stitches for added texture and function. For example, alternating Tunisian Simple Stitch with Extended Tunisian Simple Stitch allows you to highlight stitch patterns, balance dense and airy sections, or reduce curl.
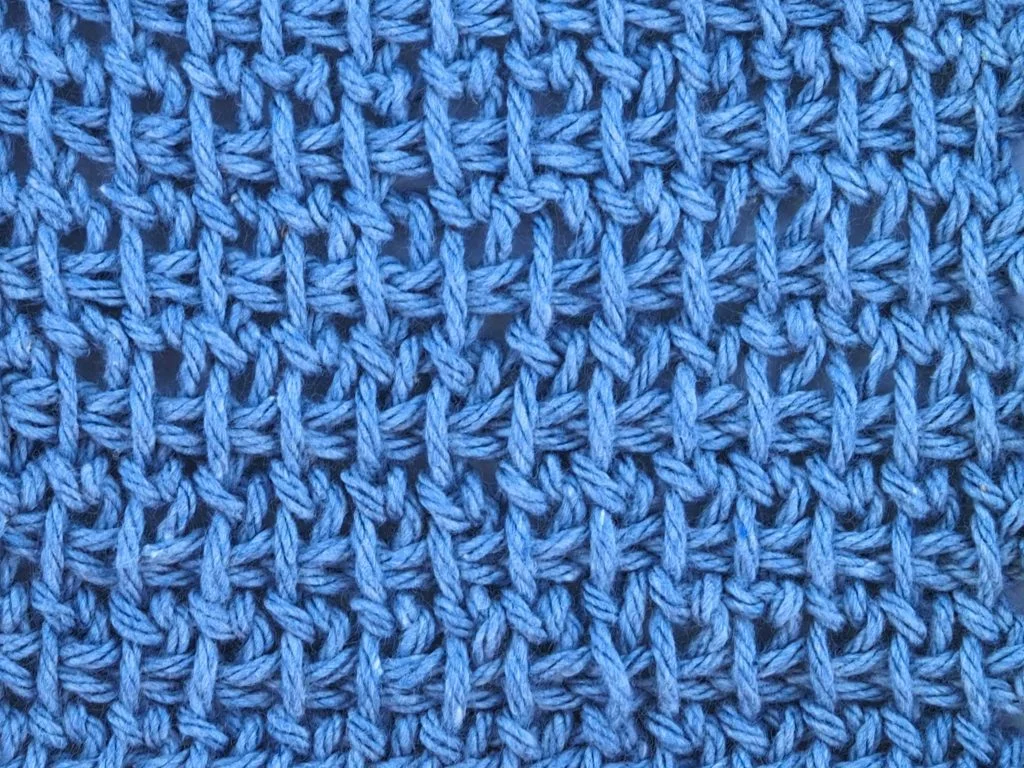
Grab a summary of a Extended Tunisian Simple Stitch technique in an easy to save Pin:
Thank you and see you in the next tutorial. And one more – I would love your feedback!


