In this article:

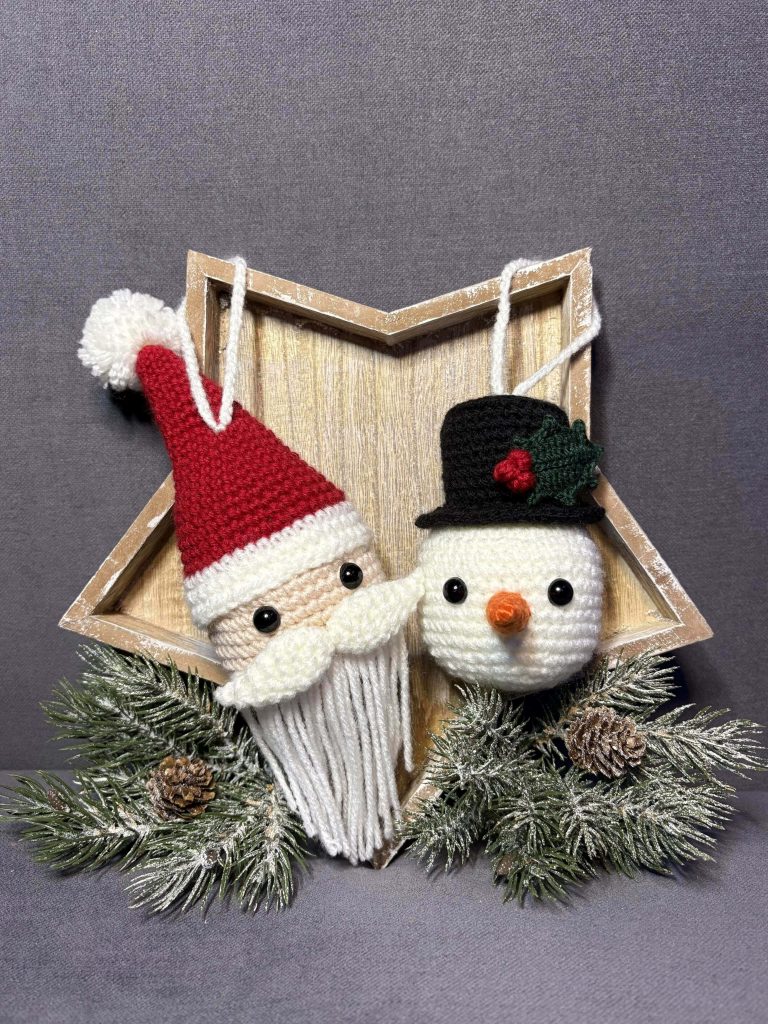
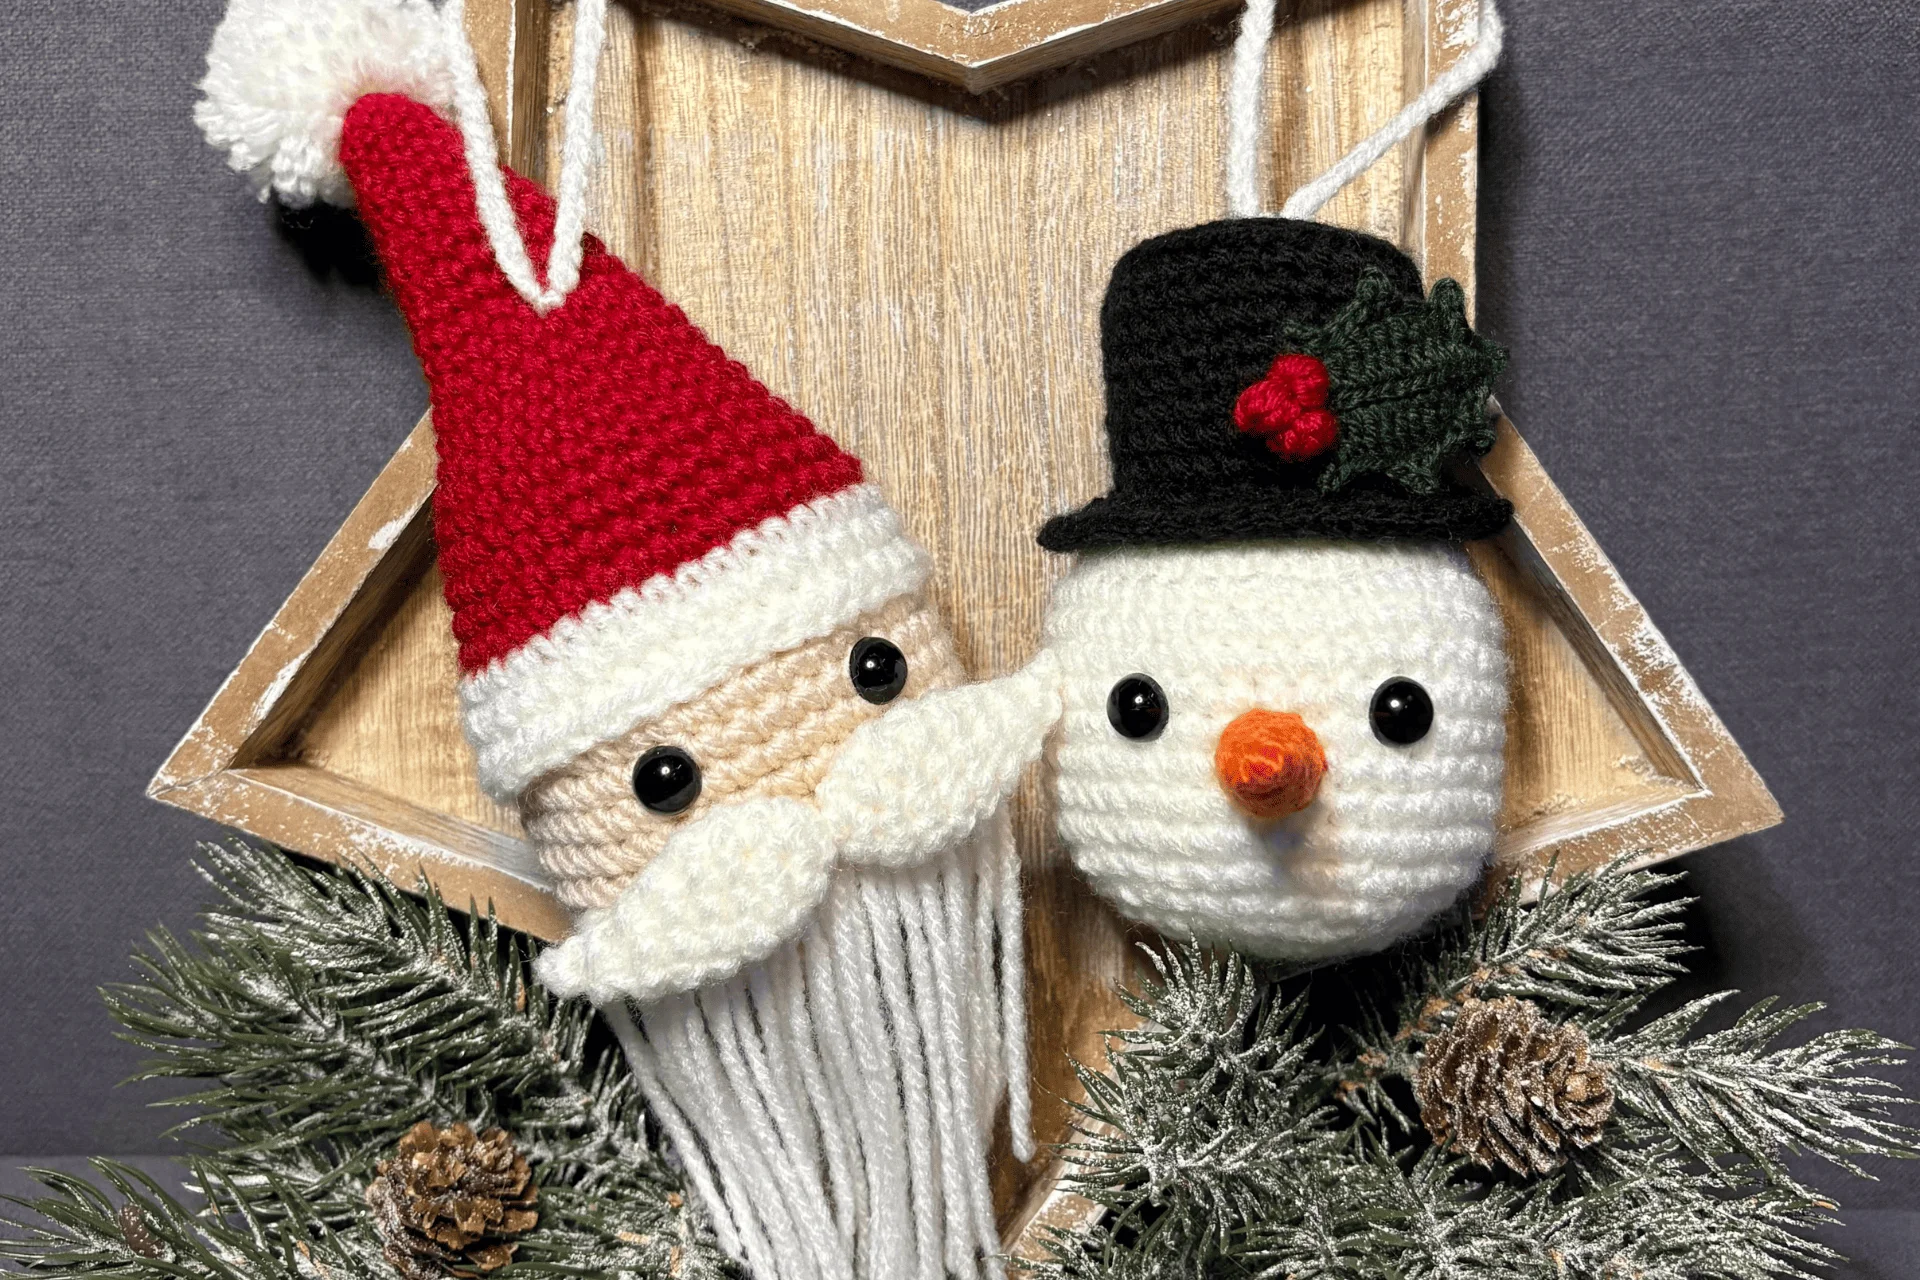
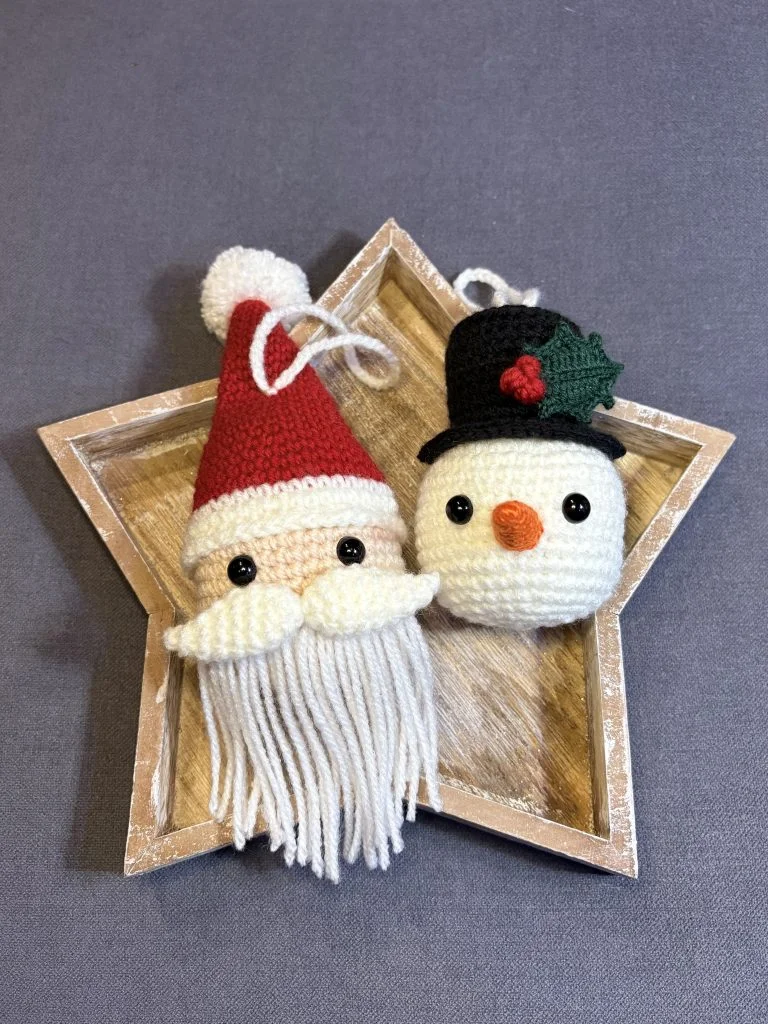
These small crochet ornaments are a fun and festive way to decorate your home for the holidays. The set includes two classic designs – a cheerful Santa Claus and a friendly snowman – both perfectly sized to hang on your Christmas tree, add to a garland, or use as handmade gift toppers. Each ornament is quick to make and works beautifully as part of your seasonal décor or as a thoughtful, handmade present.
The pattern is beginner-friendly and includes clear step-by-step instructions with detailed photos to guide you through every part of the process. Using simple stitches and basic shaping, you’ll be able to complete these ornaments easily, even if you’re new to crochet. They also make great scrap yarn projects — try different colors and textures for a unique set each year.
Whether you’re looking to personalize your tree, create small gifts, or just enjoy a relaxing holiday project, these Santa and Snowman ornaments are a quick, festive, and rewarding make for the Christmas season.
In this post, you will find a free crochet pattern for the Christmas Ornaments. Don’t forget to also check our Complete Guide to Free Crochet Winter Patterns.
The easily printable Christmas Ornaments PDF version is available in our shop:
This free crochet pattern was designed exclusively for Your Crochet by Weronika Miechowicz.
About the Author
Weronika has a real passion for crocheting and enjoys creating patterns that reflect her love for handmade, seasonal projects. She shares her designs to inspire others to pick up their hooks and make something fun for themselves, their homes or gifts for their loved ones.
Ravelry | Etsy | YourCrochet Shop

Pattern Notes
This is a beginner-friendly crochet pattern, and I’m using US terms.
Materials and Tools
- Fine weight yarn: beige, white, red, black, orange
- Super fine weight yarn: green, red
- crochet hook: 3 mm, 2.5 mm
- stitch markers
- tapestry needle
- scissors
- stuffing
- 4x plastic eyes
Measurements
- HEIGHT: Snowman – 11 cm / 4.3″ Santa Claus – 17 cm / 6.7″
- WIDTH: Snowman – 8 cm / 3.1″ Santa Claus – 8 cm / 3.1″
Stitches and Abbreviations
- rnd – round
- st(s) – stitch(es)
- sc – single crochet
- hdc – half double crochet
- dc – double crochet
- tr – treble crochet
- ch – chain(s)
- slst – slip stitch
- inc – increase
- dec – decrease
- MR – magic ring
- scBLO – single crochet back loop only
- picot
- bobble stitch
Notes:
- This pattern contains 2 Christmas ornaments tutorials – Santa Claus & Snowman.
- You can use your own colors of yarn to make them more personalized.
- You can easily change the size of your ornaments by using different yarn weight and hook.
Christmas Ornaments Free Crochet Pattern
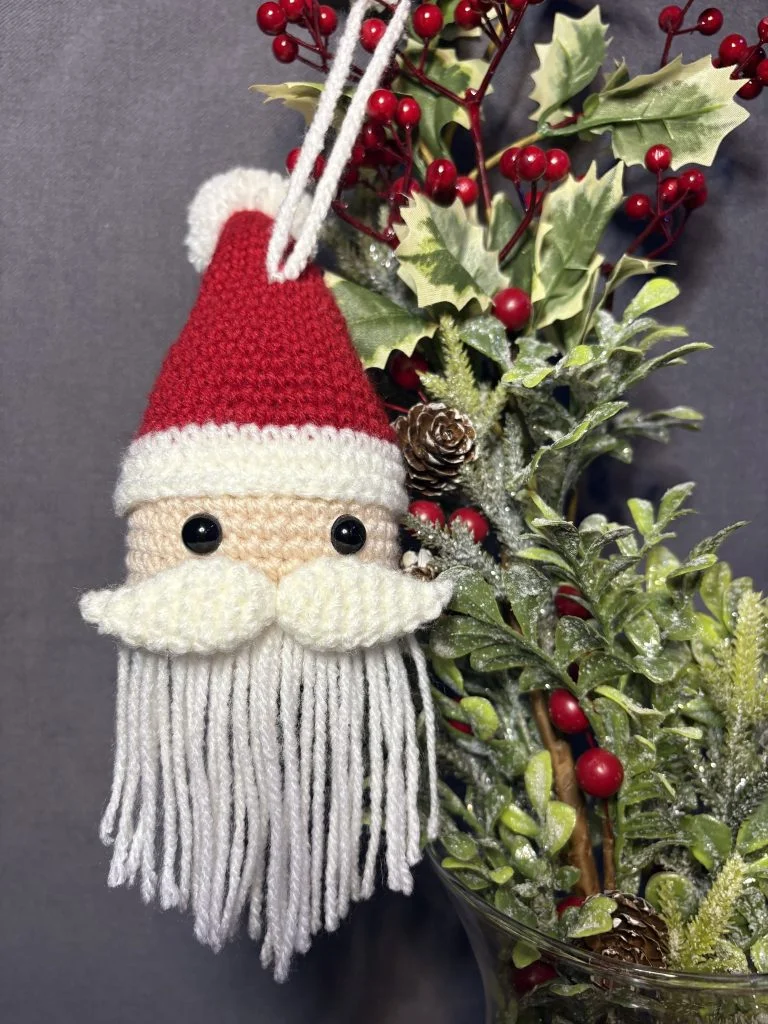
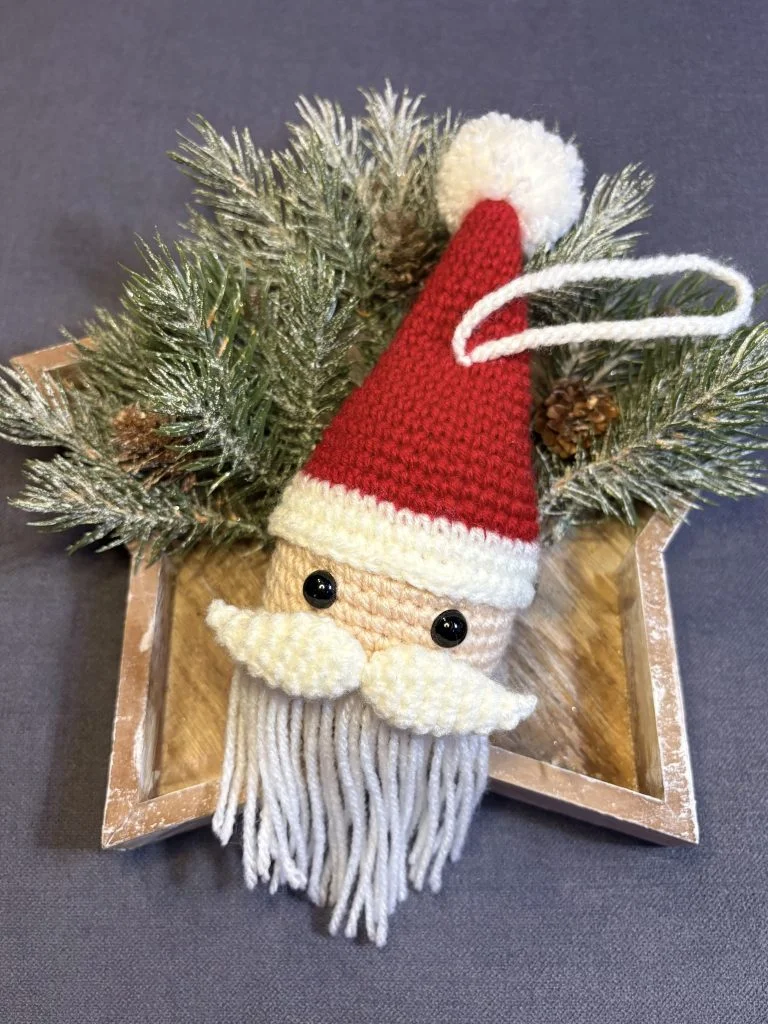
Santa Claus
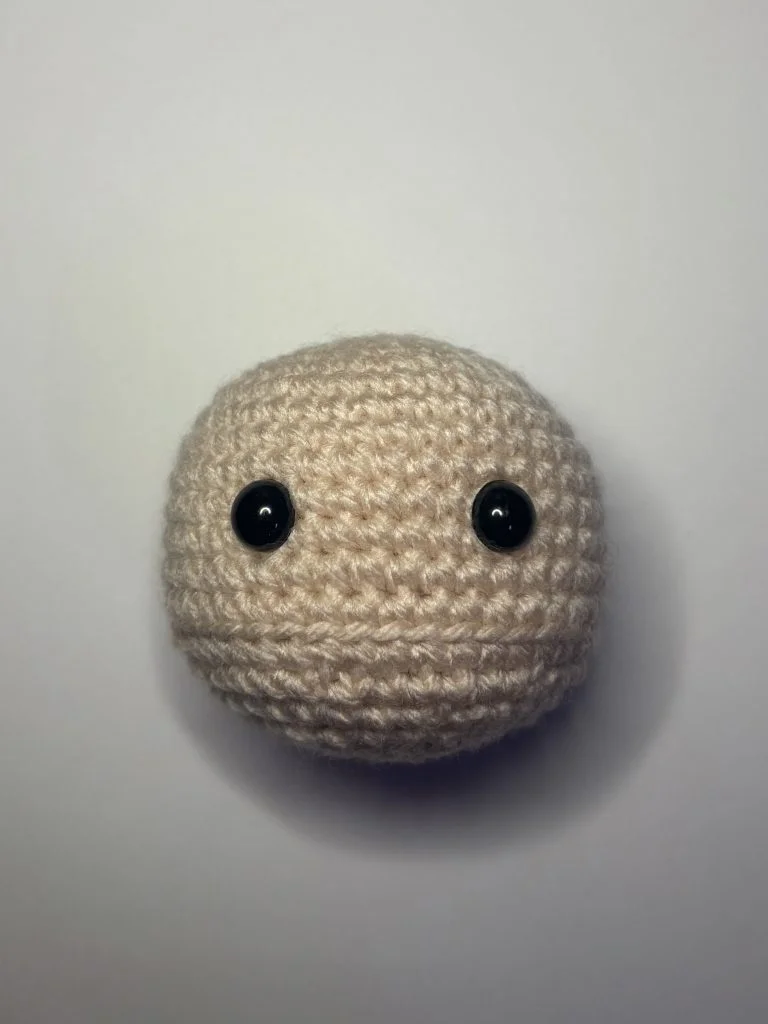
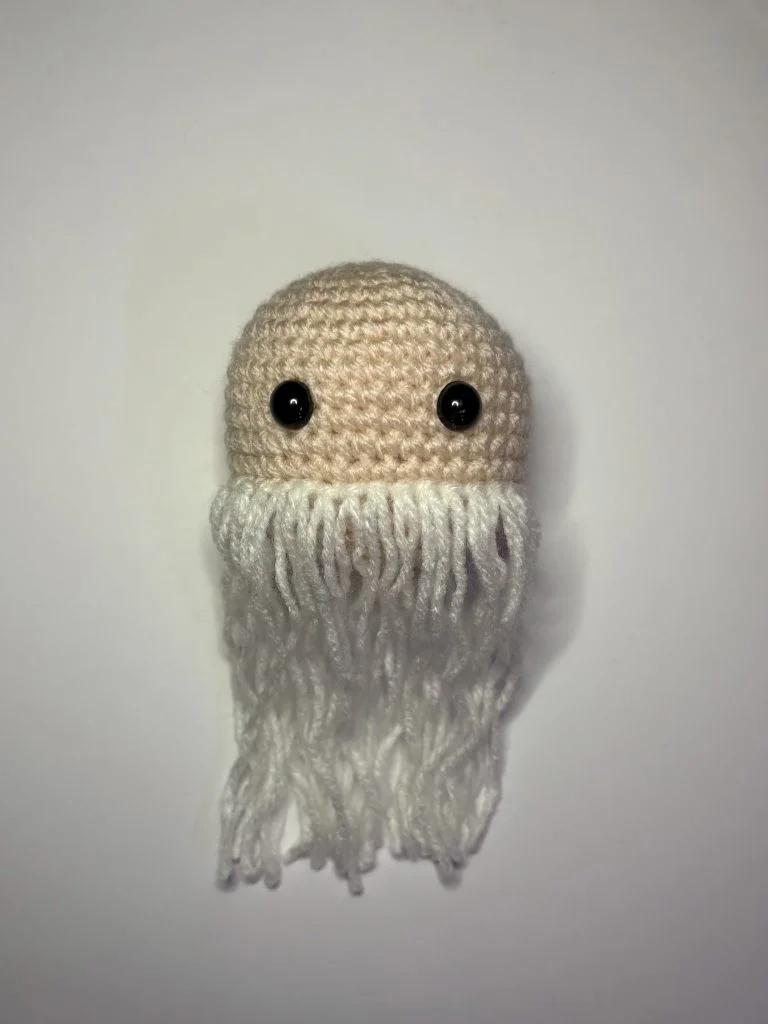
Head
Using beige yarn:
Rnd 1: 6 sc in MR (6)
Rnd 2: inc 6 (12)
Rnd 3: (sc, inc) 6x (18)
Rnd 4: (sc 2, inc) 6x (24)
Rnd 5: sc, (inc, sc 3) 5x, inc, sc 2 (30)
Rnd 6: (sc 4, inc) 6x (36)
Rnd 7: sc 2, (inc, sc 5) 5x, inc, sc 3 (42)
Rnd 8-14: sc 42 (42)
Rnd 15: sc 13, scBLO 16, sc 13 (42)
Rnd 16: (sc 5, dec) 6x (36)
Rnd 17: sc 2 (dec, sc 4) 5x, dec, sc 2 (30)
Rnd 18: (sc 3, dec) 6x (24)
Place the eyes between rows 11 and 12, approximately 7 sts away from each other.
Stuff the head.
Rnd 19: (sc 2, dec) 6x (18)
Rnd 20: (sc, dec) 6x (12)
Rnd 21: dec 6 (6)
Cut off the yarn and close the hole by using a needle.
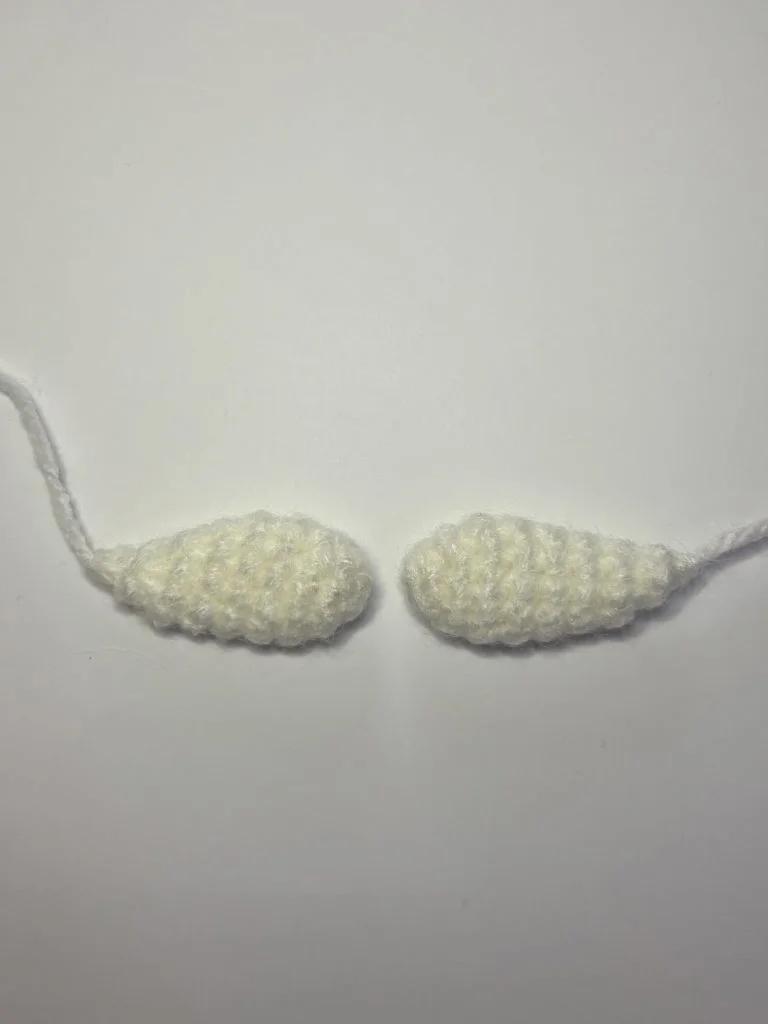
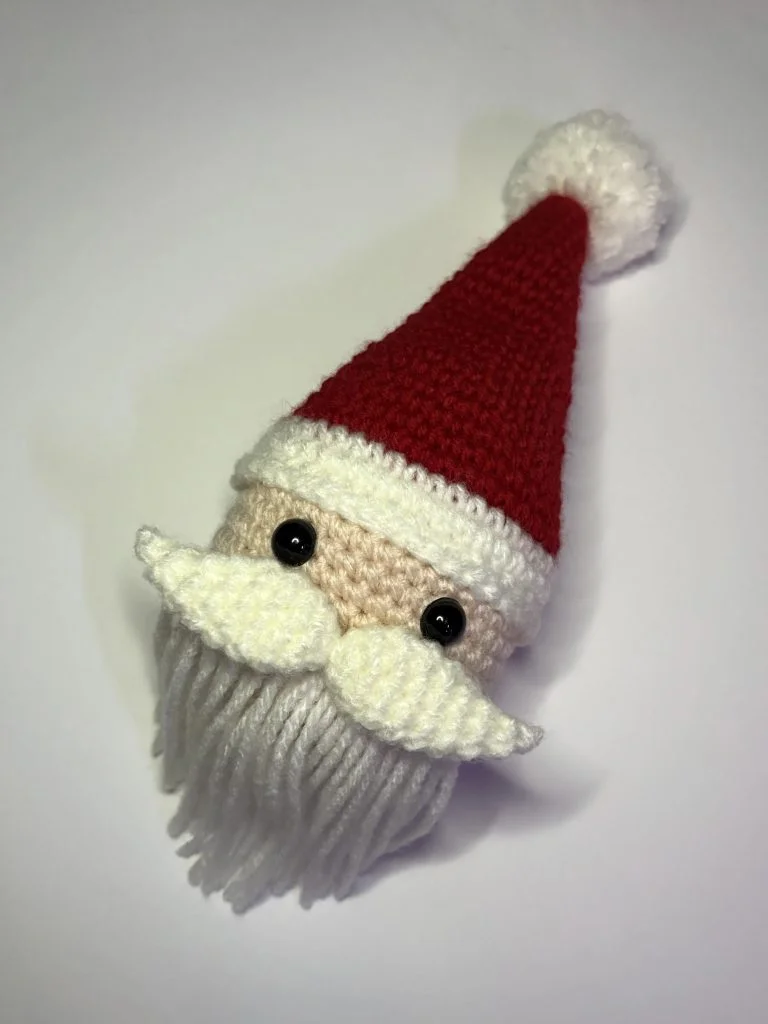
Moustache x2
Using white yarn:
Rnd 1: 6 sc in MR (6)
Rnd 2: (sc 2, inc) 2x (8)
Rnd 3: (sc 3, inc) 2x (10)
Rnd 4: sc 10 (10)
Rnd 5: dec, sc 8 (9)
Rnd 6: dec, sc 7 (8)
Rnd 7: dec, sc 6 (7)
Rnd 8: dec 3, sc (4)
Cut off the yarn and close the hole by using a needle. Leave a longer piece for sewing later.
The easily printable Christmas Ornaments PDF version is available in our shop:
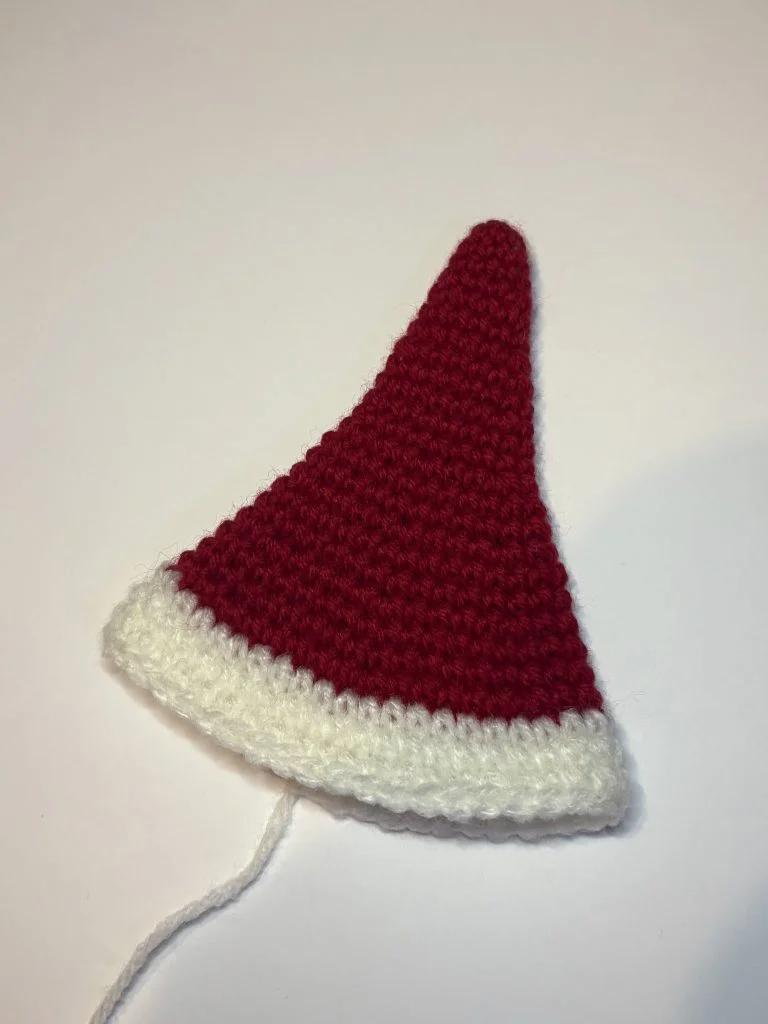
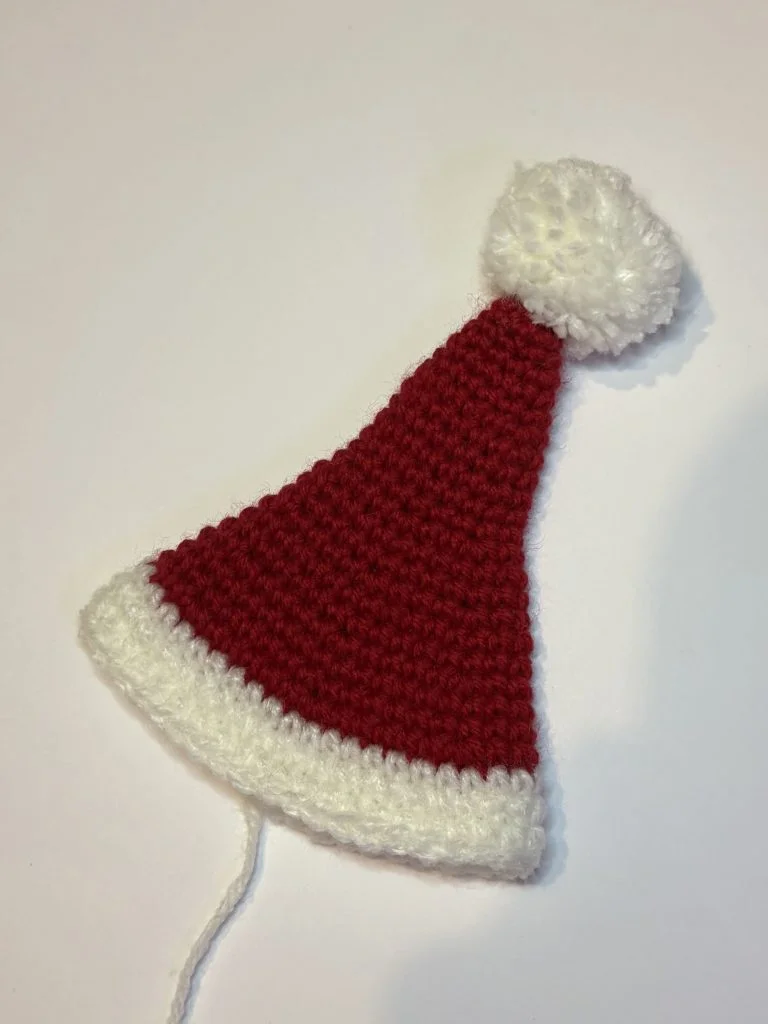
Hat
Using red yarn:
Rnd 1: 6 sc in MR
Rnd 2: (sc, inc) 3x (9)
Rnd 3-4: sc 9 (9)
Rnd 5: (sc 2, inc) 3x (12)
Rnd 6-7: sc 12 (12)
Rnd 8: (sc 3, inc) 3x (15)
Rnd 9-10: sc 15 (15)
Rnd 11: (sc 4, inc) 3x (18)
Rnd 12-13: sc 18 (18)
Rnd 14: (sc 2, inc) 6x (24)
Rnd 15-16: sc 24 (24)
Rnd 17: (sc 3, inc) 6x (30)
Rnd 18-19: sc 30 (30)
Rnd 20: (sc 4, inc) 6x (36)
Rnd 21-22: sc 36 (36)
Rnd 23: (sc 5, inc) 6x (42)
Switch to the white color.
Rnd 24-26: sc 42 (42)
Fasten off and cut the yarn, leaving a long piece for sewing later.
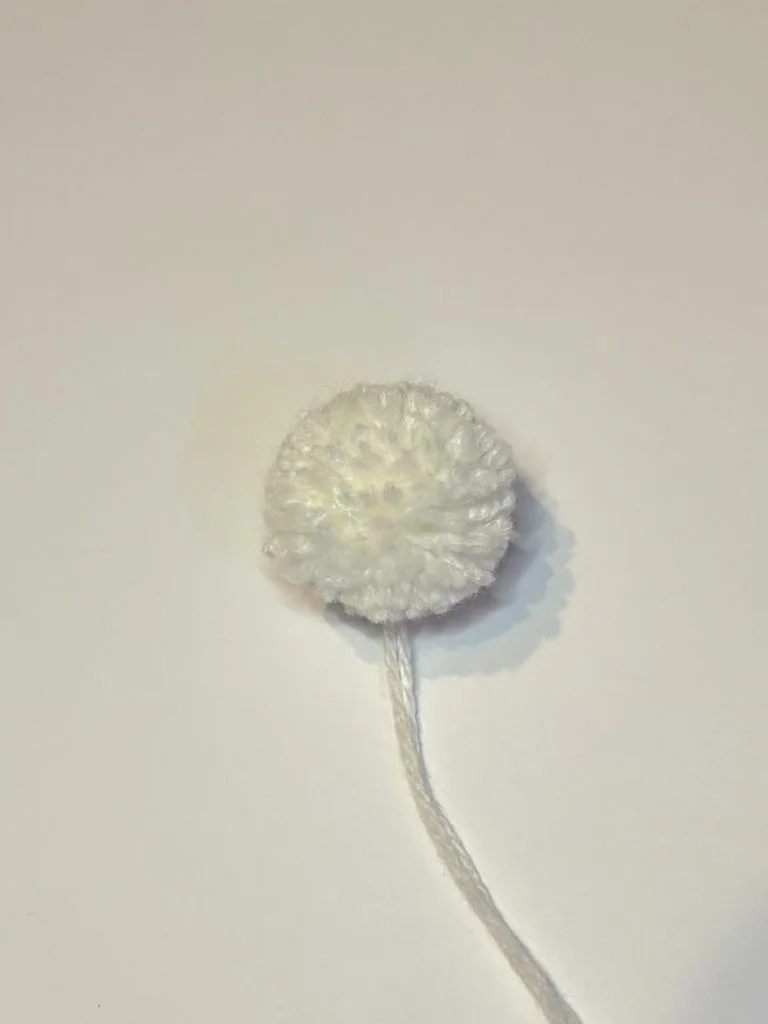
Pompom
To make a pompom I used a plastic pompom maker kit. You can find pompom tutorial on our website – Steps On How To Make A Pom Pom With Yarn to make it yourself. You can also buy a ready one.
Beard
Prepare 16 white yarn strings (20 cm each). Attach them to the front loops of the 15th row of the head. Cut the ends of the beard to make it look aesthetic.
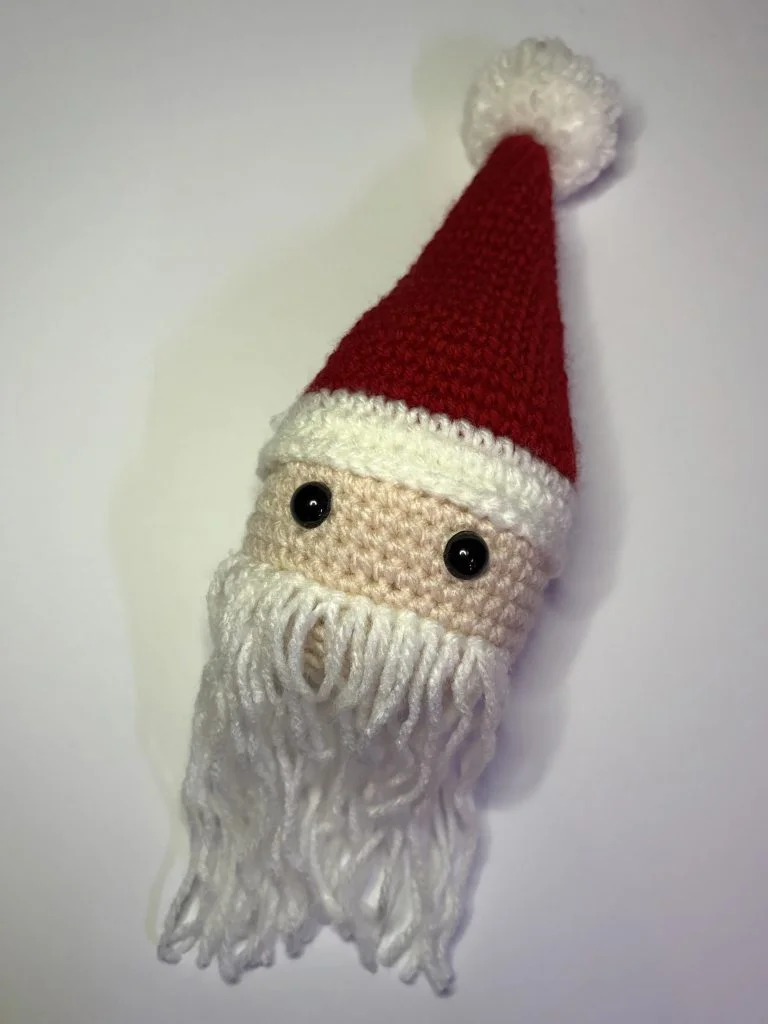
Assembling
- By using the needle, pull through the pompom’s strings on the top of the hat and tie them on the other side to secure it.
- Put some stuffing inside the hat. By using colorful pins, you can place the hat on the head and sew it slowly stitch by stitch, without it moving.
- Sew the moustache on the line between eyes and bread.
- To make a string for hanging the ornament: ch 50, fasten off and cut the yarn. Attach the string on the top of the Santa Claus and tie it to secure it.
The easily printable Christmas Ornaments PDF version is available in our shop:
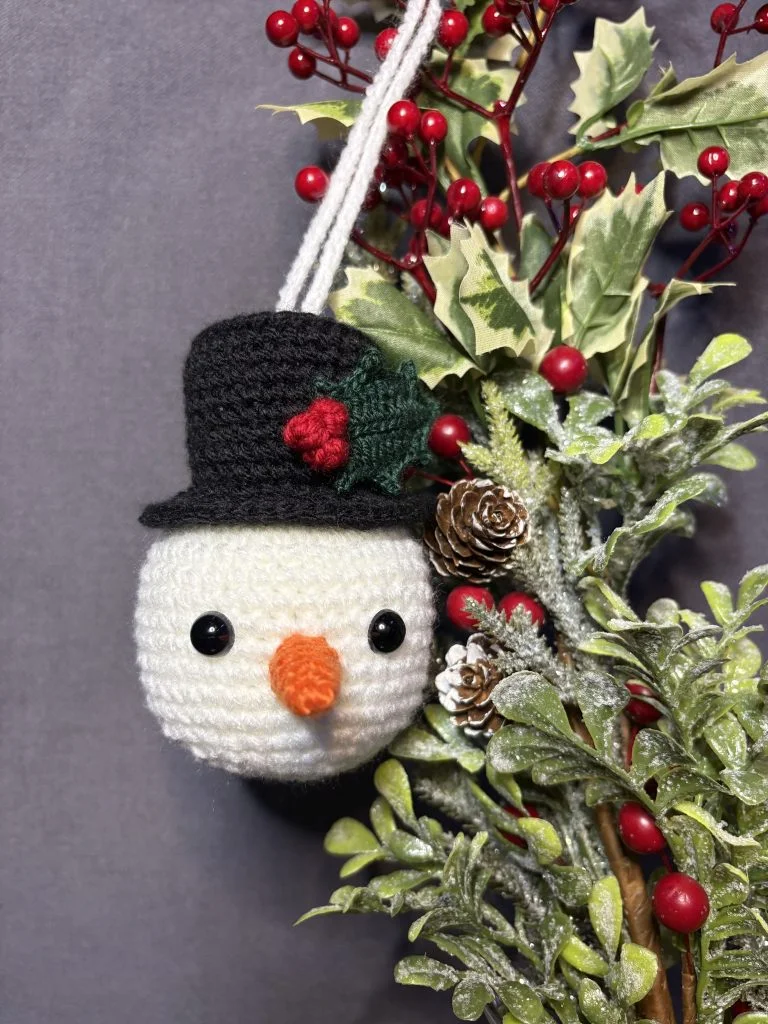
Snowman
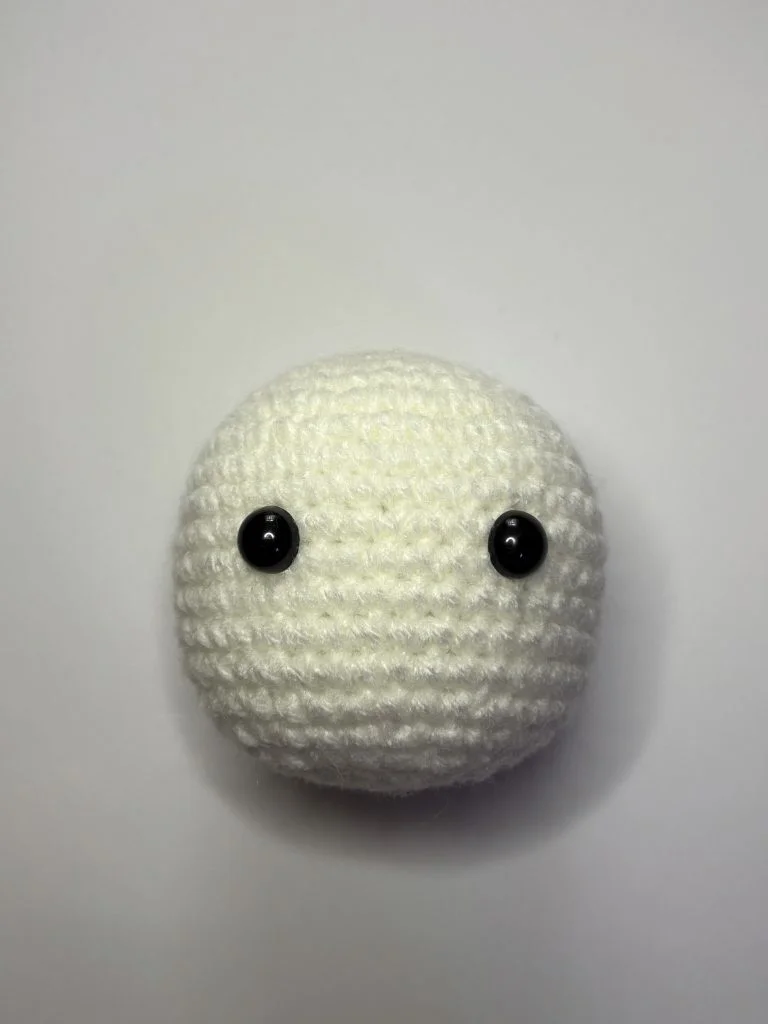
Head
Using white yarn:
Rnd 1: 6 sc in MR (6)
Rnd 2: inc 6 (12)
Rnd 3: (sc, inc) 6x (18)
Rnd 4: (sc 2, inc) 6x (24)
Rnd 5: sc, (inc, sc 3) 5x, inc, sc 2 (30)
Rnd 6: (sc 4, inc) 6x (36)
Rnd 7: sc 2, (inc, sc 5) 5x, inc, sc 3 (42)
Rnd 8-15: sc 42 (42)
Rnd 16: (sc 5, dec) 6x (36)
Rnd 17: sc 2 (dec, sc 4) 5x, dec, sc 2 (30)
Rnd 18: (sc 3, dec) 6x (24)
Place the eyes between rows 11 and 12, approximately 7 sts away from each other.
Stuff the head.
Rnd 19: (sc 2, dec) 6x (18)
Rnd 20: (sc, dec) 6x (12)
Rnd 21: dec 6 (6)
Cut off the yarn and close the hole by using a needle.
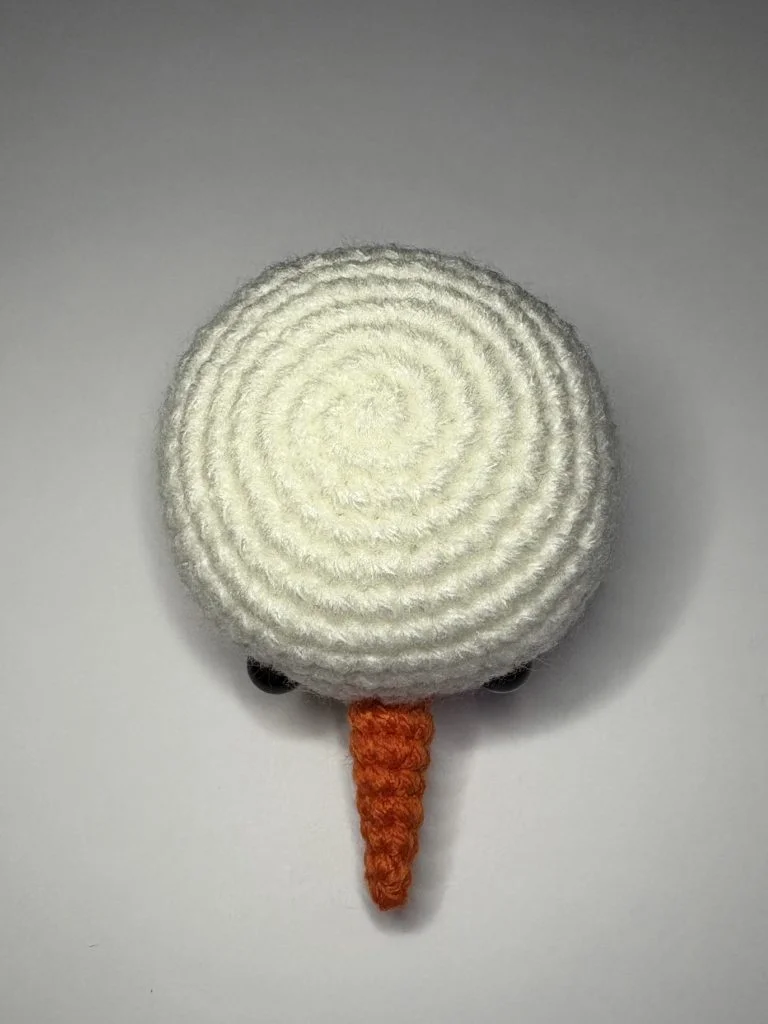
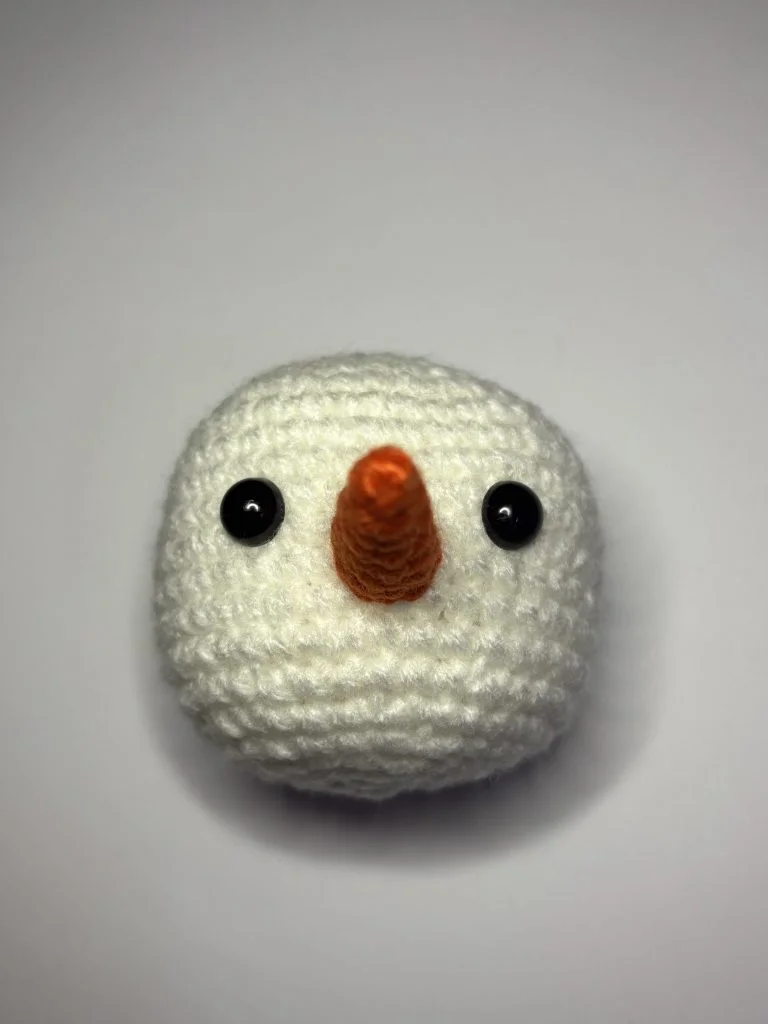
Nose
Using orange yarn:
Rnd 1: 4 sc in MR (4)
Rnd 2: (sc, inc) 2x (6)
Rnd 3: sc 6 (6)
Rnd 4: sc, inc, sc 2, inc, sc (8)
Rnd 5: sc 8 (8)
Rnd 6: (sc 3, inc) 2x (10)
Rnd 7: sc 10 (10)
Cut off the yarn leaving a long piece for sewing later.
The easily printable Christmas Ornaments PDF version is available in our shop:
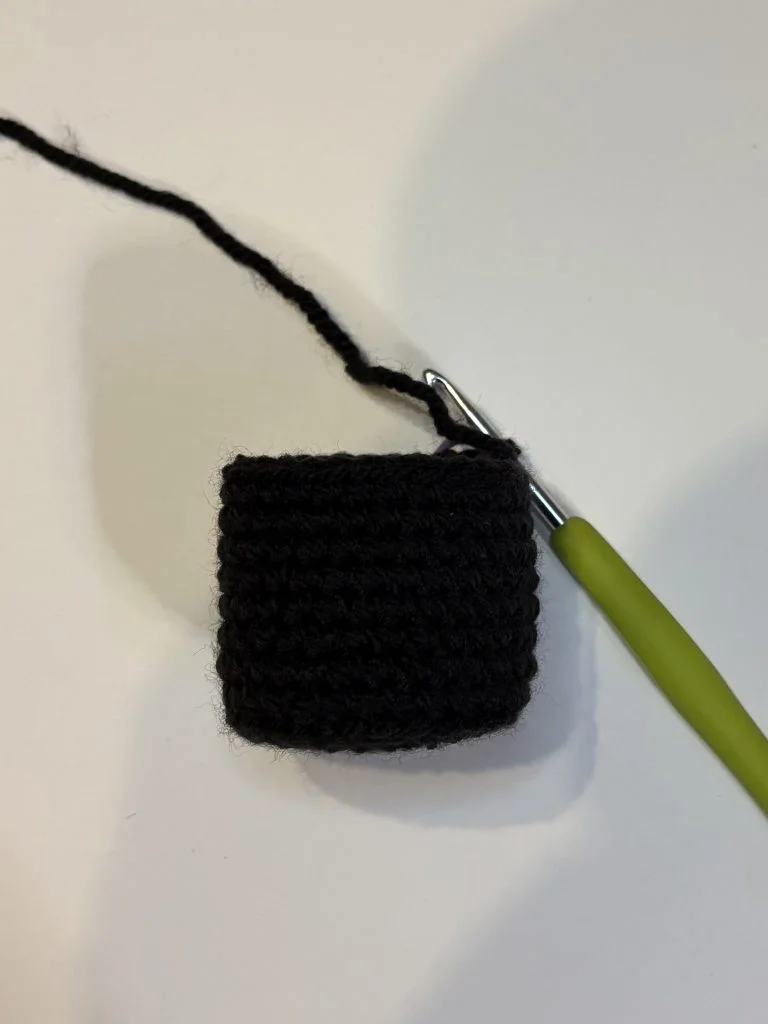
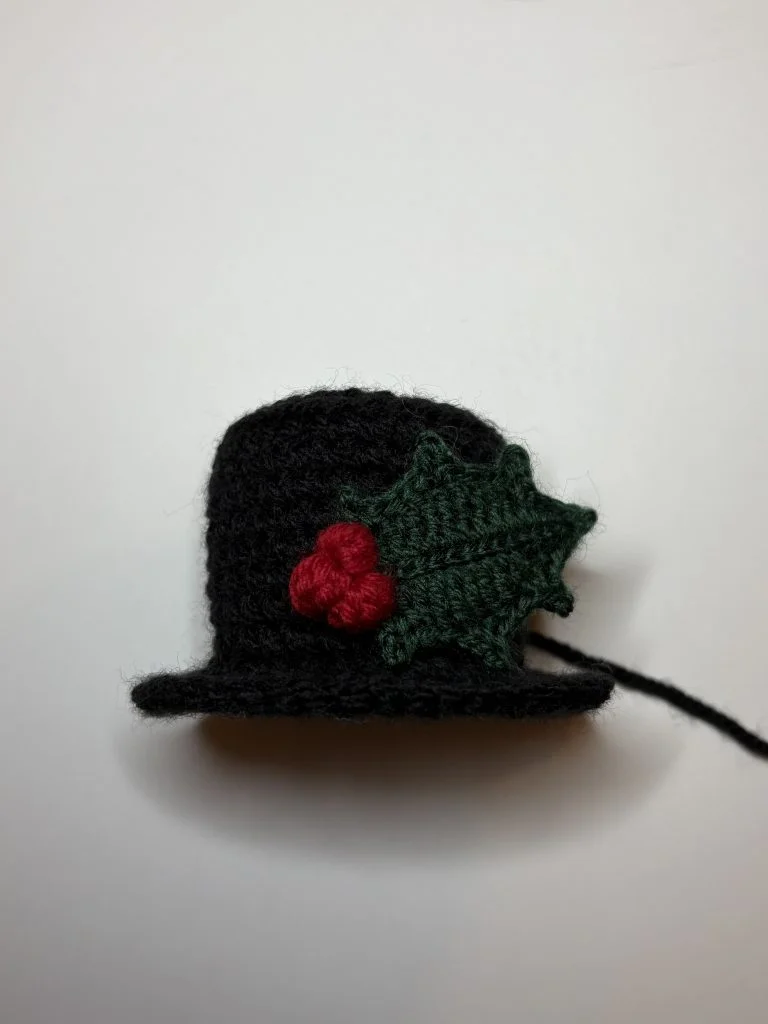
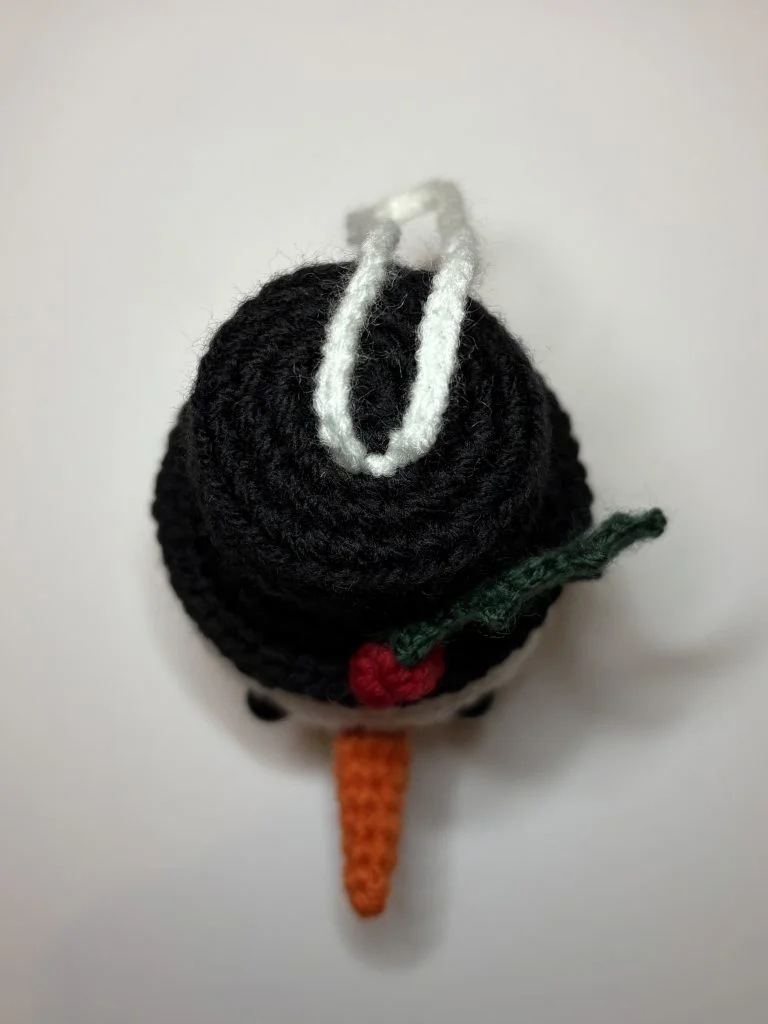
Hat
Using black yarn:
Rnd 1: 6 sc in MR (6)
Rnd 2: inc 6 (12)
Rnd 3: (sc, inc) 6x (18)
Rnd 4: sc, inc (sc 2, inc) 5x, sc (24)
Rnd 5: (sc 3, inc) 6x (30)
Rnd 6: scBLO 30 (30)
Rnd 7-13: sc 30 (30)
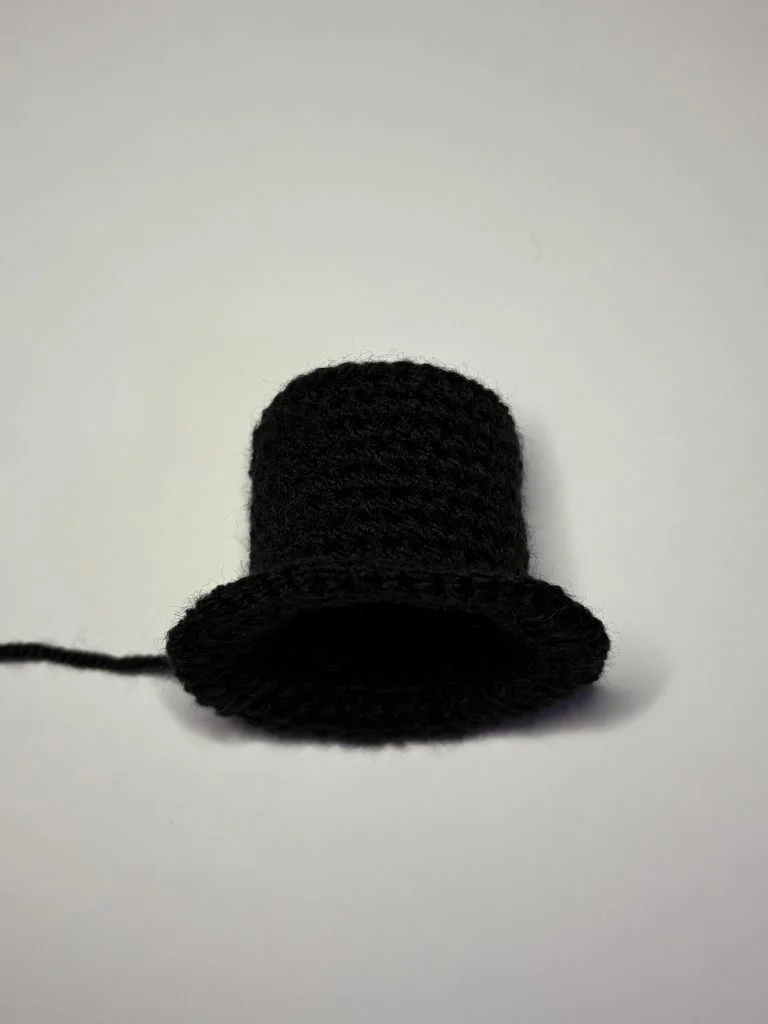
Rnd 14: (sc 4, inc) 6x (36)
Rnd 15: sc 2, inc (sc 5, inc) 5x, sc 3 (42)
Rnd 16: (sc 6, inc) 6x (48)
Slst 2, fasten off and cut the yarn leaving a longer piece for sewing later.
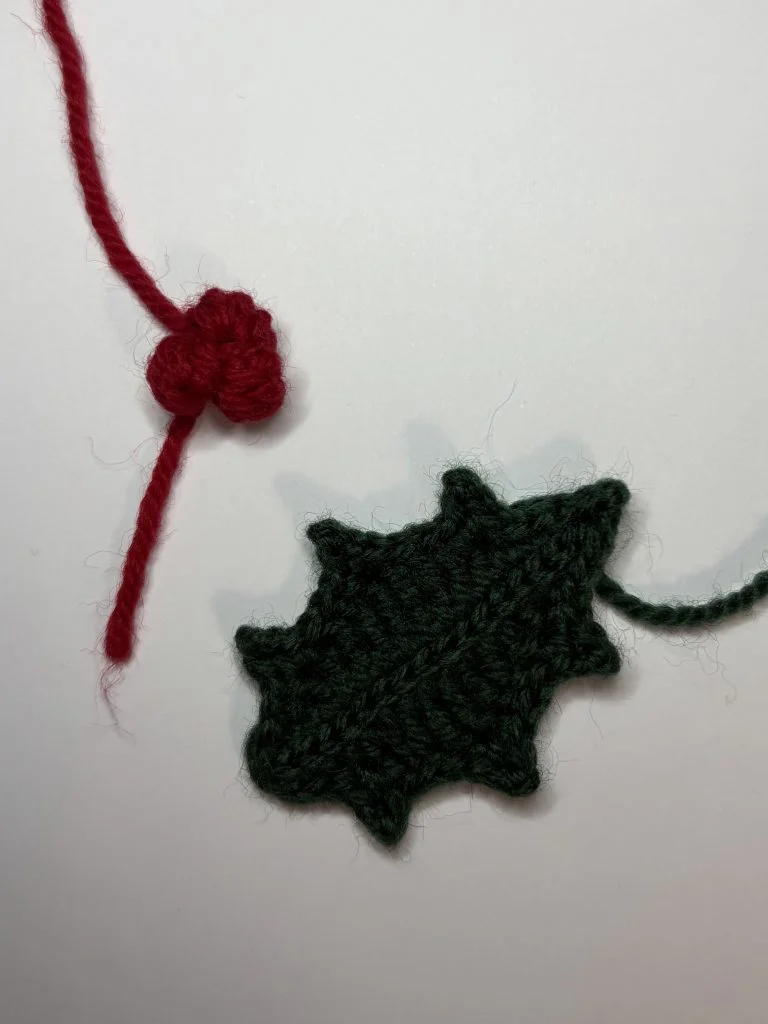
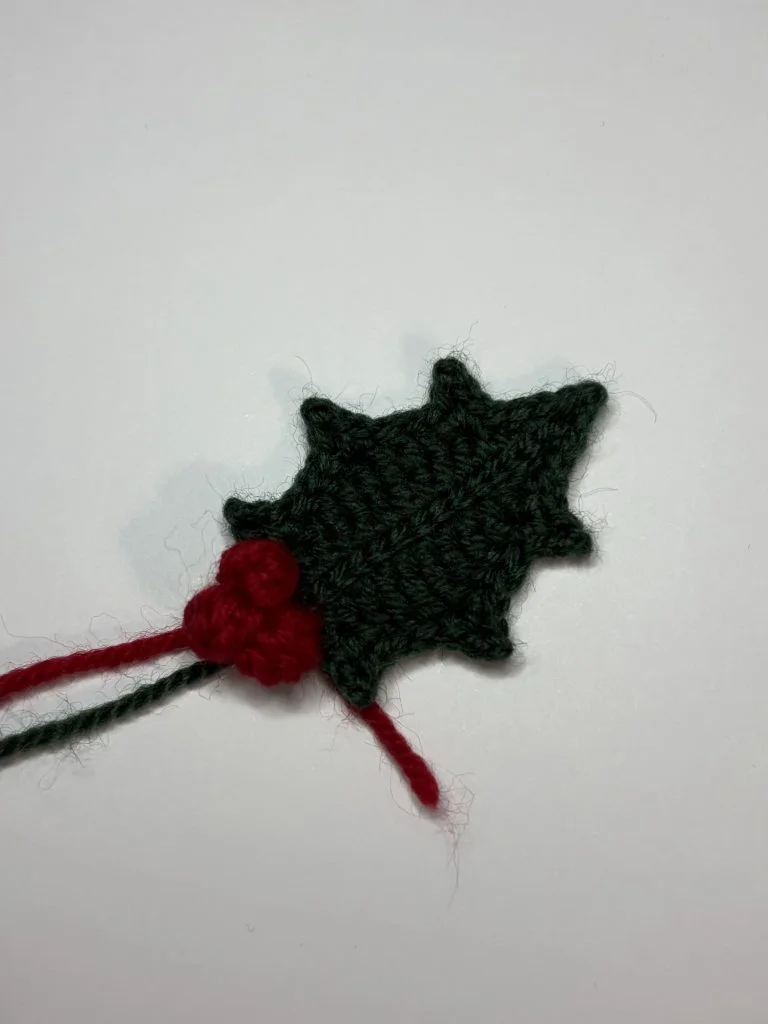
Holly Leaf
Using green yarn and 2,5 mm hook:
Slip knot, ch 16
Row 1: starting into 2nd ch from the hook sc 3, hdc, dc, tr 5, dc, hdc, sc 3,
On the other side: sc 3, hdc, dc, tr 5, dc, hdc, sc 3
Row 2: ch 1, slst 3, [(sc, picot, sc), skip 1, slst 2] 3x, (sc, picot, sc)
On the other side: slst 2, [(sc, picot, sc), skip 1, slst 2] 3x
Fasten off, slst along through the middle of the leaf, fasten off and cut the yarn.
Using red yarn:
Slip knot, (ch 3, bobble st in the 3rd ch from the hook, ch 1, slst in the same 3rd st) 3x
Fasten off and cut the yarn leaving a long piece for sewing.
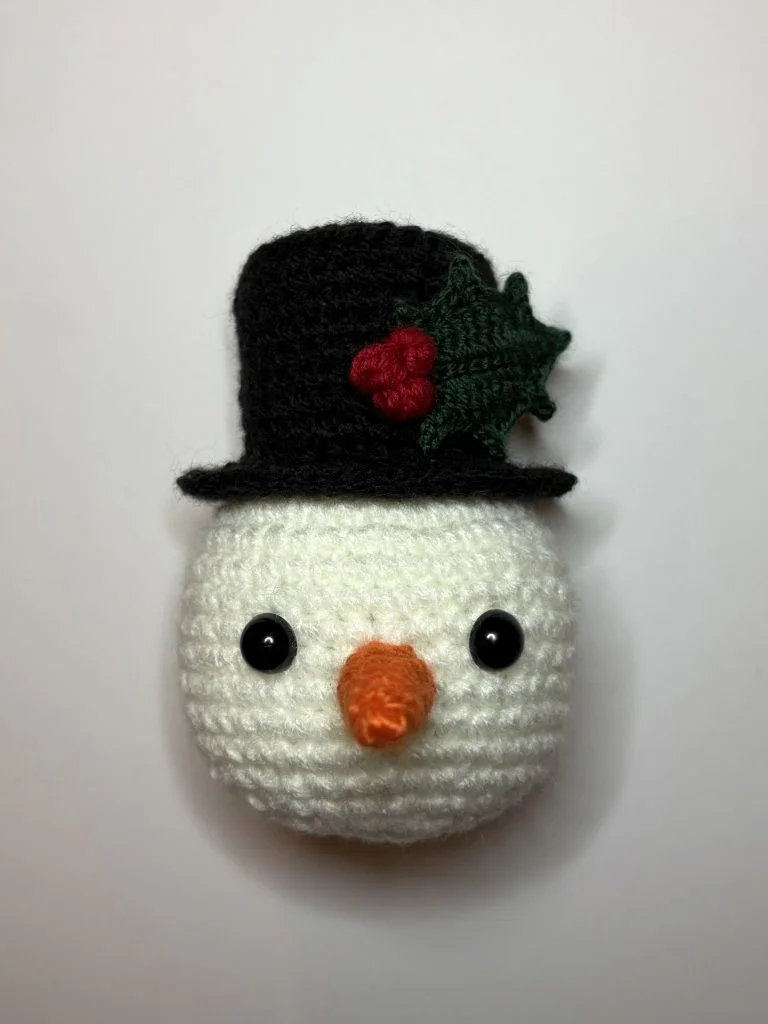
Assembling
- Sew the nose between the eyes.
- Attach the red berries to the leaf, sew it all together to the hat.
- Put some stuffing inside the hat. By using colorful pins, you can place the hat on the head and sew it slowly stitch by stitch, without it moving.
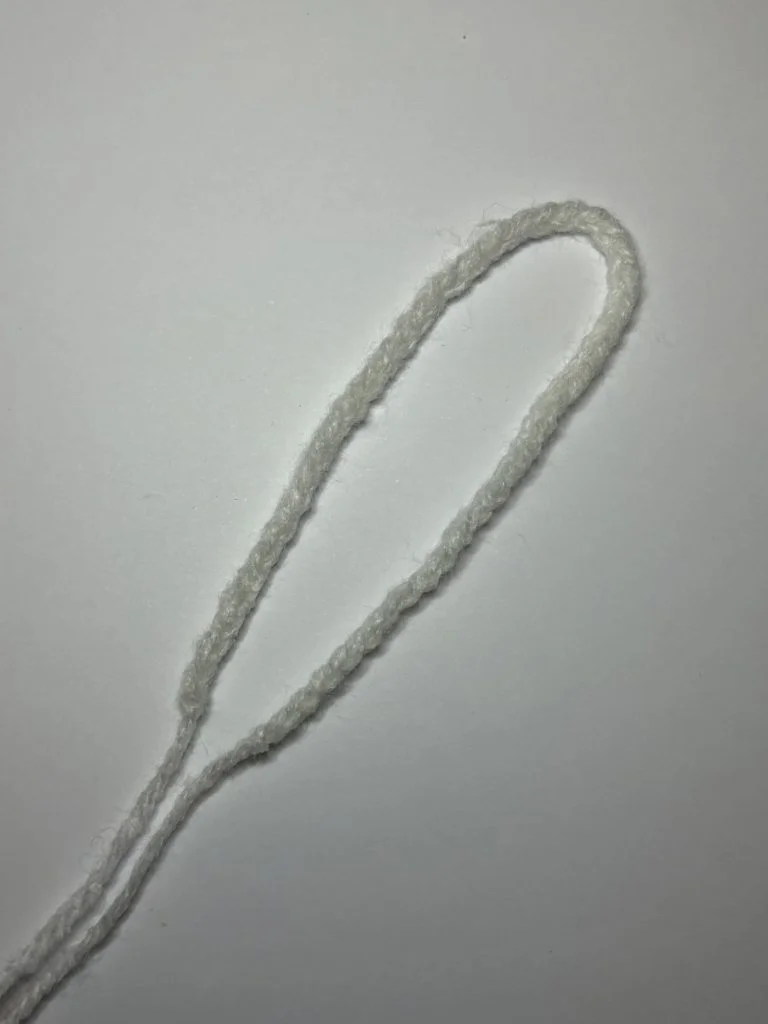
- To make a string for hanging the ornament: ch 50, fasten off and cut the yarn. Attach the string on the top of the snowman and tie it to secure it.
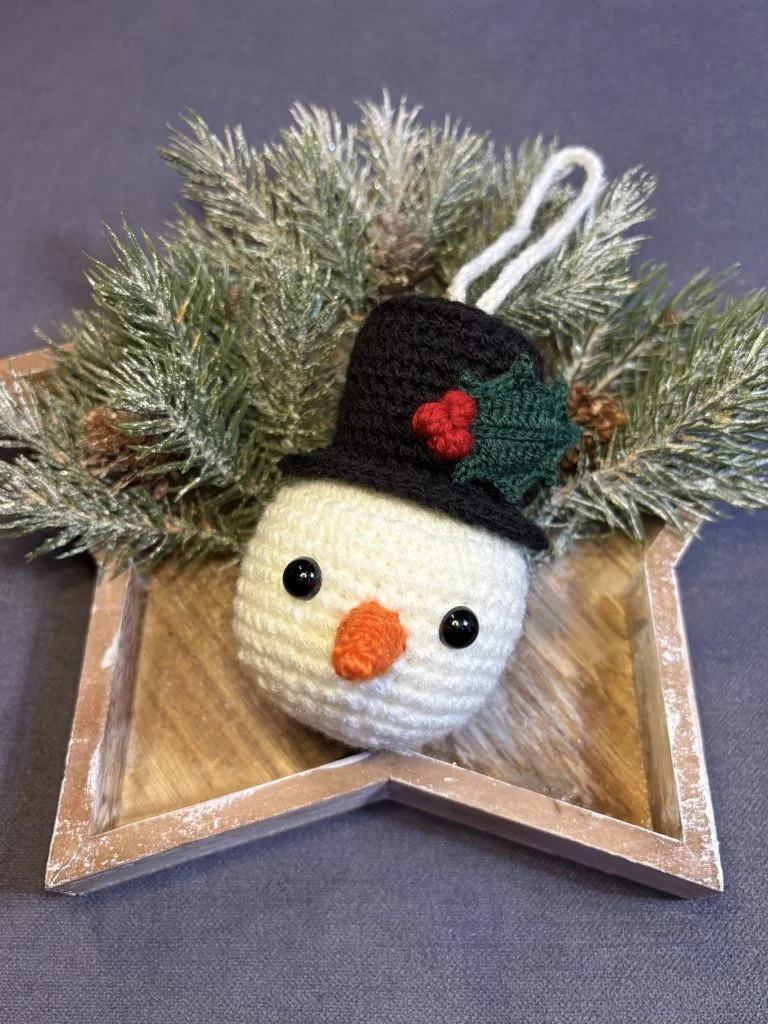
Your Christmas Ornaments are ready!
The easily printable Christmas Ornaments PDF version is available in our shop:
Thank you for using this pattern! Let us know how you liked it in the comments section below. 🙂