

In this article:

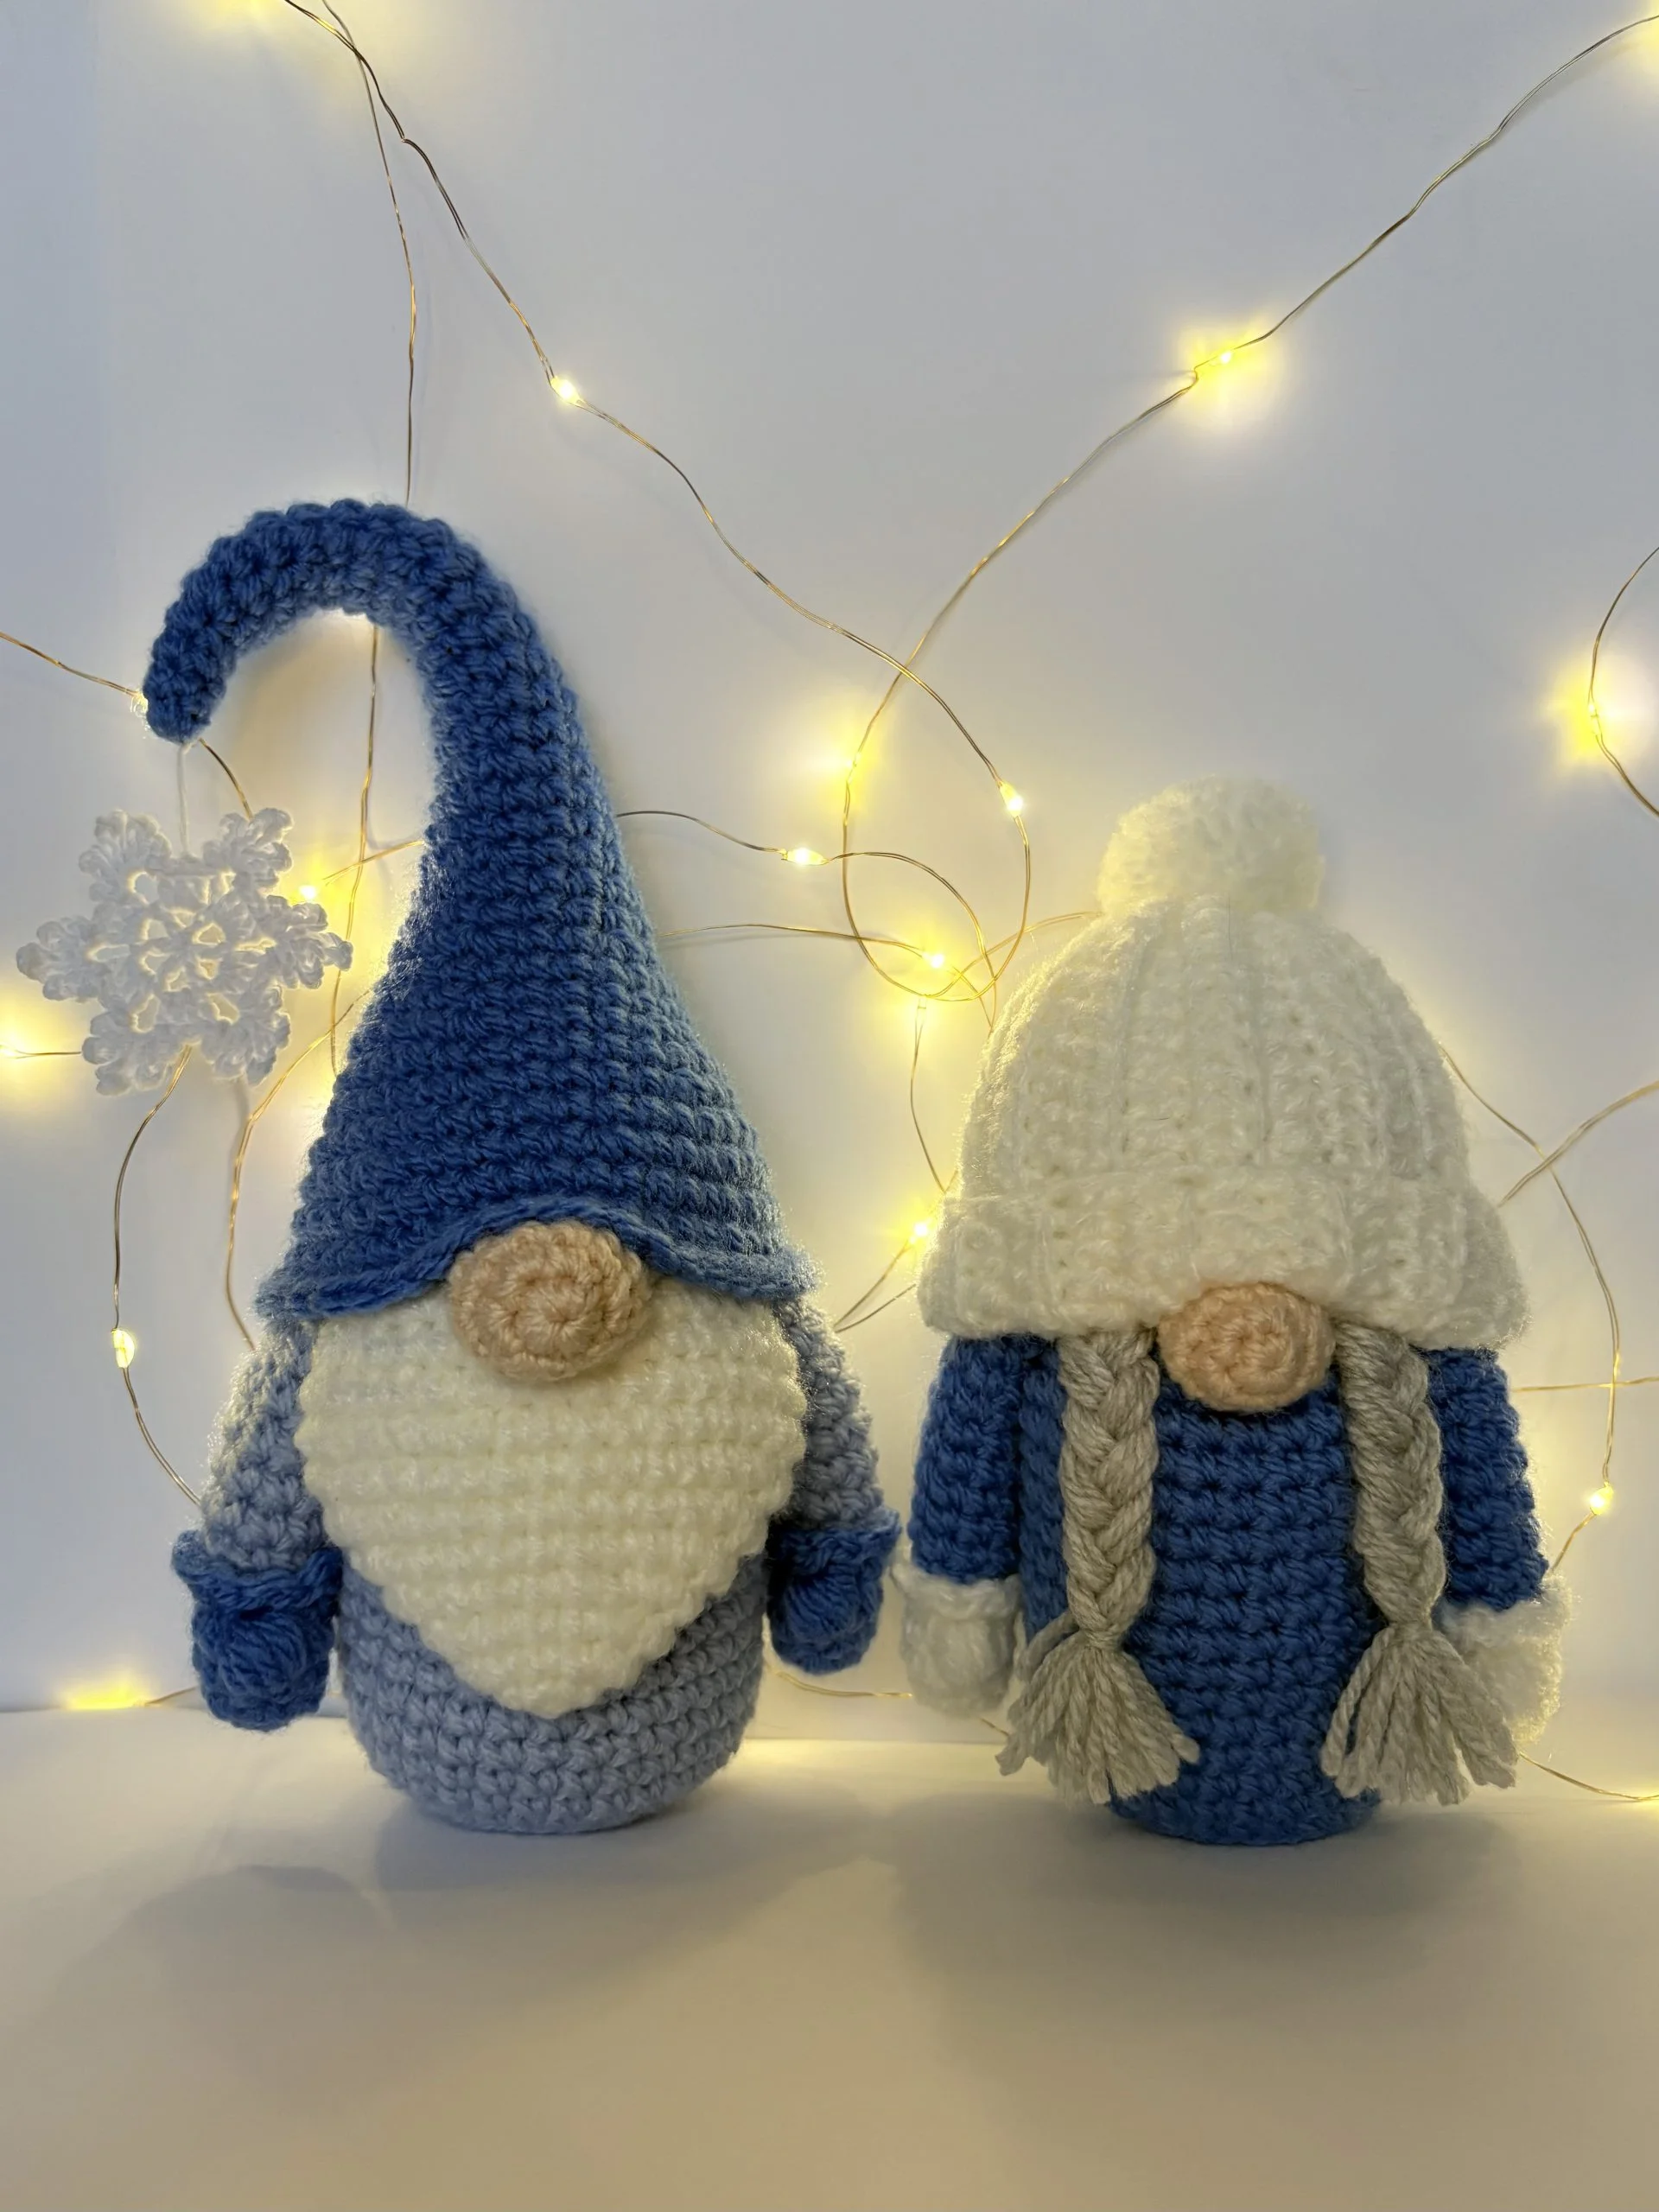
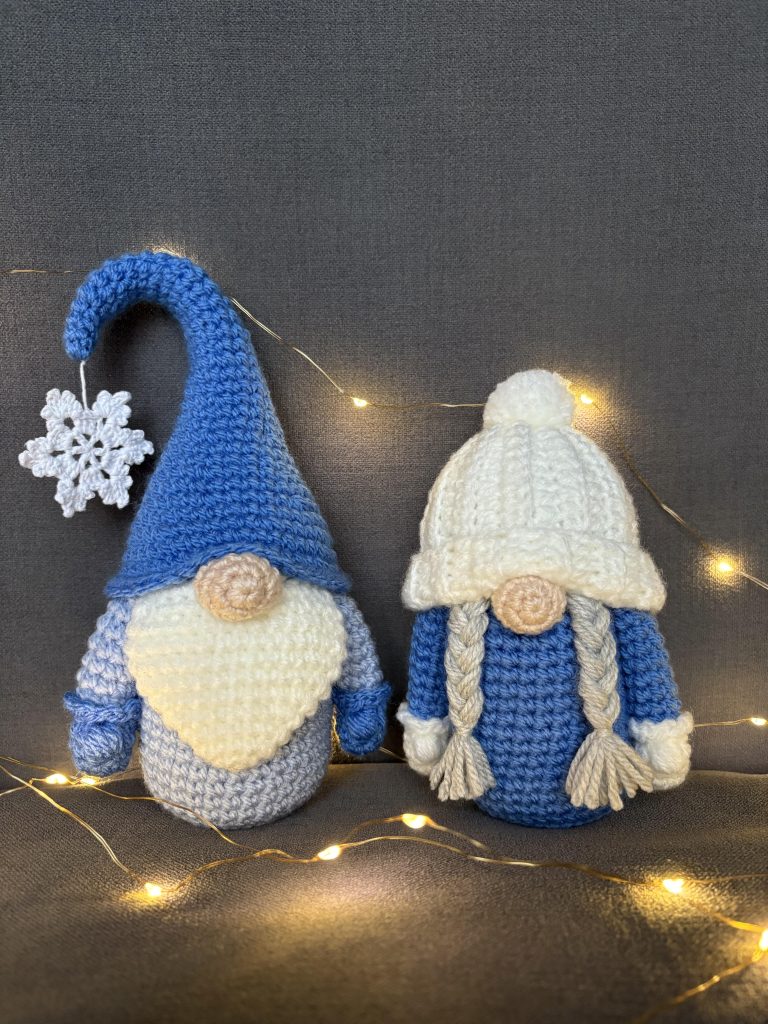
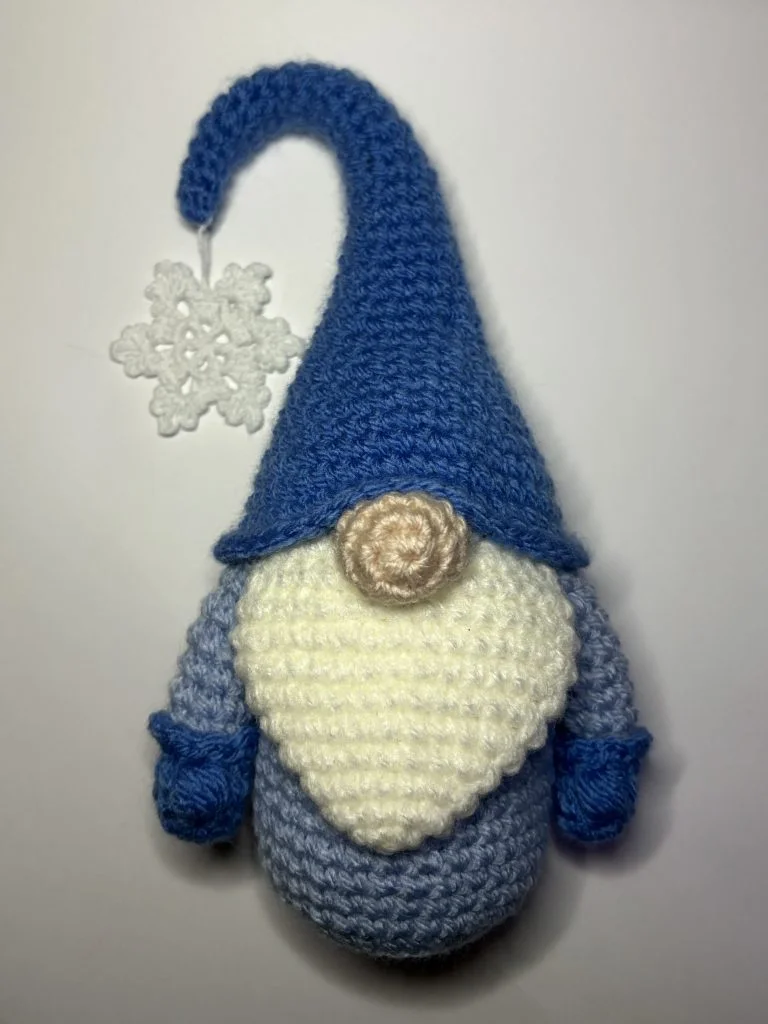
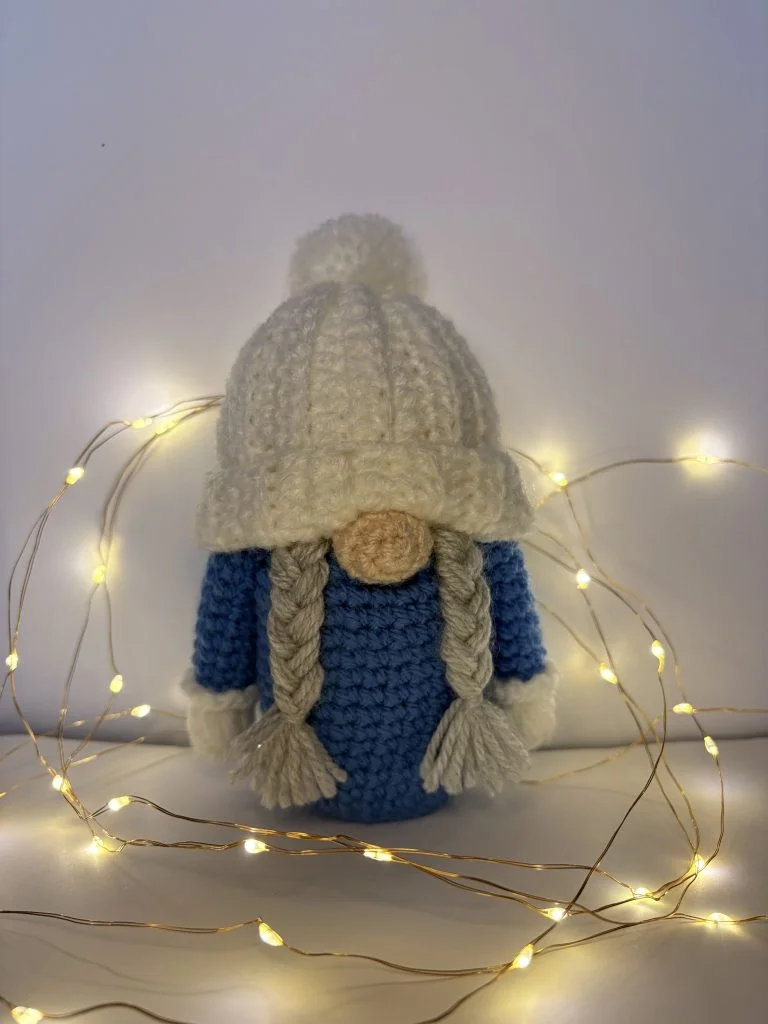
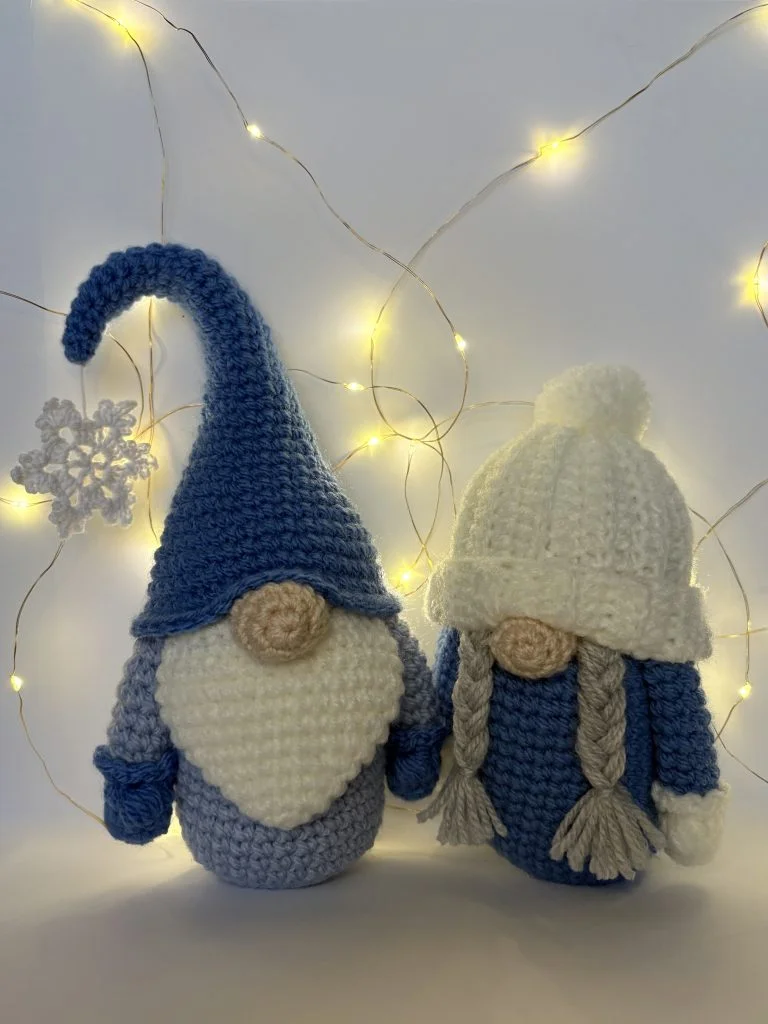
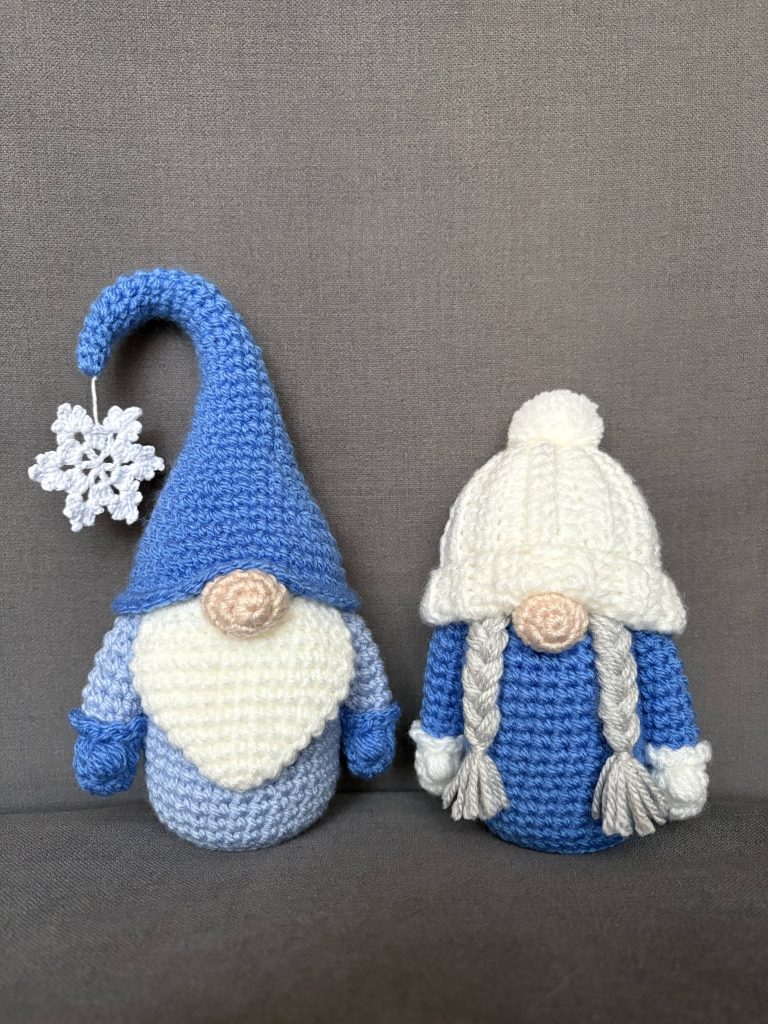
These two winter gnomes are designed in soft blue tones and make a cozy addition to any seasonal décor. Both patterns are beginner-friendly, featuring clear step-by-step photos and instructions that guide you through every part of the process. The gnomes are built from simple shapes and basic stitches, so they work up quickly and are easy to personalize. The size can also be adjusted by changing yarn weight or hook size, letting you create a matching set in different scales.
These gnomes make charming winter decorations, lovely handmade gifts, or popular items for markets. With approachable stitches and plenty of room for creativity, this pattern is a relaxing and rewarding project for the colder months.
In this post, you will find a free crochet pattern for the Winter Gnomes. Don’t forget to also check our Complete Guide to Free Crochet Winter Patterns.
The easily printable Winter Gnomes PDF version is available in our shop:
This free crochet pattern was designed exclusively for Your Crochet by Weronika Miechowicz.
About the Author
Weronika has a real passion for crocheting and enjoys creating patterns that reflect her love for handmade, seasonal projects. She shares her designs to inspire others to pick up their hooks and make something fun for themselves, their homes or gifts for their loved ones.
Ravelry | Etsy | YourCrochet Shop
Pattern Notes
This is a beginner-friendly crochet pattern, and I’m using US terms.
Materials and Tools
- Super fine weight yarn: light blue, dark blue, white, grey, beige
- Lace weight yarn: white
- crochet hook: 4 mm, 2 mm
- stitch markers
- tapestry needle
- scissors
- stuffing
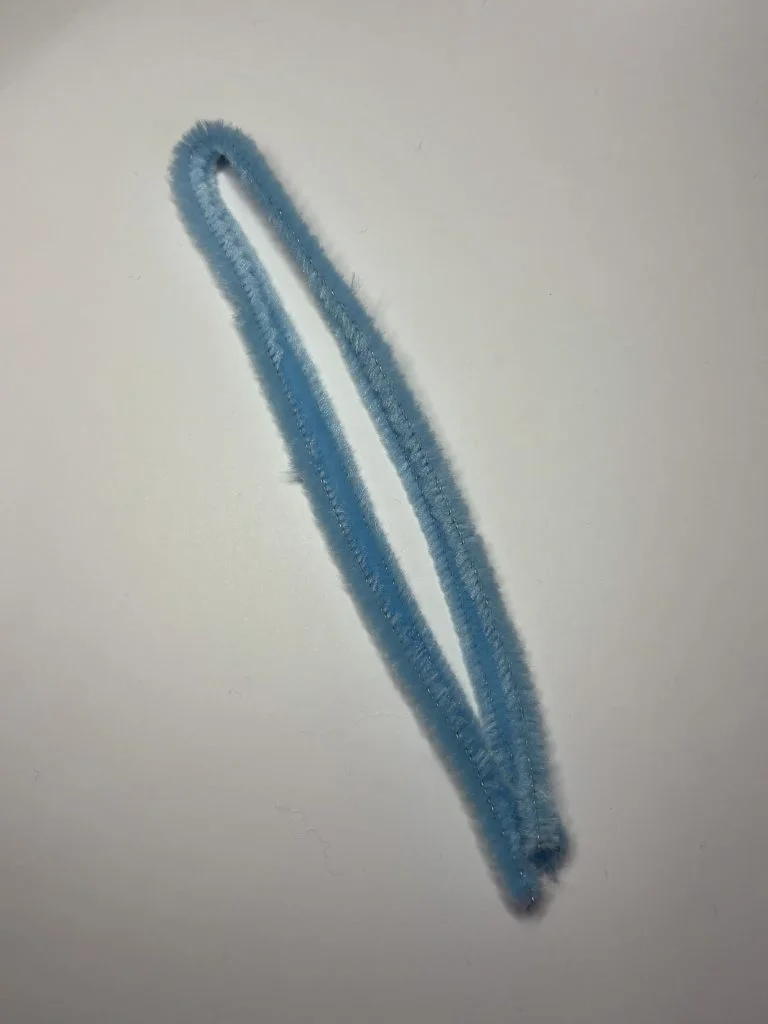
- 3 x chenille stems
- rice (optional)
Measurements
- HEIGHT: grandpa – 21 cm / 8.2″ grandma -17 cm / 6.7″
- WIDTH: grandpa -12 cm / 4.7″ grandma -11 cm / 4.3″
Stitches and Abbreviations
- rnd – round
- st(s) – stitch(es)
- sc – single crochet
- hdc – half double crochet
- dc – double crochet
- ch – chain(s)
- slst – slip stitch
- inc – increase
- dec – decrease
- scFLO – single crochet front loop only
- slstBLO – slip stitch back loop only
- hdcBLO – half double crochet back loop only
- MR – magic ring
Notes:
- This pattern contains 2 gnomes tutorials – Grandpa Gnome & Grandma Gnome
- You can use your own colors of yarn to make them more personalized.
- To make your gnomes possible to stand, you can add rice, hot melt glue, sand, etc. to the bottom.
- You can easily change the size of your gnomes by using different yarn weight and hook.
- The grandpa gnome’s tension is looser than the grandma one. That’s why their size varies a bit.
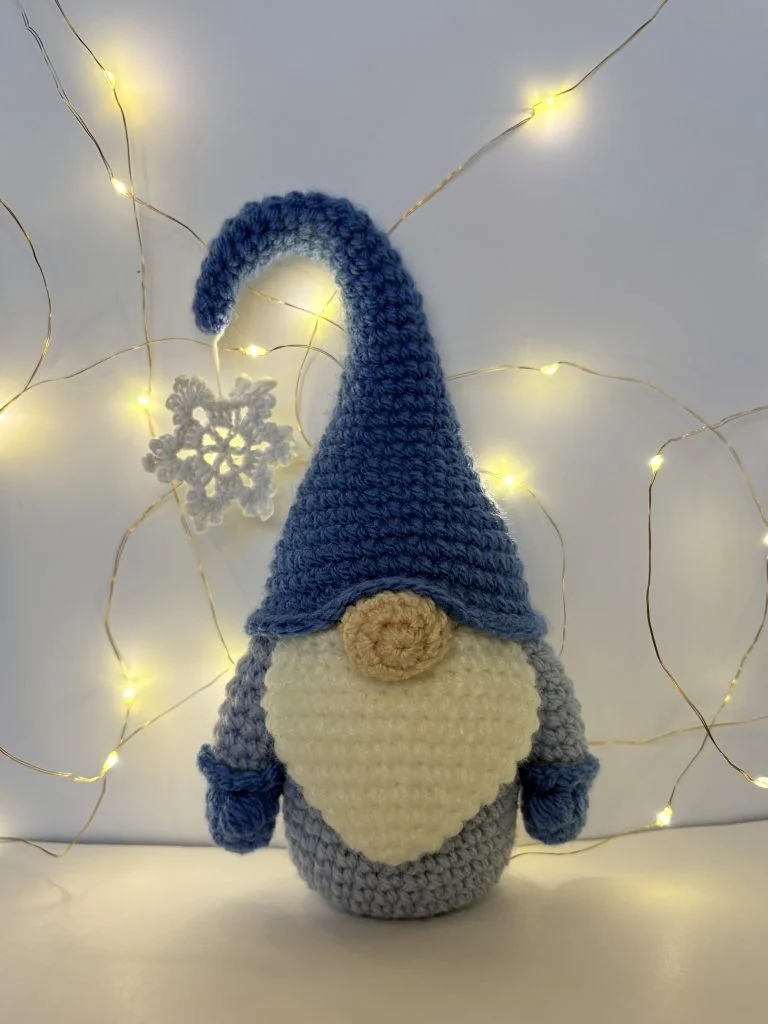
Grandpa Gnome Free Crochet Pattern
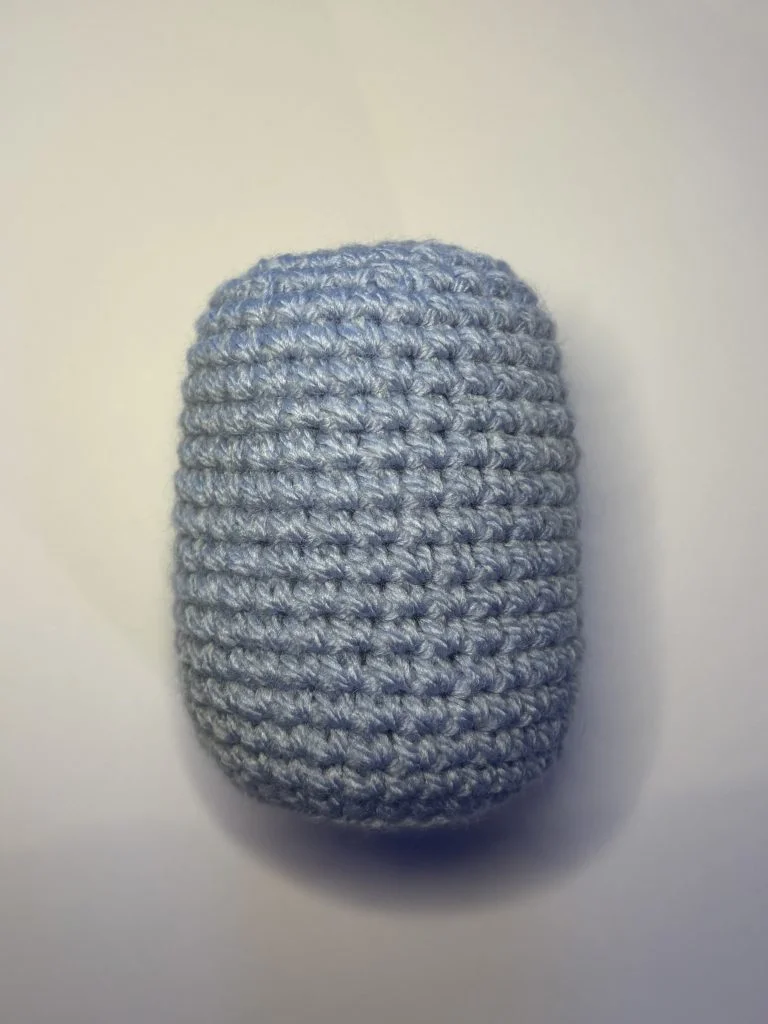
Body
Using light blue yarn and 4 mm hook:
Rnd 1: 8 sc in MR (8)
Rnd 2: inc 8 (16)
Rnd 3: (sc, inc) 8x (24)
Rnd 4: (sc 2, inc) 8x (32)
Rnd 5: scBLO 32 (32)
Rnd 6-19: sc 32 (32)
Rnd 20: (sc 2, dec) 8x (24)
Rnd 21: sc 24 (24)
Rnd 22: (sc, dec) 8x (16) Add the rice to the bottom and stuff the body.
Rnd 23: sc 16 (16)
Close the hole by sewing around.

The easily printable Winter Gnomes PDF version is available in our shop:
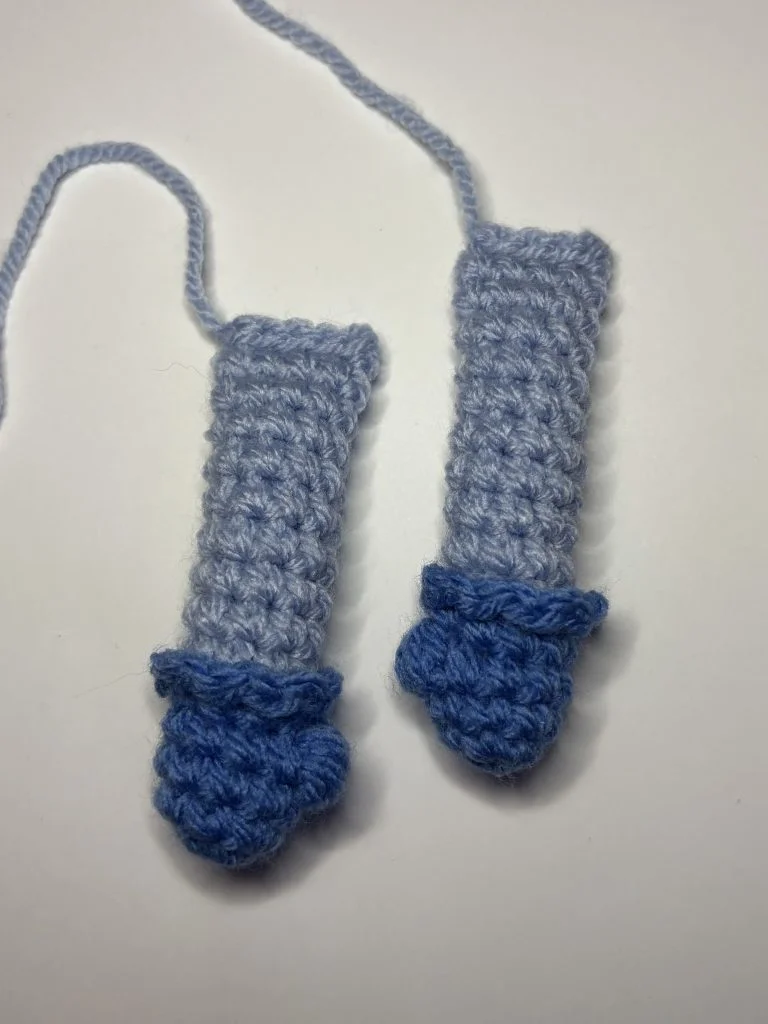
Arms x2
Using dark blue yarn and 4 mm hook:
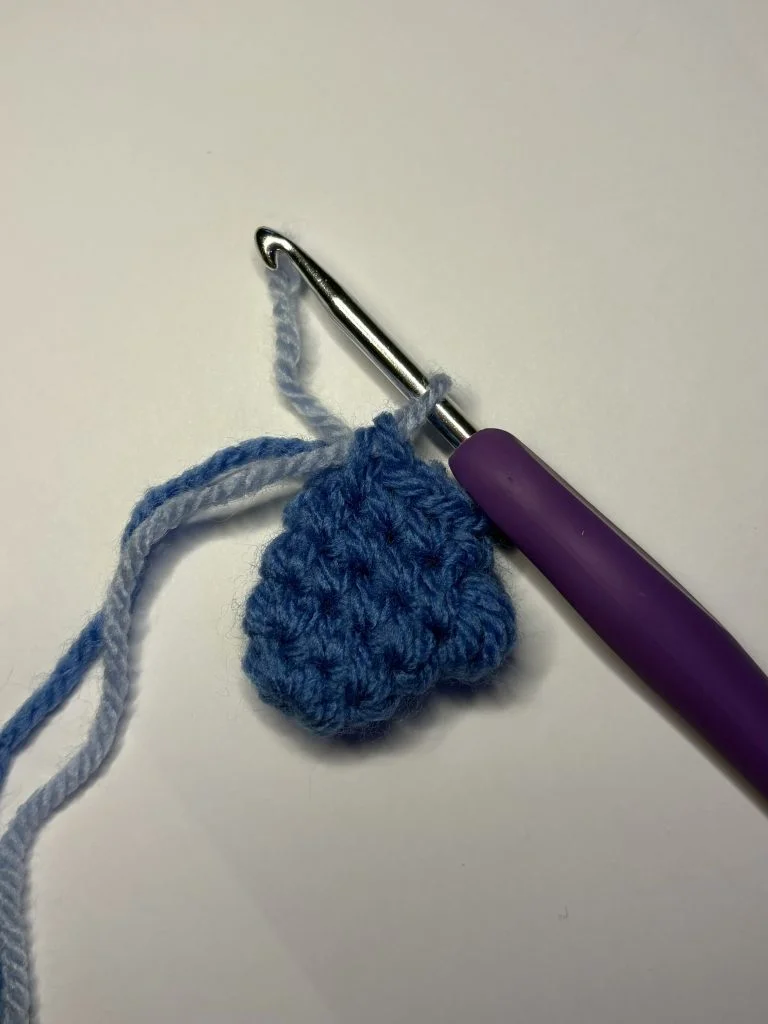
Rnd 1: 6 sc in MR
Rnd 2: (sc, inc) 3x (9)
Rnd 3: sc 9 (9)
Rnd 4: sc 4, puff st*, sc 4 (9)
Rnd 5: sc 9 (9)
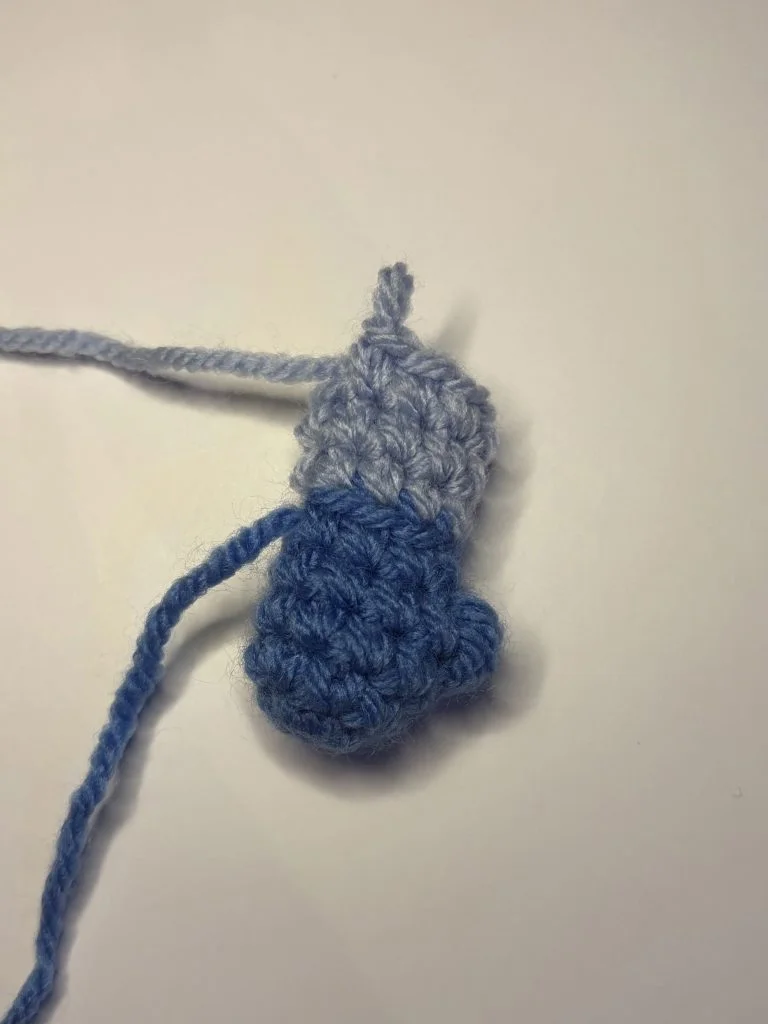
Switch to light blue color. DO NOT cut off the dark blue yarn, we will need it to finish the glove.
Rnd 6: scBLO 9 (9)
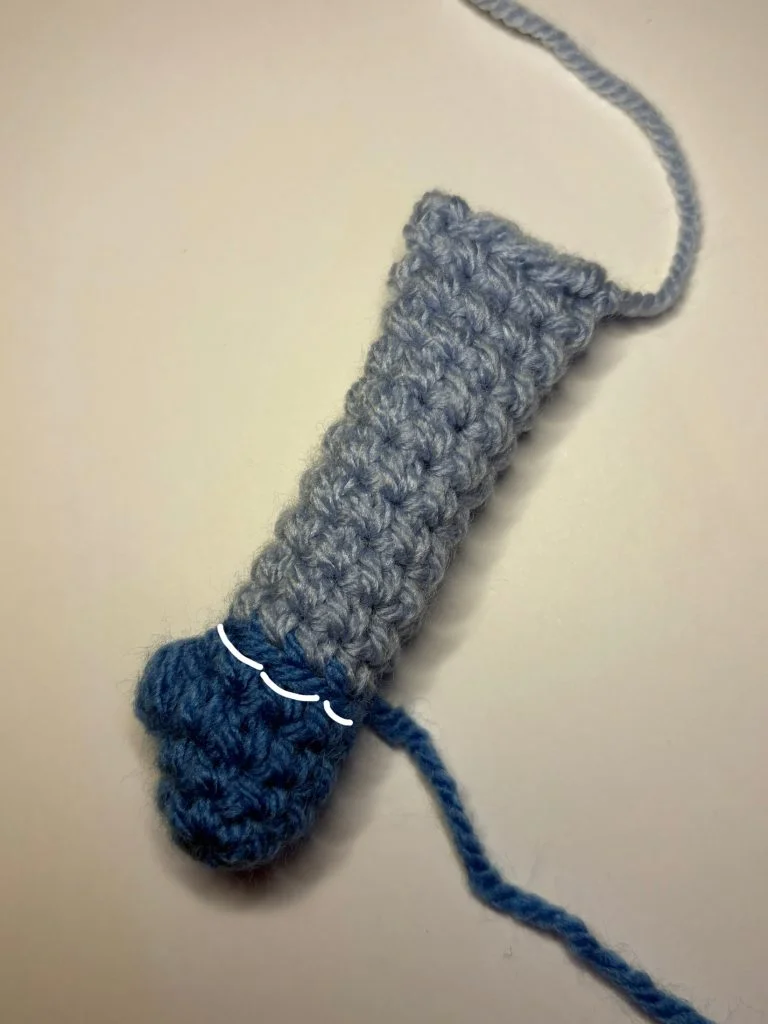
Rnd 7-15: sc 9 (9) Stuff the glove and arm.
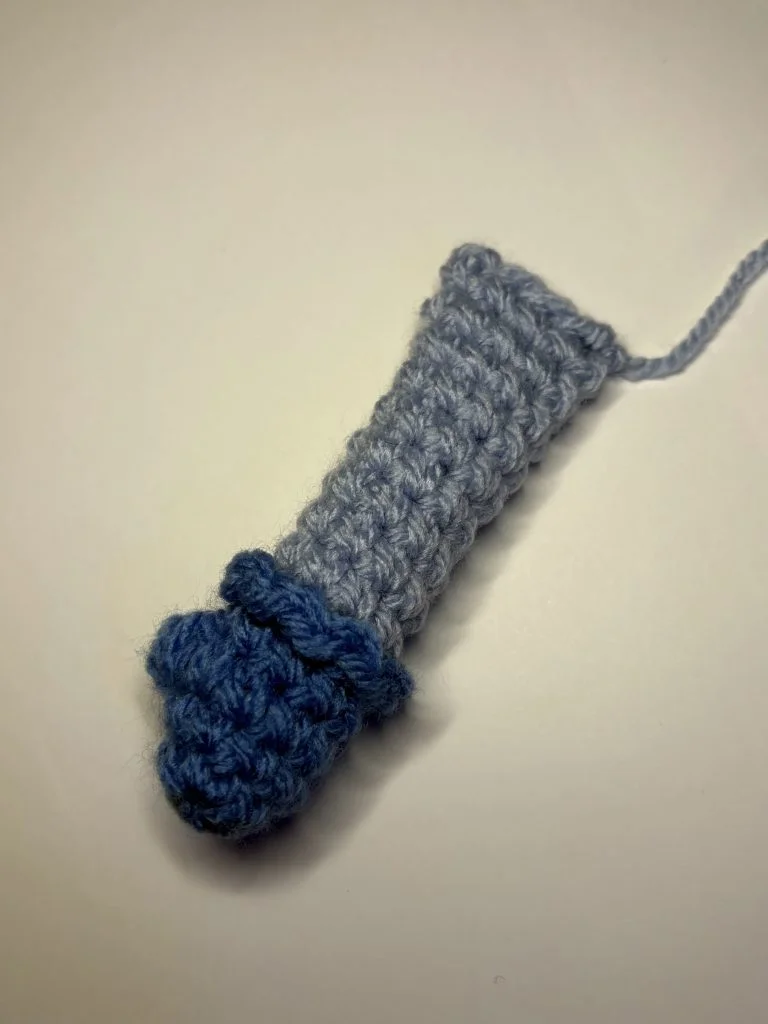
Fold in half and sew together, leaving a longer piece of yarn for sewing later. To finish the glove, crochet in the front loops of 6 row, using the dark blue yarn we left before.
FLO: (ch 1, slst) 9x
*puff stitch:
- Yarn over, insert the hook into the stitch and pull up a loop (3 loops on the hook).
- Yarn over, insert the hook into the same stitch and pull up a loop (5 loops on the hook).
- Yarn over, insert the hook into the same stitch and pull up a loop (7 loops on the hook).
- Yarn over, pull up a loop through 6 loops.
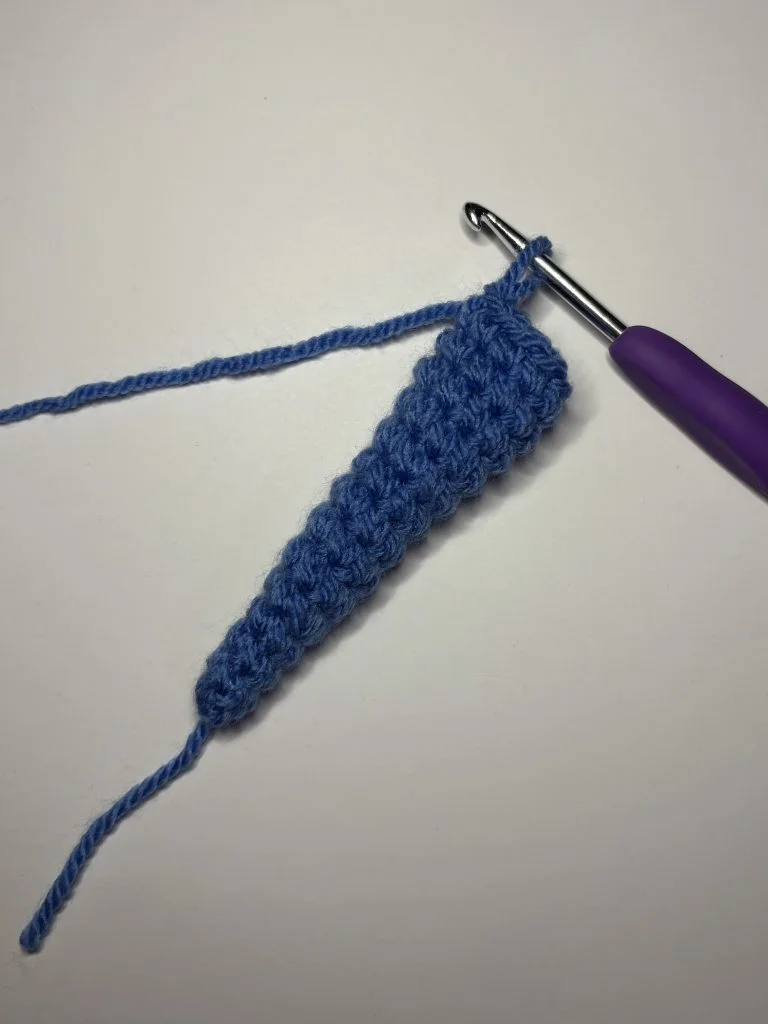
Hat
Using dark blue yarn and 4 mm hook:
Rnd 1: 6 sc in MR
Rnd 2-4: sc 6 (6)
Rnd 5: (sc 2, inc) 2x (8)
Rnd 6-9: sc 8 (8)
Rnd 10: (sc 3, inc) 2x (10)
Rnd 11-14: sc 10 (10)
Rnd 15: (sc 4, inc) 2x (12)
Rnd 16-17: sc 12 (12)
Rnd 18: (sc 3, inc) 3x (15)
Rnd 19-20: sc 15 (15)
Rnd 21: (sc 4, inc) 3x (18)
Rnd 22-23: sc 18 (18)
Rnd 24: (sc 2, inc) 6x (24)
Rnd 25-26: sc 24 (24)
Rnd 27: (sc 3, inc) 6x (30)
Rnd 28: sc 30 (30)
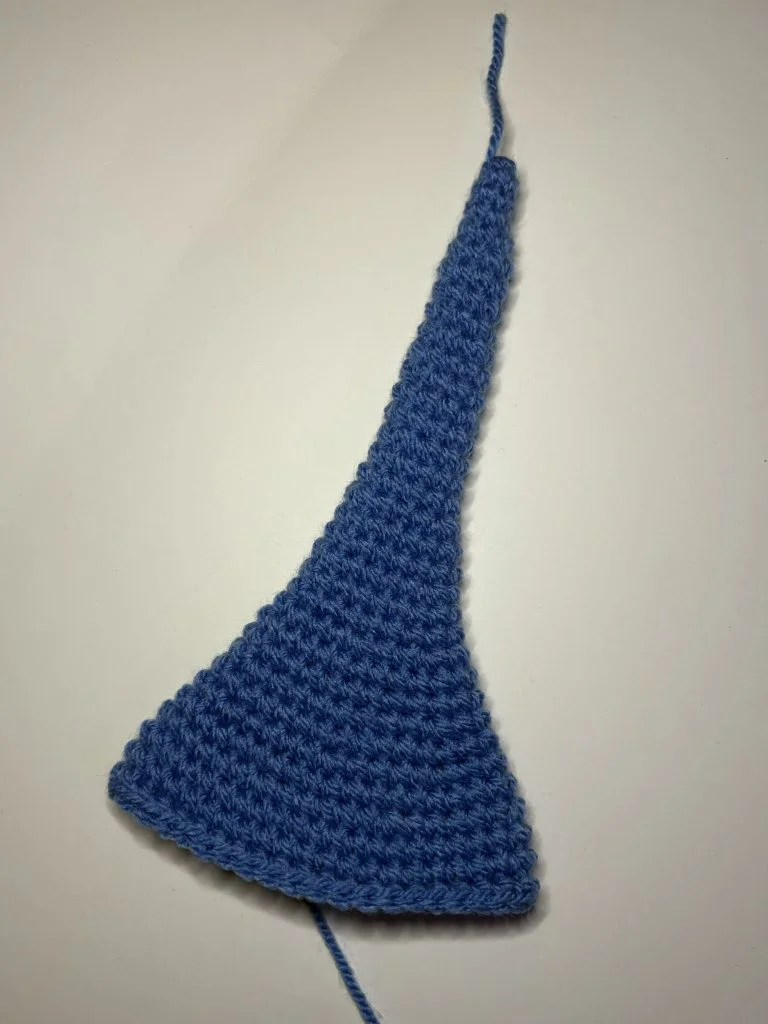
Rnd 29: (sc 4, inc) 6x (36)
Rnd 30: sc 36 (36)
Rnd 31: sc 2, inc, (sc 5, inc) 5x, sc 3 (42)
Rnd 32-33: sc 42 (42)
Rnd 34: sc FLO 42
Cut off the yarn, leaving a long piece for sewing later.
The easily printable Winter Gnomes PDF version is available in our shop:
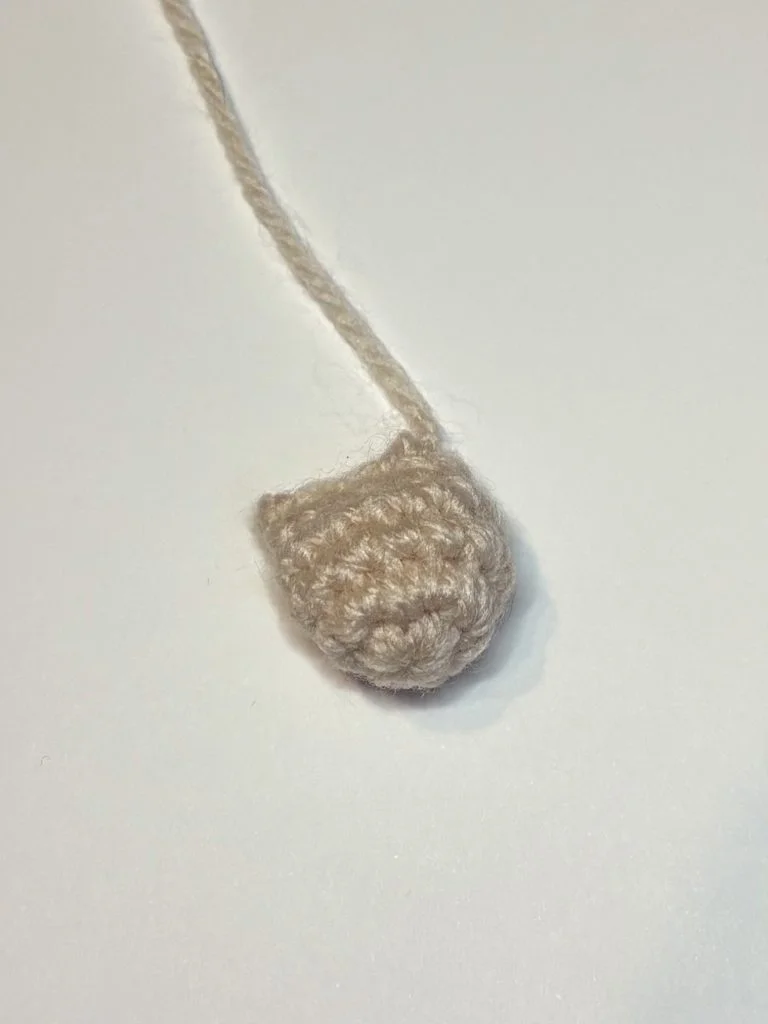
Nose
Using beige yarn and 4 mm hook:
Rnd 1: 6 sc in MR (6)
Rnd 2: inc 6 (12)
Rnd 3: (sc 5, inc) 2x (14)
Rnd 4: sc 14 (14)
Rnd 5: dec 7 (7) Stuff the nose.
Fold in half and sew, leaving longer piece for sewing later.
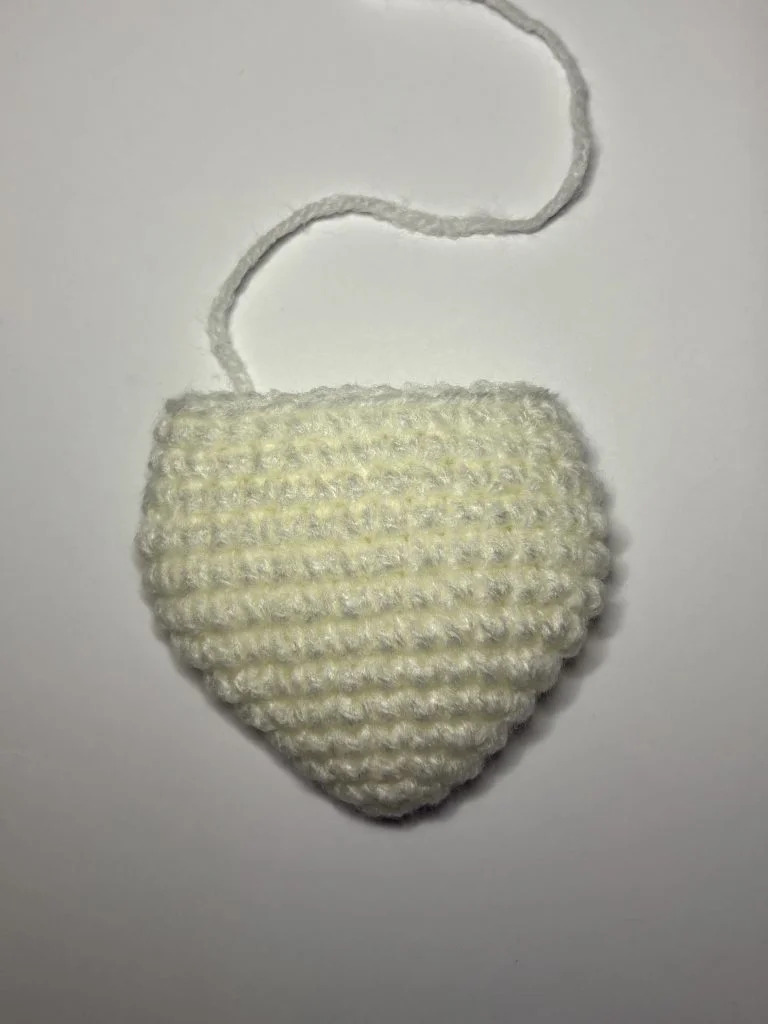
Beard
Using white yarn and 4 mm hook:
Rnd 1: 6 sc in MR (6)
Rnd 2: (sc, inc 2) 2x (10)
Rnd 3: sc 2, inc, sc 3, inc 2, sc (14)
Rnd 4: sc3, inc 2, sc 5, inc 2, sc 2 (18)
Rnd 5: sc 4, inc 2, sc 7, inc 2, sc 3 (22)
Rnd 6: sc 5, inc 2, sc 9, inc 2, sc 4 (26)
Rnd 7: sc 6, inc 2, sc 11, inc 2, sc 5 (30)
Rnd 8-10: sc 30 (30)
Rnd 11: sc 6, dec 2, sc 11, dec 2, sc 5 (26)
Rnd 12-13: sc 26 (26)
Cut off leaving longer piece for sewing. Fold in half.
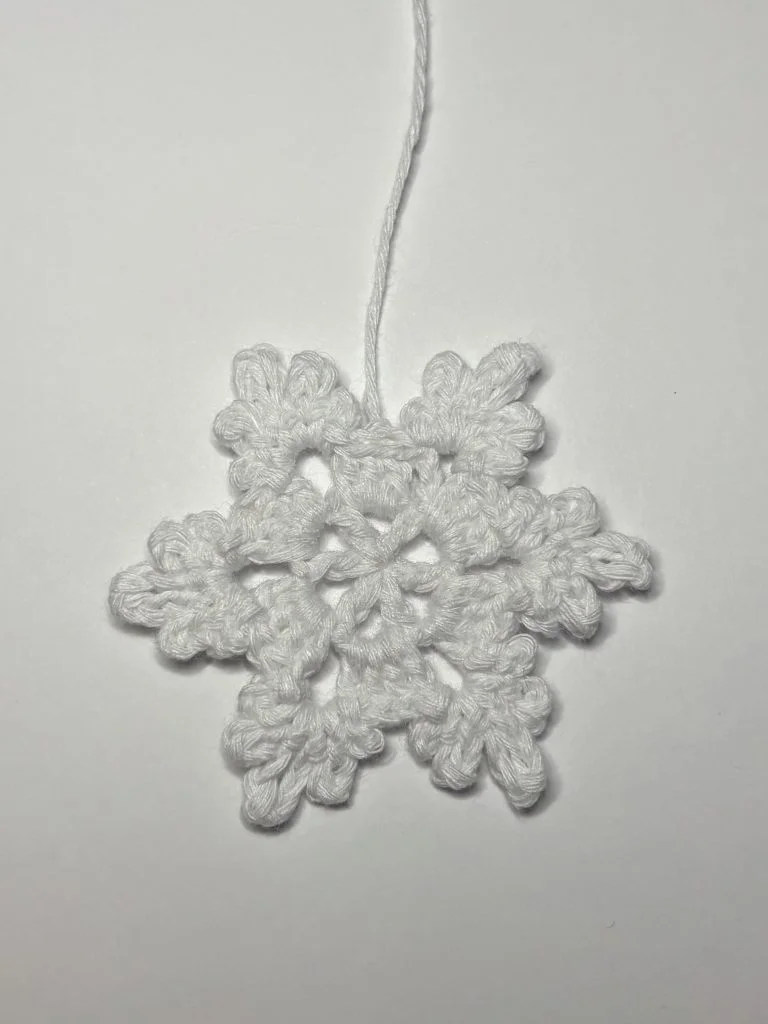
Snowflake
Using white (lace weight) yarn and 2 mm hook:
Rnd 1: MR, ch 5, (dc, ch 2) 5x, slst
Rnd 2: ch 3, dc 3 into ch space, ch 2, (dc 4 into ch space, ch 2) 5x, slst
Rnd 3: (slst into every st until ch space, into ch space: slst, ch 3, slst, ch 5, slst, ch 7, slst, ch 5, slst, ch3, slst) 6x
Fasten off and cut the yarn leaving a longer piece for attaching.
Assembling
- Sew the arms to the body, between 3rd and 4th row counting from the top of the body.
2. Sew the beard to the body on the same height as the arms (between them).
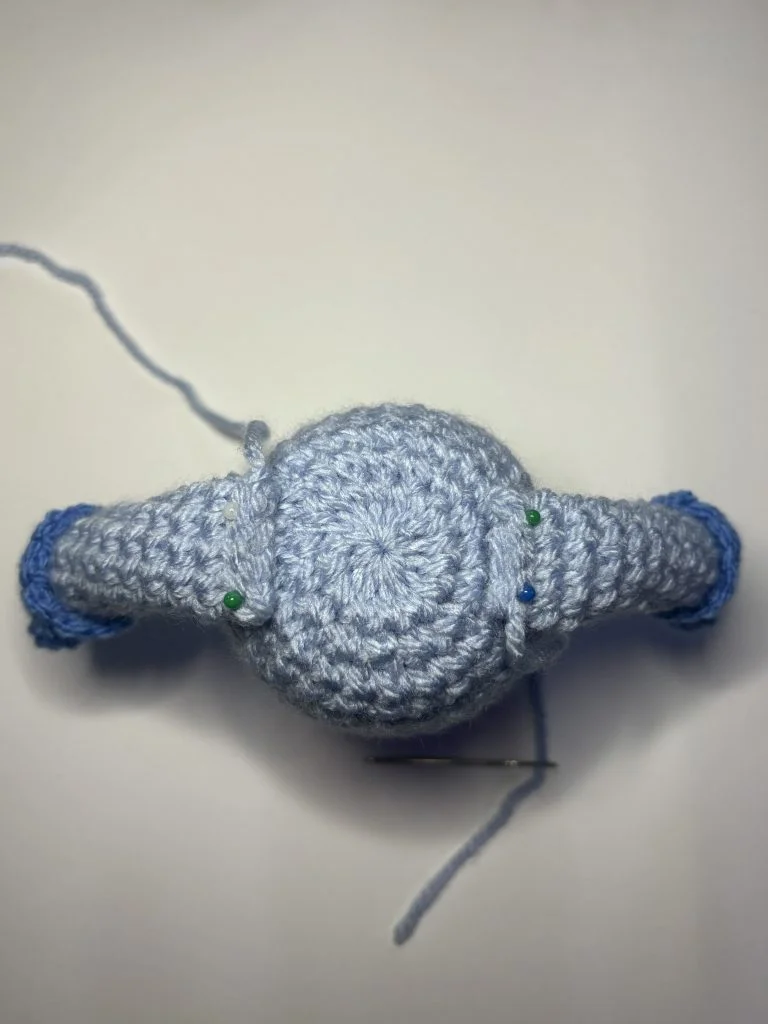
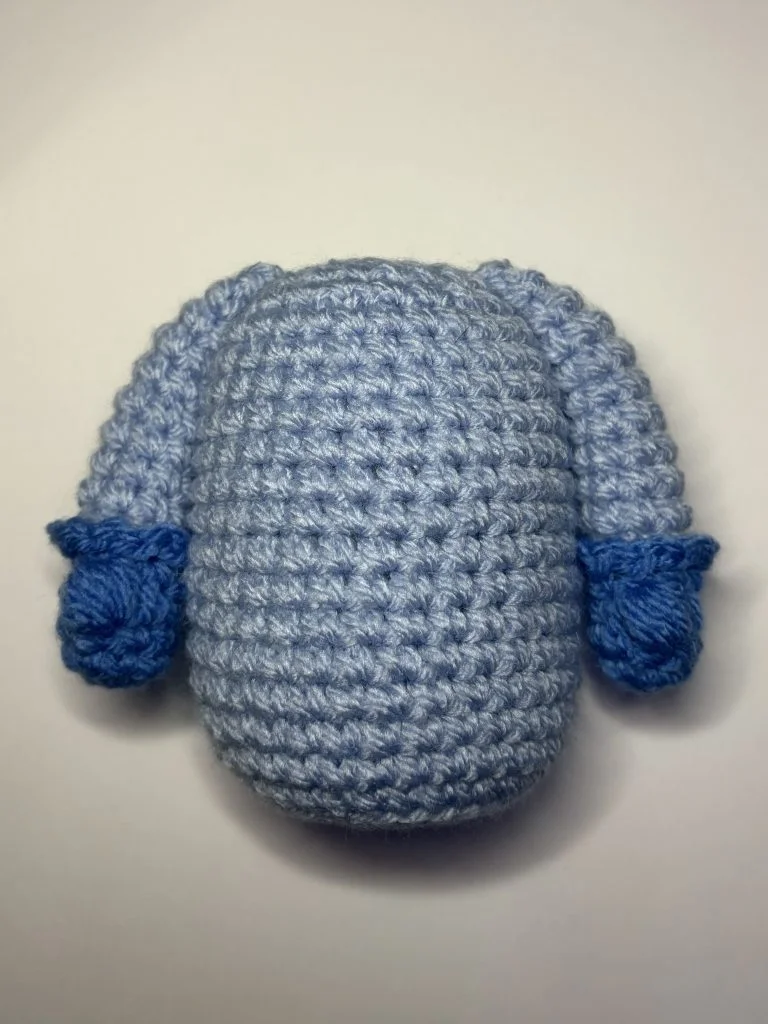
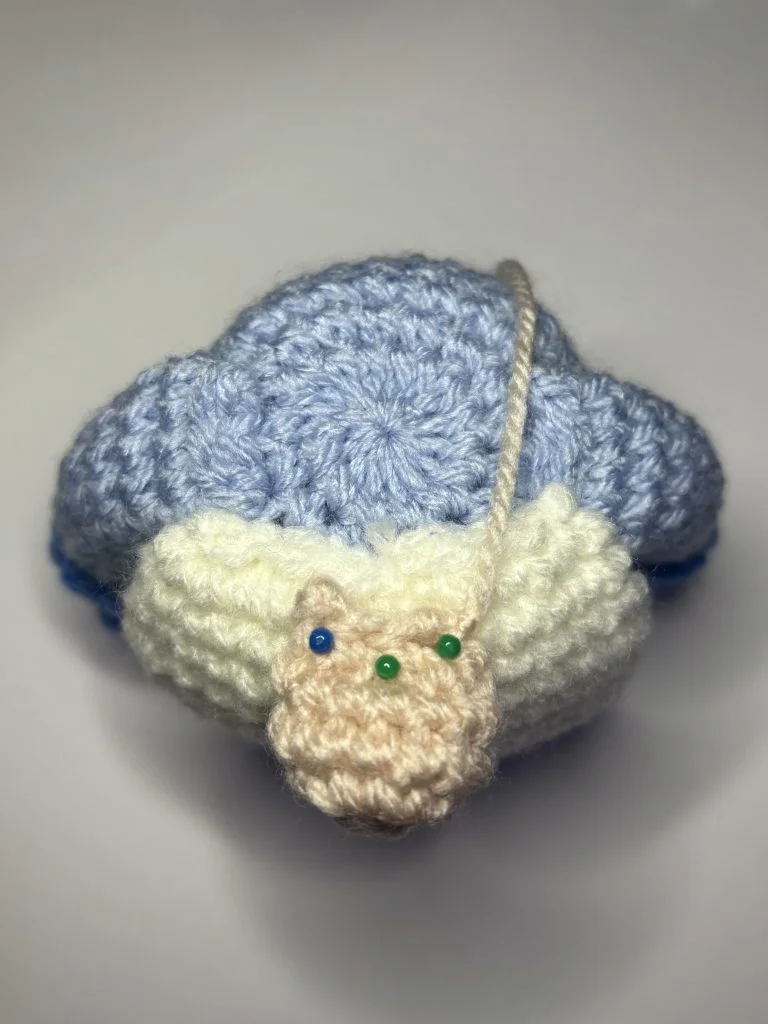
3. Add the nose on top of the beard (in the middle).
4. Attach the snowflake to the top of the hat, put inside 3 chenille stems to be able to bend the hat later. Add stuffing inside.
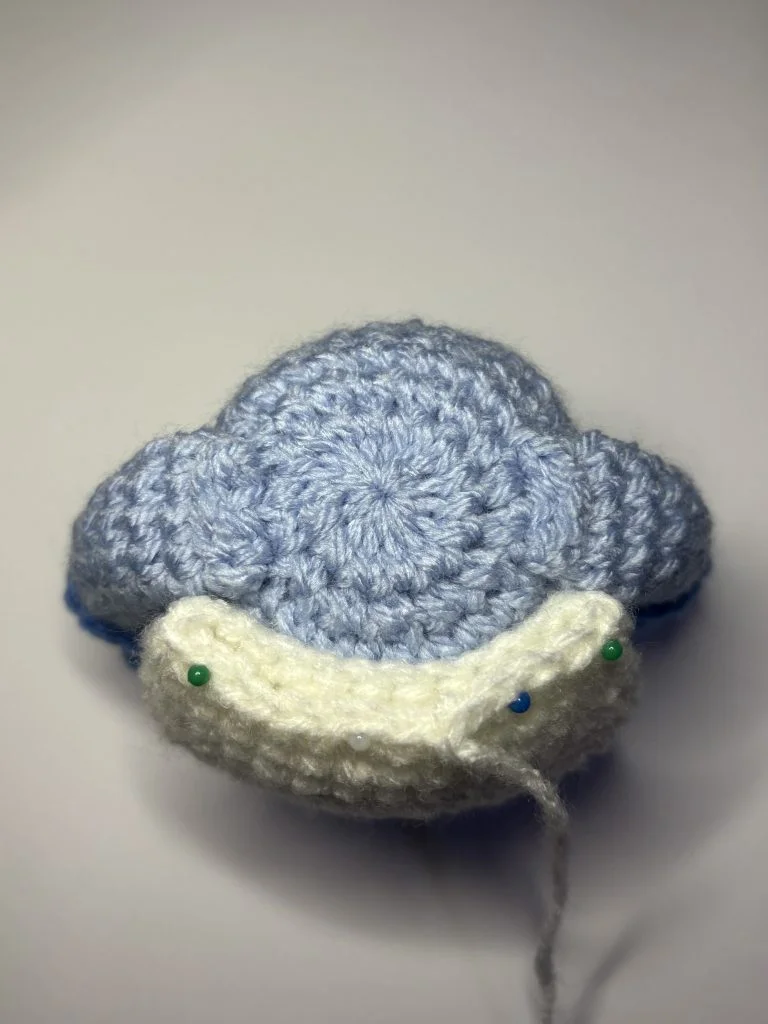
5. By using colorful pins, you can place the hat on your gnome and sew it slowly stitch by stitch, without it moving. Sew the hat by its back loops that were left in row 34th at the line of arms, beard and around nose.
The easily printable Winter Gnomes PDF version is available in our shop:
Grandma Gnome Free Crochet Pattern
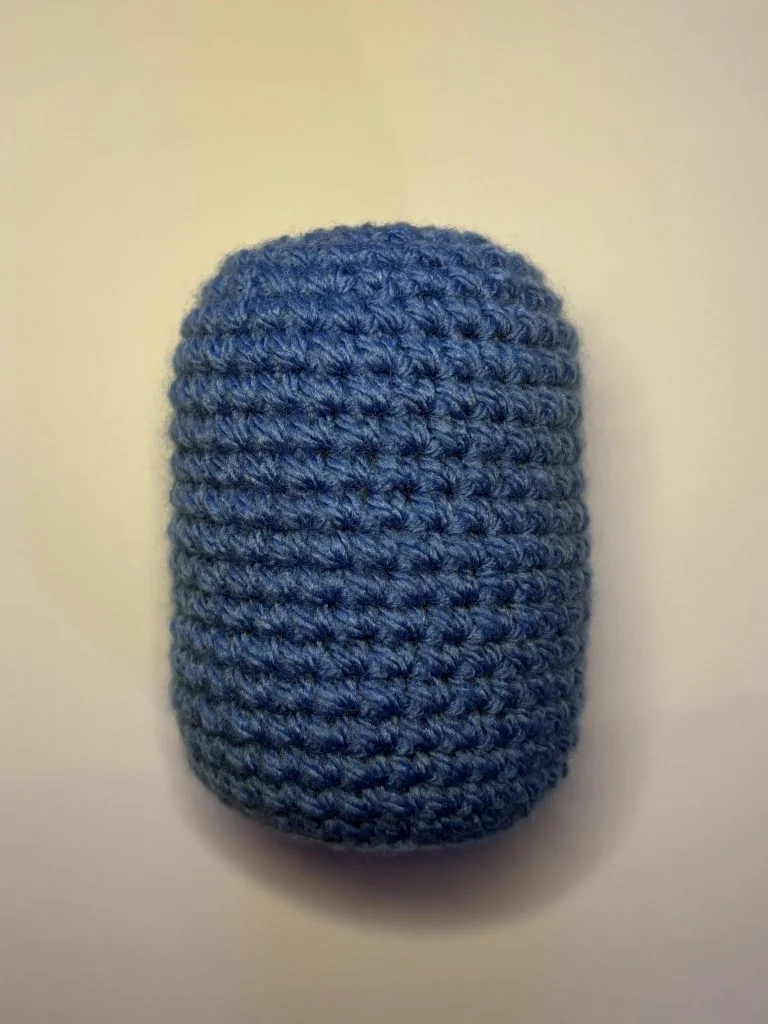
Body
Using dark blue yarn and 4 mm hook:
Rnd 1: 8 sc in MR (8)
Rnd 2: inc 8 (16)
Rnd 3: (sc, inc) 8x (24)
Rnd 4: (sc 2, inc) 8x (32)
Rnd 5-19: sc 32 (32)
Rnd 20: (sc 2, dec) 8x (24)
Rnd 21: sc 24 (24)
Rnd 22: (sc, dec) 8x (16) Add the rice to the bottom and stuff the body.
Rnd 23: sc 16 (16)
Close the hole by sewing around.
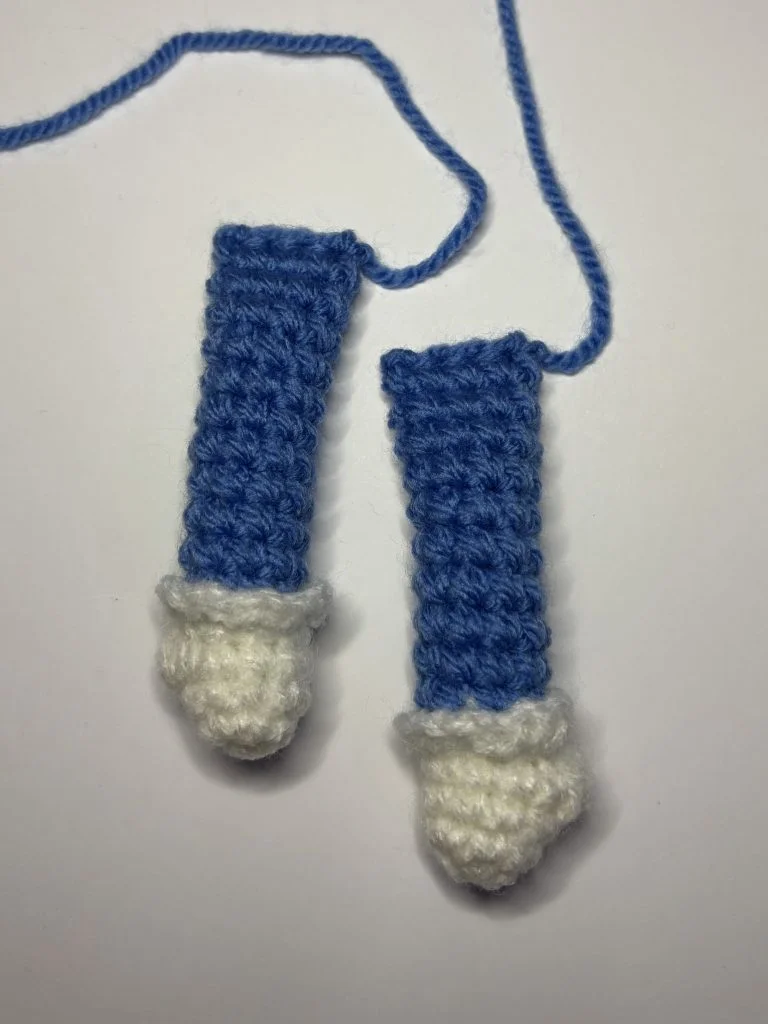
Arms x2
Using white yarn and 4 mm hook:
Rnd 1: 6 sc in MR
Rnd 2: (sc, inc) 3x (9)
Rnd 3: sc 9 (9)
Rnd 4: sc 4, puff st*, sc 4 (9)
Rnd 5: sc 9 (9)
Switch to dark blue color.
DO NOT cut off the white yarn, (we will need it to finish the glove).
Rnd 6: scBLO 9 (9)
Rnd 7-15: sc 9 (9) Stuff the glove and arm.
Fold in half and sew together, leaving longer piece of yarn for sewing later. To finish the glove, crochet in the front loops of 6th row, using the white yarn we have left before.
FLO: (ch 1, slst) 9x
*puff stitch:
- Yarn over, insert the hook into the stitch and pull up a loop (3 loops on the hook).
- Yarn over, insert the hook into the same stitch and pull up a loop (5 loops on the hook).
- Yarn over, insert the hook into the same stitch and pull up a loop (7 loops on the hook).
Yarn over, pull up a loop through 6 loops
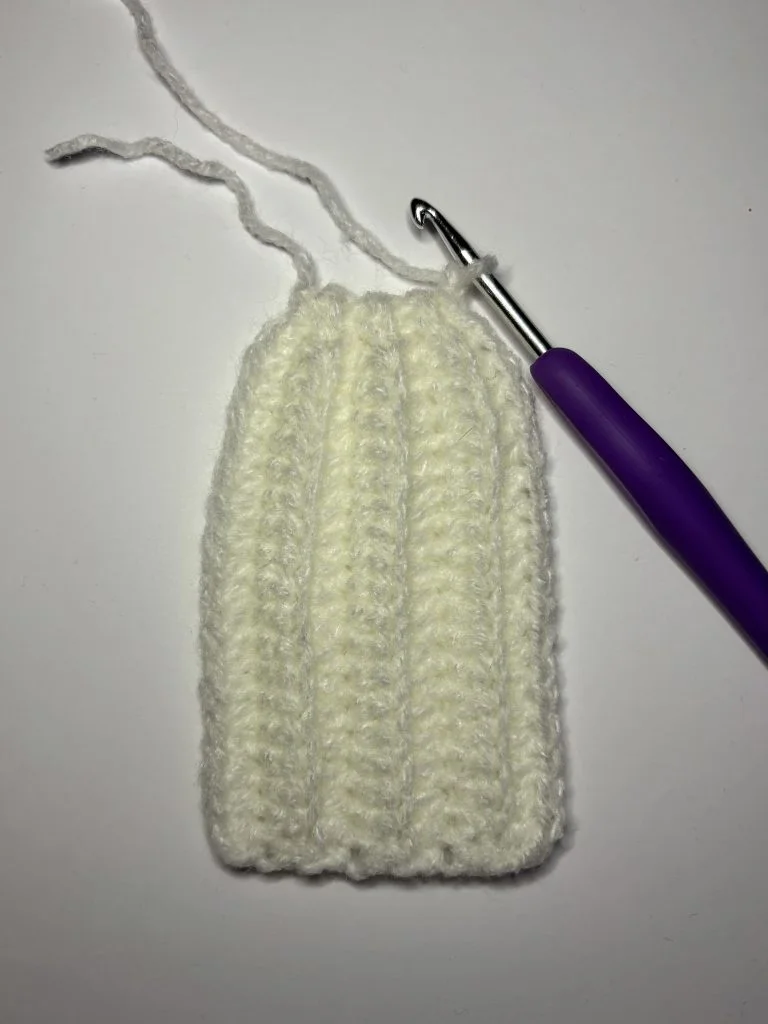
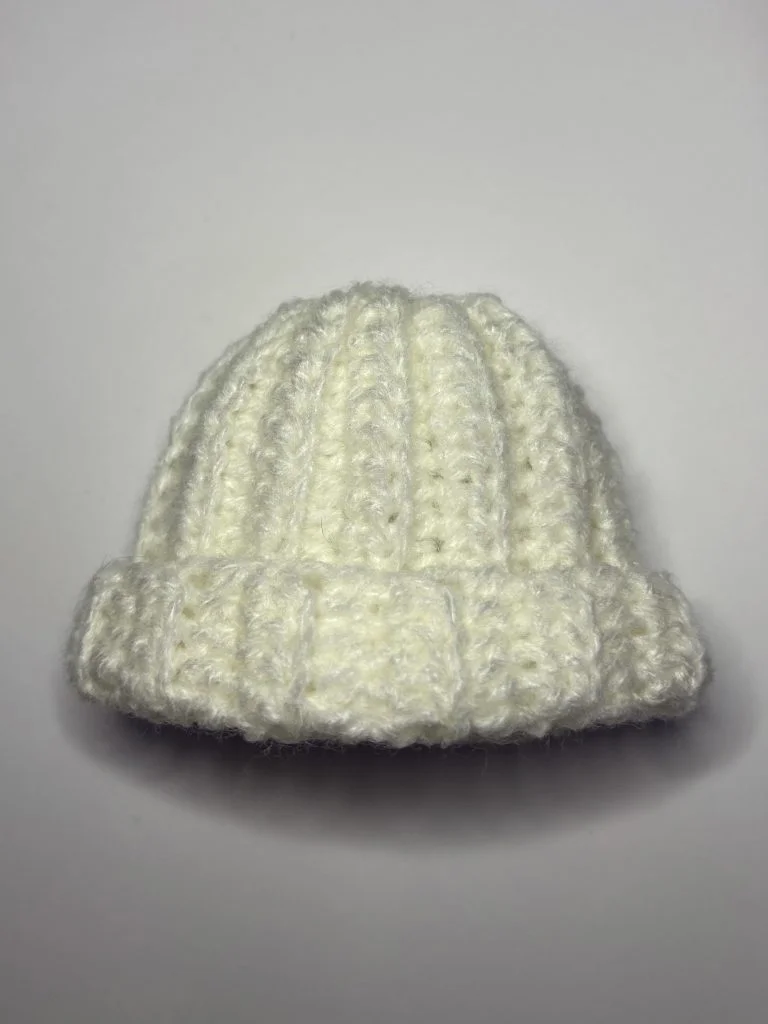
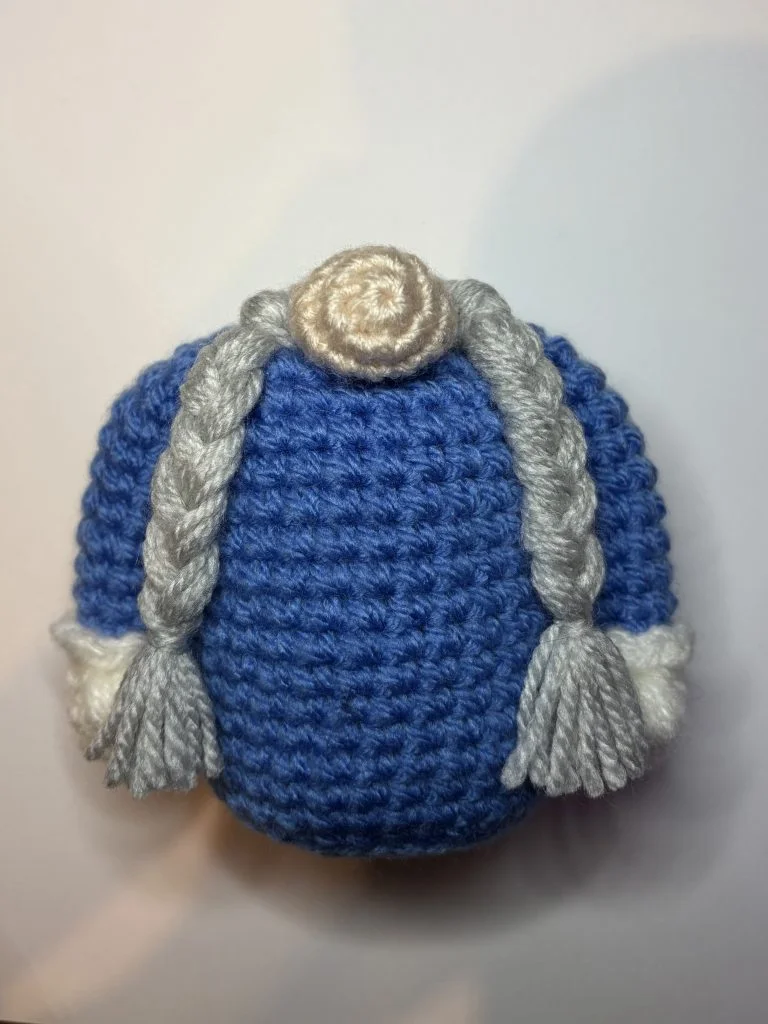
Hat
Using white yarn and 4 mm hook:
Slip knot, ch 21
Row 1: starting into 2nd back bump from the hook hdc 18, slst 2, ch 1,turn
Row 2: slstBLO 2, hdcBLO 18, ch 1, turn
Row 3: hdcBLO 18, slstBLO 2, ch 1, turn
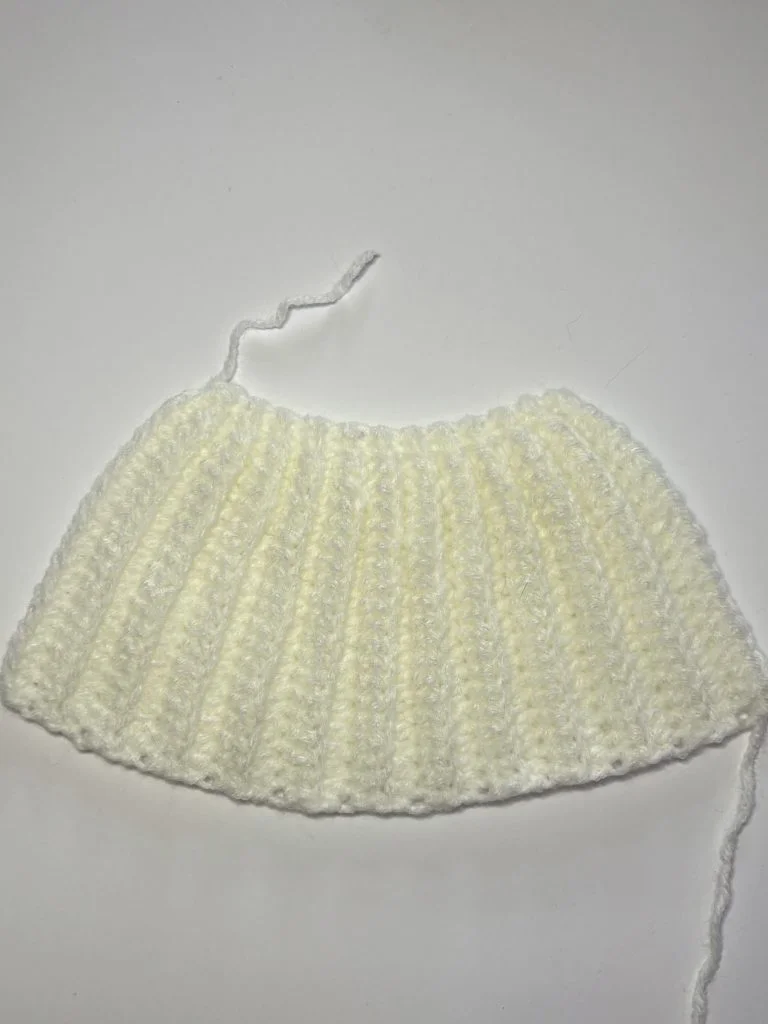
Continue repeating row 2 and 3 sequence until having 25 rows.
- Slst along to connect two sides together. You can insert your hook in the front loops of both sides and slst. Fasten off and cut the yarn, leaving a long piece to close it later.
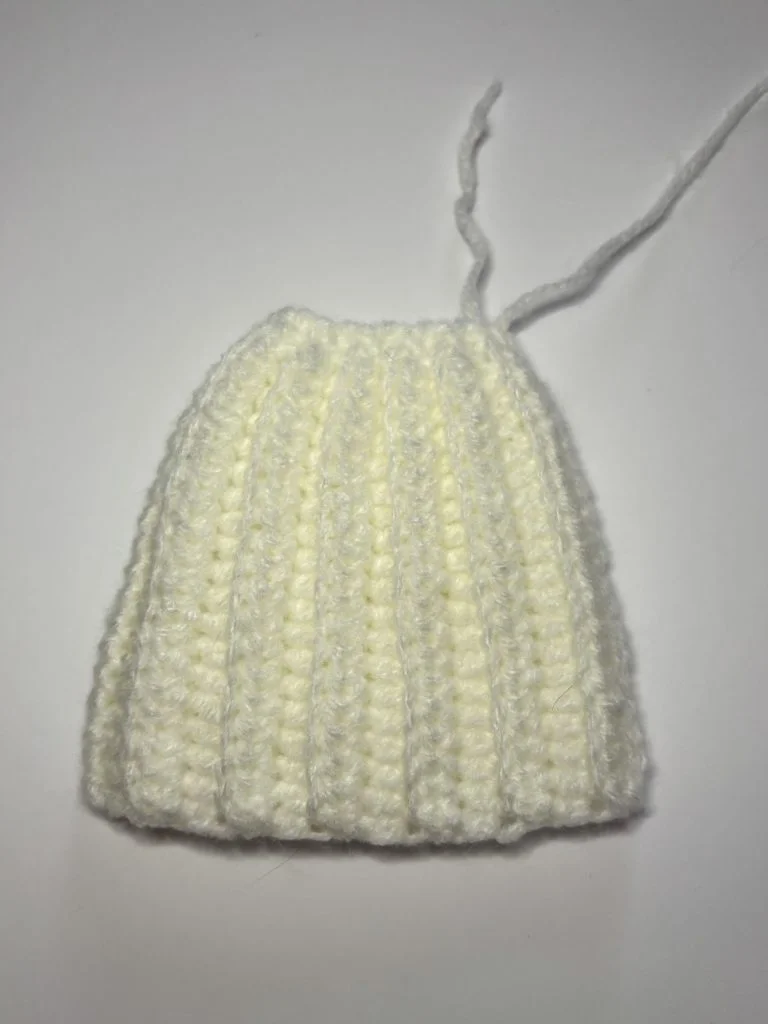
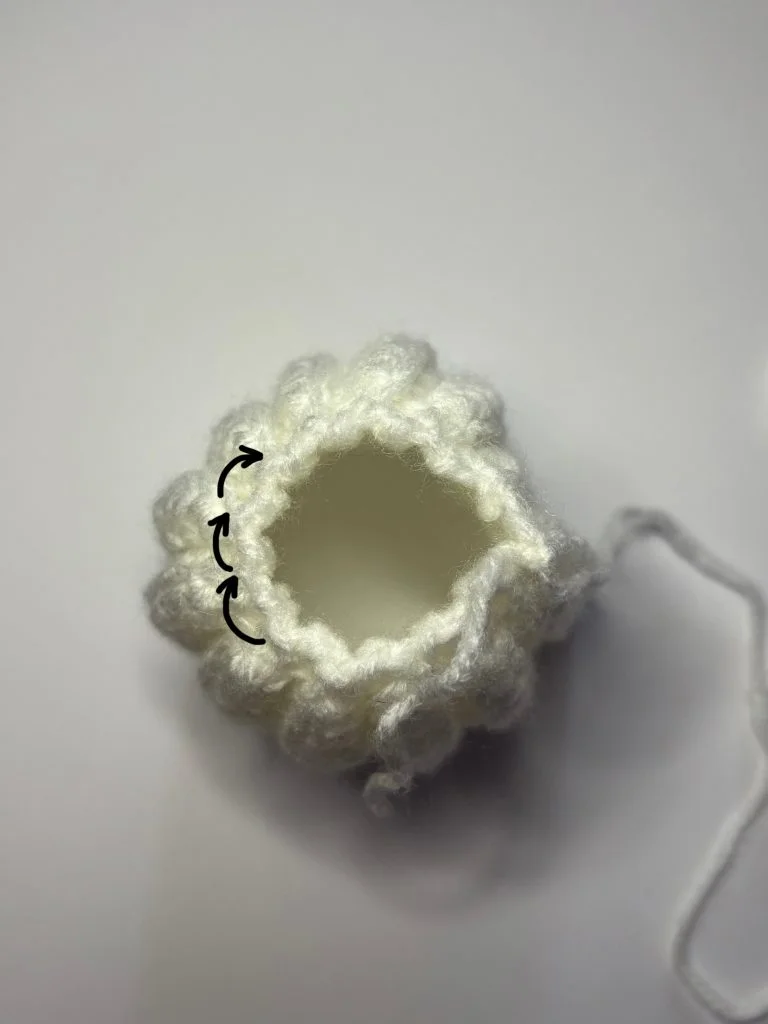
- Using the needle pull the yarn through all the stripes around.
- Pull it tightly and secure it by tying. You can repeat pulling the yarn around to close the hole completely.
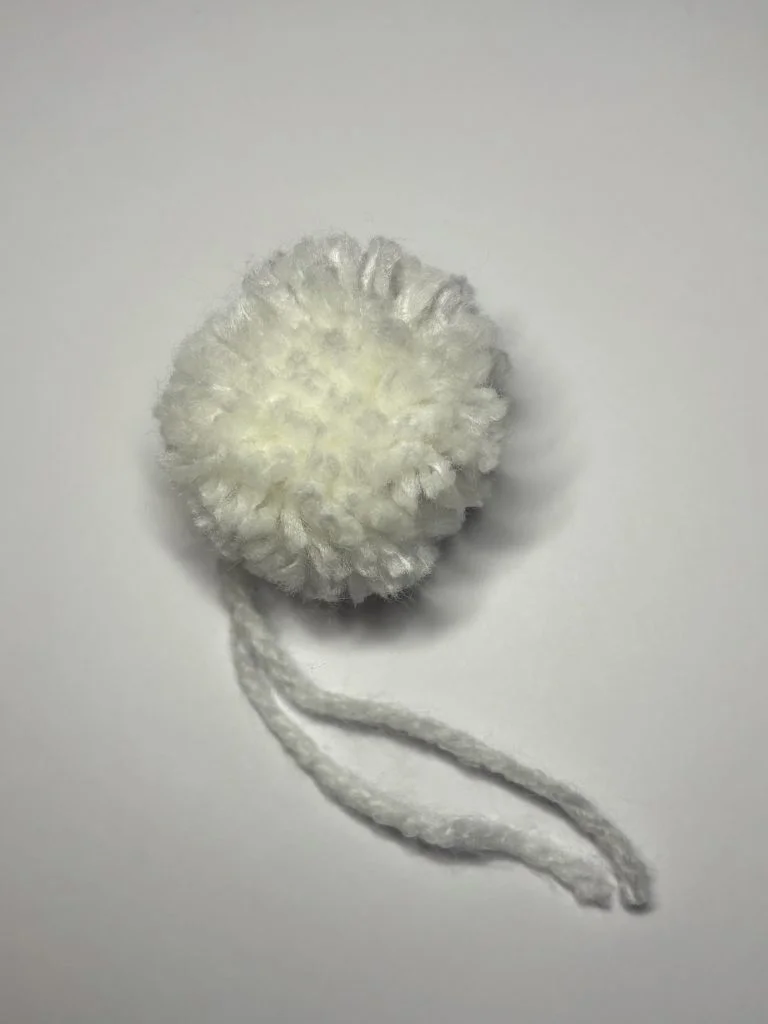
- To make a pompom I used a plastic pompom maker kit. You can find pompom tutorial on our website – Steps On How To Make A Pom Pom With Yarn to make it yourself. You can also buy a ready one.
5. Using the needle, pull through the pompom’s strings and tie them on the other side to secure it.
The easily printable Winter Gnomes PDF version is available in our shop:
Nose
Using beige yarn and 4 mm hook:
Rnd 1: 6 sc in MR (6)
Rnd 2: inc 6 (12)
Rnd 3: (sc 5, inc) 2x (14
Rnd 4: sc 14 (14)
Rnd 5: dec 7 (7) Stuff the nose.
Fold in half and sew, leaving longer piece for sewing later.
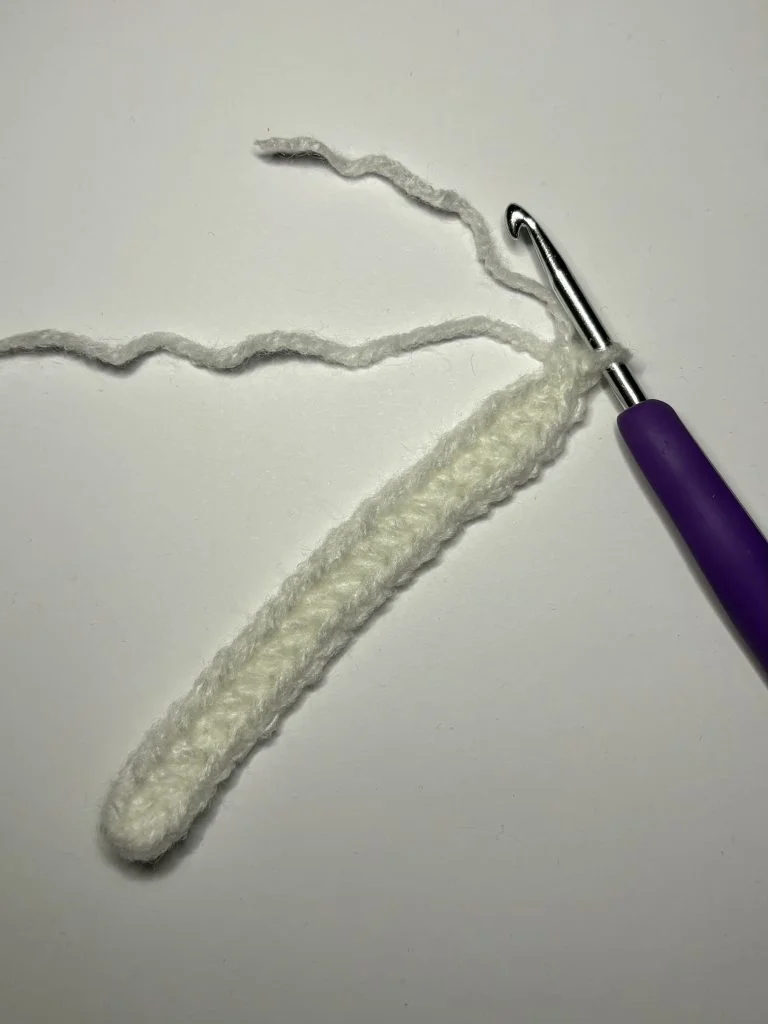
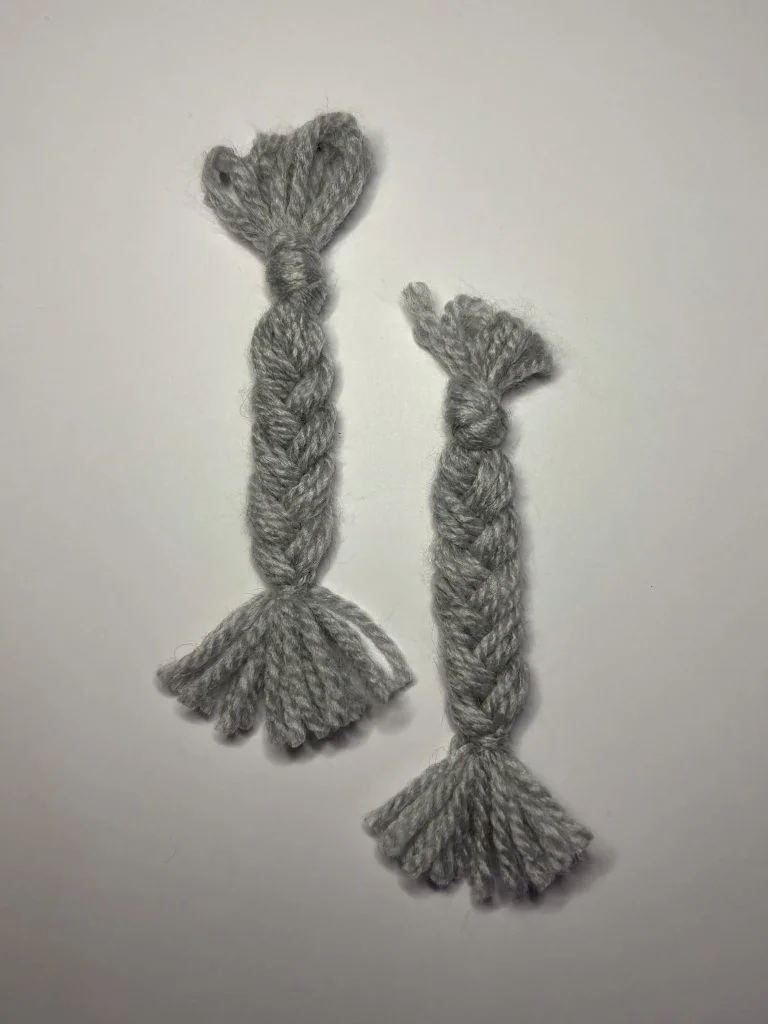
Braids x2
Using brown yarn:
Fold pieces of yarn a few times (mine has 18 hair, approx. 15 cm / 6″ per hair). Make a knot on the top. Divide into 3 parts and start braiding. Tie at the end using a piece of yarn to secure it. Cut the end to make them even.
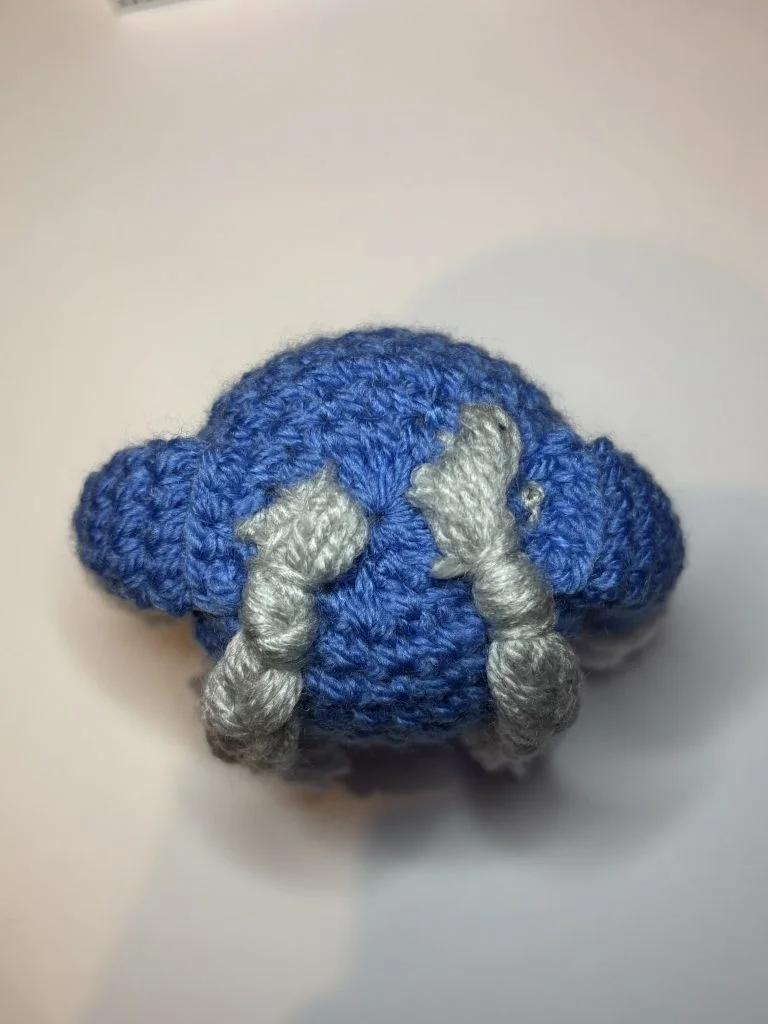
Assembling
- Sew the arms to the body, between 3rd and 4th row counting from the top of the body.
- Sew the braids to the body on the same height as the arms (between them).
- Add the nose on the top of the beard (in the middle).
- Add stuffing inside the hat.
- By using colorful pins, you can place the hat on your gnome and sew it slowly stitch by stitch, without it moving. Sew the hat at the line of arms, beard and around nose.


Your Gnomes are ready!
The easily printable Winter Gnomes PDF version is available in our shop:
Thank you for using this pattern! Let us know how you liked it in the comments section below. 🙂

Very adorable, my husband loved them. The pattern was 8 out of 10 easy. Thank you for this.