
In this article:

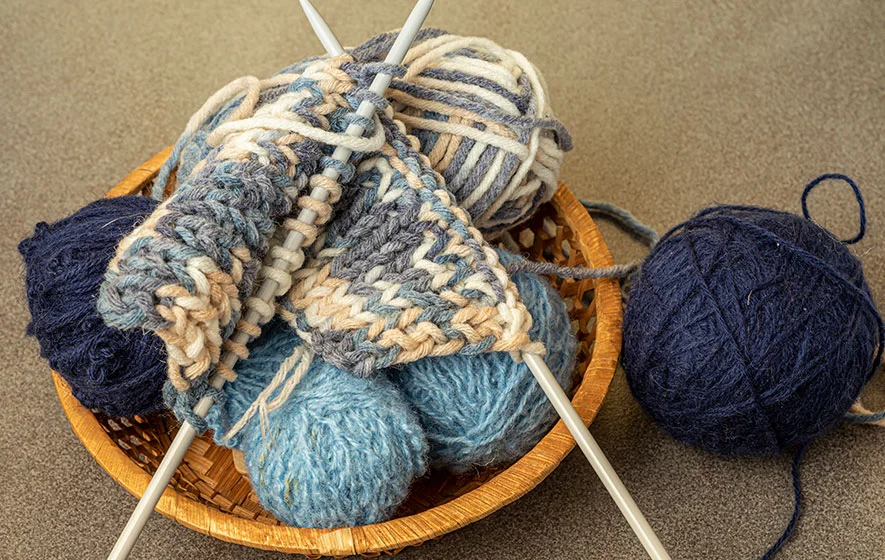
Knitting is a timeless craft that allows individuals to create beautiful and functional pieces using just a pair of needles and some yarn. One of the fundamental stitches in knitting is the stockinette stitch, a versatile technique that forms the basis of countless knitting projects. Whether you’re a beginner or an experienced knitter looking to expand your repertoire, understanding the stockinette stitch is essential. In this guide, we’ll delve into the characteristics and applications of the stockinette stitch and provide you with step-by-step instructions to master it.
Understanding the Stockinette Stitch
The stockinette stitch, often referred to as the “stocking stitch” in the UK, is a simple yet impactful knitting pattern that creates a smooth and sleek fabric with distinct sides. One side features a series of “V” shapes, while the other side showcases a bumpy texture known as “reverse stockinette.” This duality makes the stitch reversible, allowing you to choose the side that best fits your project.
Characteristics of Stockinette Stitch
The stockinette stitch’s defining characteristic is its smooth, flat surface. This makes it an excellent choice for creating garments like sweaters, scarves, and blankets, as well as items where a uniform texture is desired. Its simplicity lends itself to showcasing the color and texture of the yarn you choose, making it a versatile option for various aesthetics.
Applications of Stockinette Stitch
Due to its neat appearance, the stockinette stitch is often used for the main body of garments. However, it’s essential to keep in mind that the edges of a stockinette stitch tend to curl inward, making it less suitable for pieces that require stable edges, like scarves. To prevent this curling, it’s common to incorporate a border of a different stitch, such as garter stitch or ribbing.
Mastering the Stockinette Stitch
Now that you have a grasp of what the stockinette stitch is and its potential applications, let’s walk through the steps to create it.
Materials You’ll Need
Before you begin, gather the following materials:
- Choose a yarn that matches your project’s requirements. Thinner yarns result in smaller stitches, while thicker yarns create larger stitches.
- Select knitting needles that are appropriate for your chosen yarn. The yarn’s label often provides needle size recommendations.
Step-by-Step Instructions
- Cast On
Begin by casting on an even number of stitches, which will serve as the foundation for your project. The cast-on row will later become the bottom edge of your work.
- First Row
Start the first row by knitting each stitch across. This will create the bumpy “reverse stockinette” side of your work.
- Second Row
The second row marks the beginning of the stockinette pattern. Knit the first stitch, then purl the next stitch. Continue alternating between knitting and purling until you reach the end of the row.
- Repeat Second Row
Repeat the second row for subsequent rows. Remember, the “right side” rows will be knit across, and the “wrong side” rows will alternate between knitting and purling.
- Binding Off
Once you’ve reached the desired length of your project, it’s time to bind off. Knit the first two stitches of the row. Then, use the left needle to lift the first stitch over the second stitch and off the right needle. Continue this process of knitting one stitch and passing the previous stitch over it until you have one stitch remaining. Cut the yarn and thread it through the last stitch, pulling tight to secure it.
Tips for Perfecting Your Stockinette Stitch
Achieving a polished stockinette stitch requires attention to detail. Here are some tips to help you create even and consistent results:
- Maintain consistent tension on the yarn as you knit and purl. Uneven tension can lead to uneven stitches and an irregular fabric appearance.
- The edges of a stockinette piece tend to curl inward, so consider using a larger needle size for the edge stitches or adding a border stitch to prevent this curling.
- Count your rows periodically to ensure you’re maintaining the correct pattern. Mistakes in counting can lead to a lopsided finished product.
- Before starting a larger project, create a small sample swatch to practice your tension and ensure the final piece meets your expectations.
- After completing your stockinette project, consider blocking it to help even out the stitches and give the fabric a professional finish.
Unlock Your Knitting Potential with Stockinette Stitch
The stockinette stitch is a knitting essential that opens the door to a wide range of creative possibilities. From cozy sweaters to elegant blankets, mastering this technique equips you with the skills to bring your knitting visions to life. Remember, practice makes perfect, so don’t be discouraged if your first attempts aren’t flawless. With dedication and a keen eye for detail, you’ll soon find yourself creating beautifully smooth and versatile projects that showcase the charm of the stockinette stitch. So pick up your needles, select your favorite yarn, and embark on a knitting journey that celebrates this timeless and adaptable stitch.