In this article:

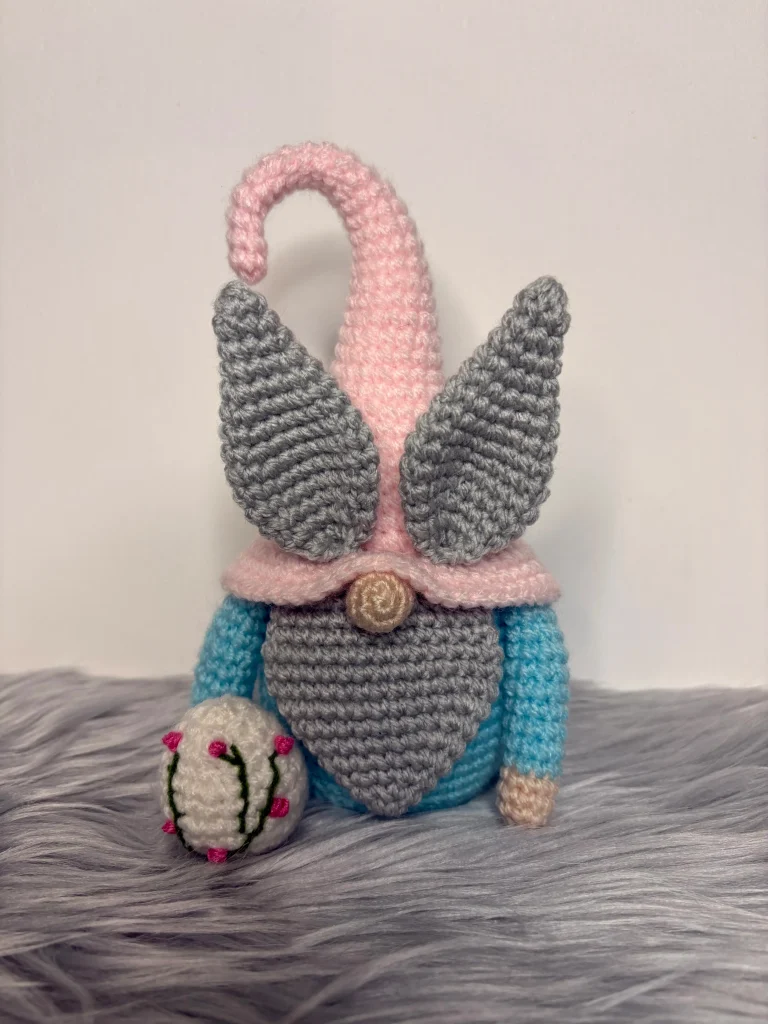
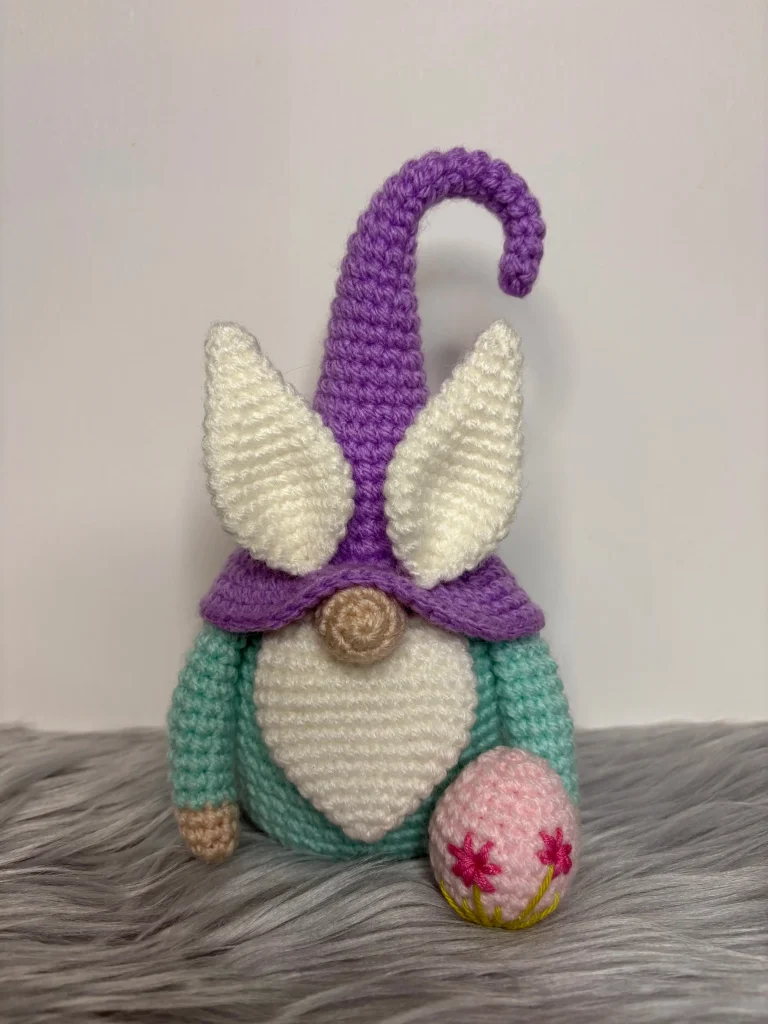
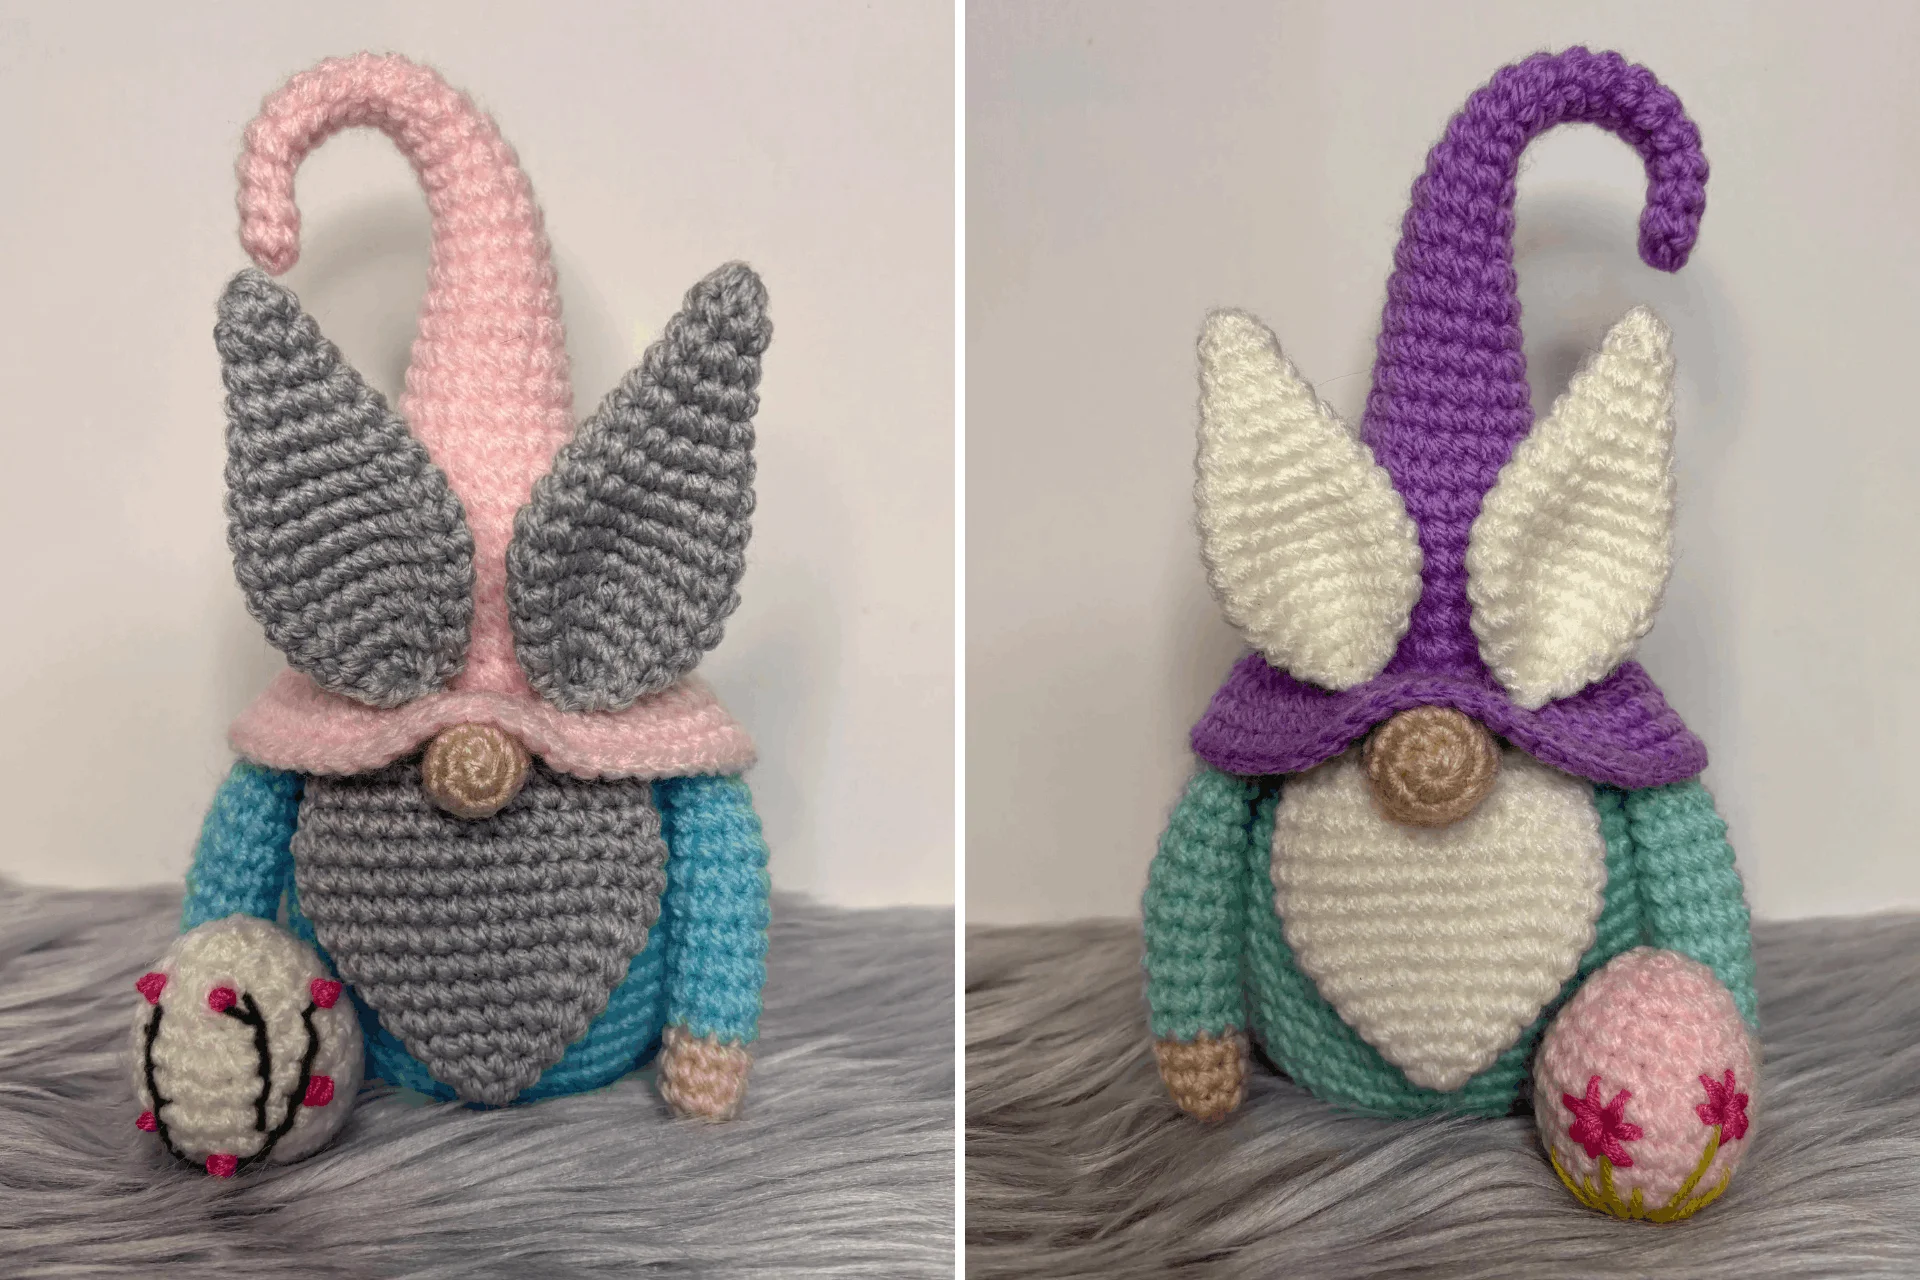
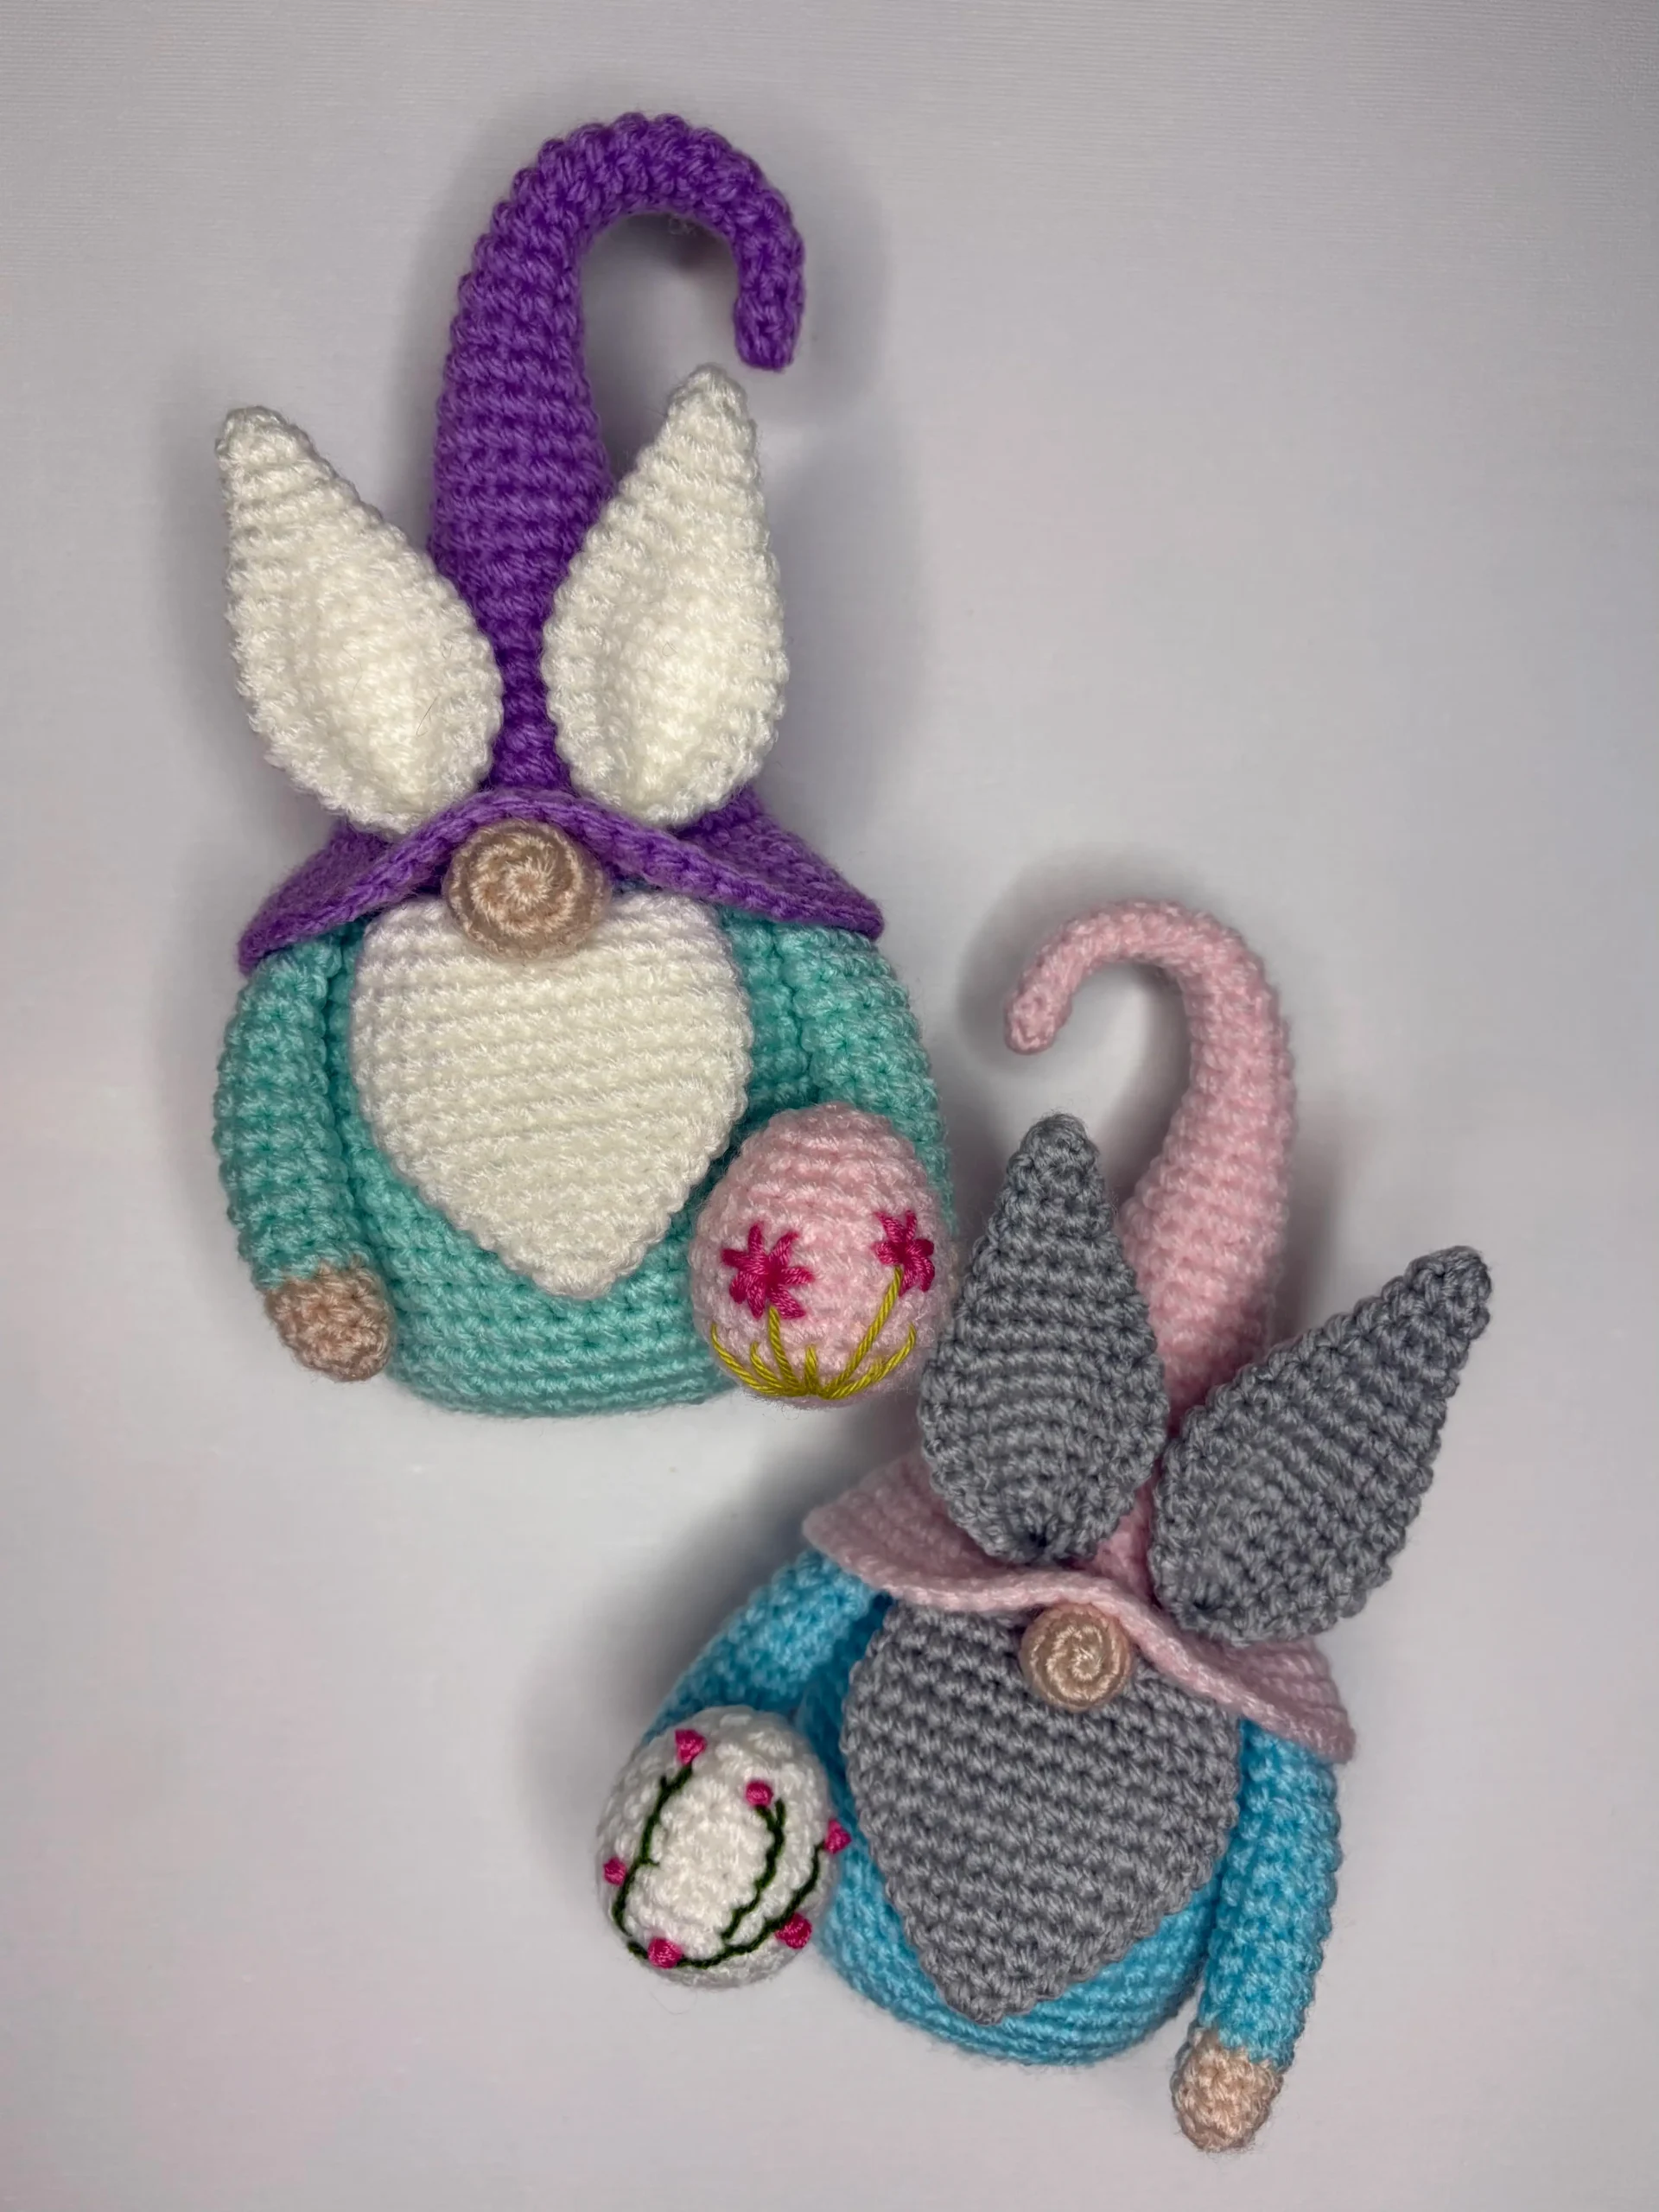
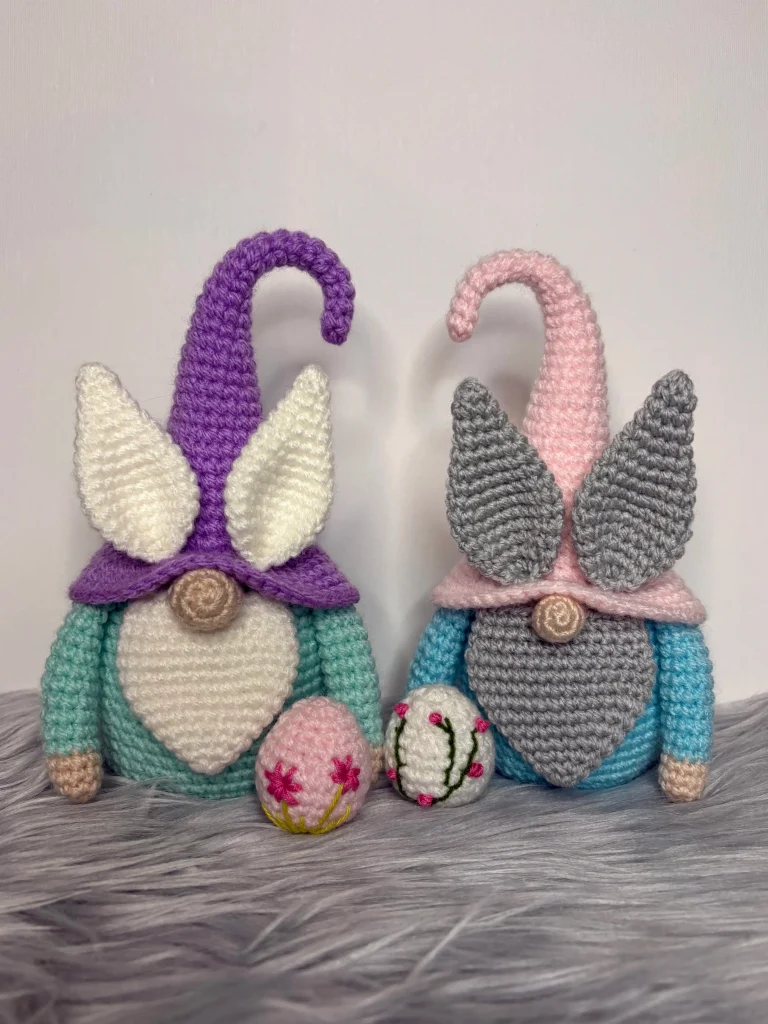
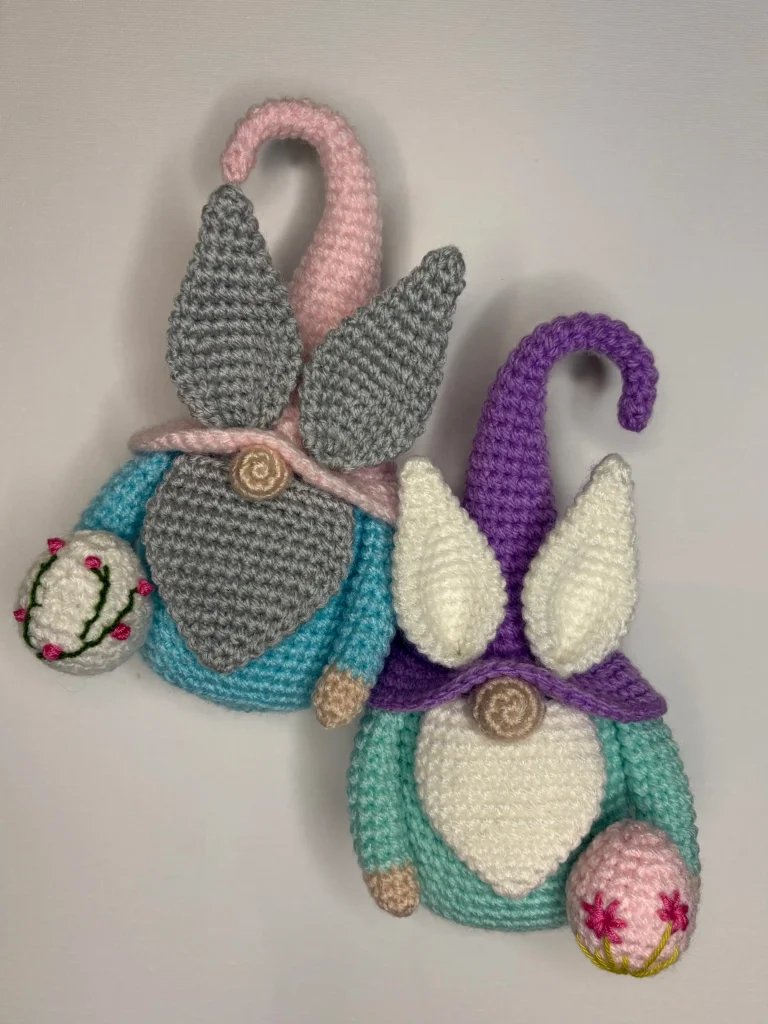
Soft pastel tones and playful details make these Easter gnomes a lovely addition to spring décor. Designed as bunny-inspired versions, each gnome features long ears and holds a small egg, giving them a seasonal look that fits perfectly with Easter decorations. The finished size is approximately 20 cm / 7.87″ in height and 10 cm / 3.93″ in width, making them ideal for styling on a shelf, table centerpiece, or entryway display.
The pattern includes clear step-by-step instructions and detailed photos to guide you through the process. The construction is simple and enjoyable, with straightforward shaping that allows the character details to stand out. While they look great in soft pastel shades, you can easily make them in brighter or more neutral colors to match your home or existing decorations.
These gnomes are a charming way to refresh your space for spring. Simple in structure yet full of character, they add a handmade touch that brings warmth and personality to Easter décor without overwhelming it.
In this post, you will find a free pattern for Easter Gnomes. Don’t forget to also check our Exclusive Patterns and other Easter posts.
The easily printable Easter Gnomes PDF version is available in our shop:
This free crochet pattern was designed exclusively for Your Crochet by Weronika Miechowicz.
About the Author
Weronika has a real passion for crocheting and enjoys creating patterns that reflect her love for handmade, seasonal projects. She shares her designs to inspire others to pick up their hooks and make something fun for themselves, their homes or gifts for their loved ones.
Ravelry | Etsy | YourCrochet Shop
Pattern Notes
This is a beginner-friendly crochet pattern, and I’m using US terms.
Materials and Tools
- Fine/Super fine yarn weight: purple, turquoise, white, beige, pink, blue, grey
- crochet hook: 3 mm
- tapestry needle
- scissors
- stuffing
- stitch markers
- 2 x chenille stems
Measurements
- HEIGHT: 20 cm / 7.87″
- WIDTH: 10 cm / 3.93″
Stitches and Abbreviations
- st(s) – stitch(es)
- ch – chain(s)
- sc – single crochet
- slst – slip stitch
- MR – magic ring
- inc – increase
- dec – decrease
- FLO – front loop only
- BLO – back loop only
Notes
- This pattern contains one gnome tutorial.
- You can use your own colors of yarn to make them more personalized.
- You can easily change the size of your gnomes by using different yarn weight and hook.
Easter Gnomes Free Crochet Pattern
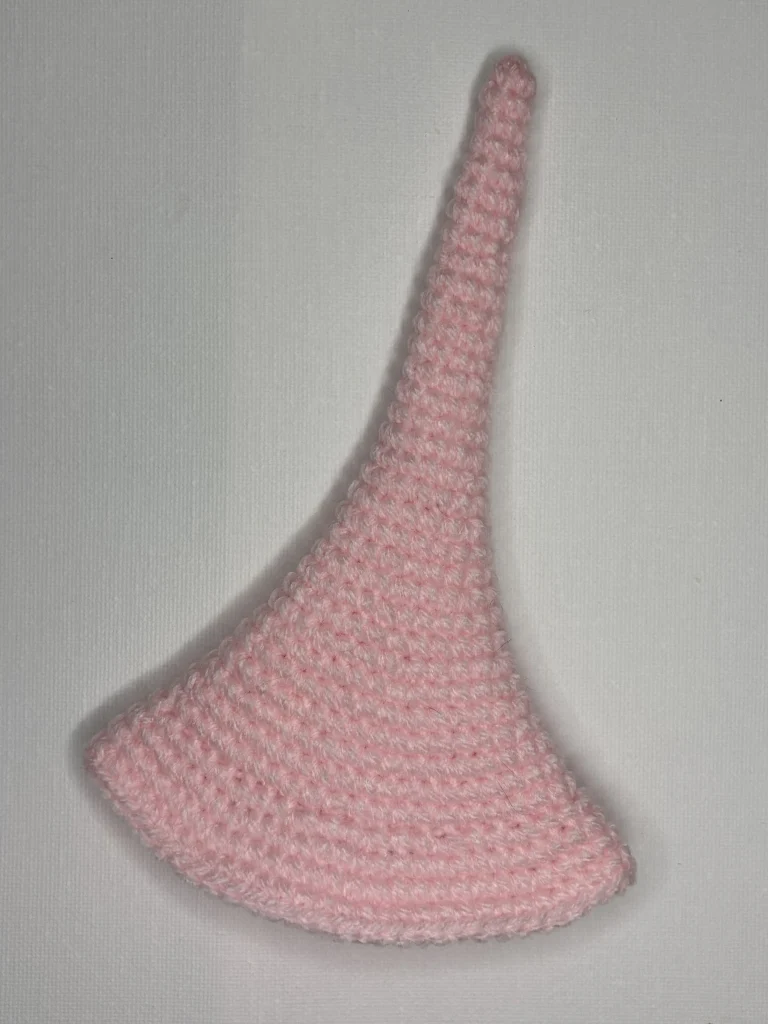
Hat
Using pink yarn:
Rnd 1: 6 sc in MR
Rnd 2 – 4: sc 6 (6)
Rnd 5: (sc 2, inc) 2x (8)
Rnd 6 – 9: sc 8 (8)
Rnd 10: (sc 3, inc) 2x (10)
Rnd 11 – 14: sc 10 (10)
Rnd 15: (sc 4, inc) 2x (12)
Rnd 16 – 17: sc 12 (12)
Rnd 18: (sc 3, inc) 3x (15)
Rnd 19 – 20: sc 15 (15)
Rnd 21: (sc 4, inc) 3x (18)
Rnd 22 – 23: sc 18 (18)
Rnd 24: (sc 2, inc) 6x (24)
Rnd 25 – 26: sc 24 (24)
Rnd 27: (sc 3, inc) 6x (30)
Rnd 28: sc 30 (30)
Rnd 29: (sc 4, inc) 6x (36)
Rnd 30: sc 36 (36)
Rnd 31: sc 2, inc, (sc 5, inc) 5x, sc 3 (42)
Rnd 32-33: sc 42 (42)
Rnd 34: FLO: (sc 2, inc) 14 x (56)
Rnd 35: sc 56 (56)
Rnd 36: (sc 7, inc) 7x (63)
Rnd 37: sc 63 (63)
Fasten off and weave in the ends.
The easily printable Easter Gnomes PDF version is available in our shop:
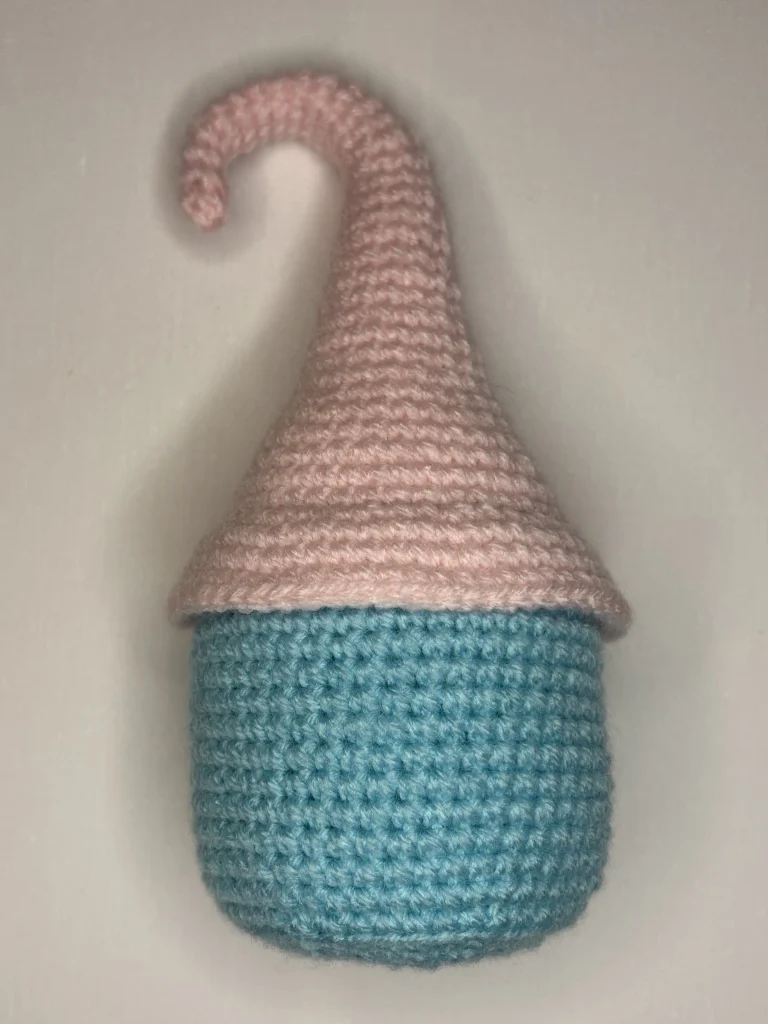
Body
Using blue yarn:
Attach the yarn in the back loops of round 34th of the hat.
Rnd 1: sc 42 in the back loops (42)
Rnd 2: (sc 6, inc) 6x (48)
Rnd 3 – 15: sc 48 (48)
Rnd 16: (sc 6, dec) 6x (42)
Rnd 17: BLO: (sc 5, dec) 6x (36)
Put a chenille stem inside the hat and start to stuff the hat and the body.
Rnd 18: (sc 4, dec) 6x (30)
Rnd 19: (sc 3, dec) 6x (24)
Rnd 20: (sc 2, dec) 6x (18)
Rnd 21: (sc, dec) 6x (12) Finish the stuffing.
Rnd 22: dec 6 (6)
Fasten off and close the hole.
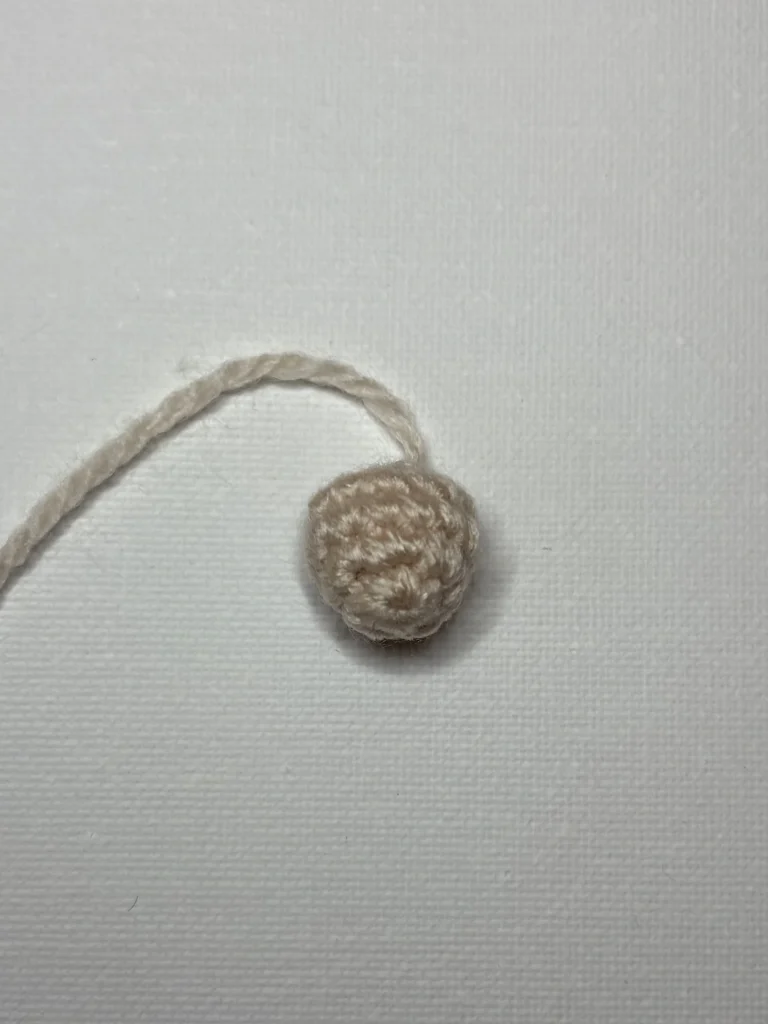
Nose
Using beige yarn:
Rnd 1: 6 sc in MR
Rnd 2: inc 6 (12)
Rnd 3: (sc 5, inc) 2x (14)
Rnd 4: sc 14 (14)
Rnd 5: dec 7 (7) Stuff the nose.
Fold in half and sew, leaving a longer piece for sewing later.
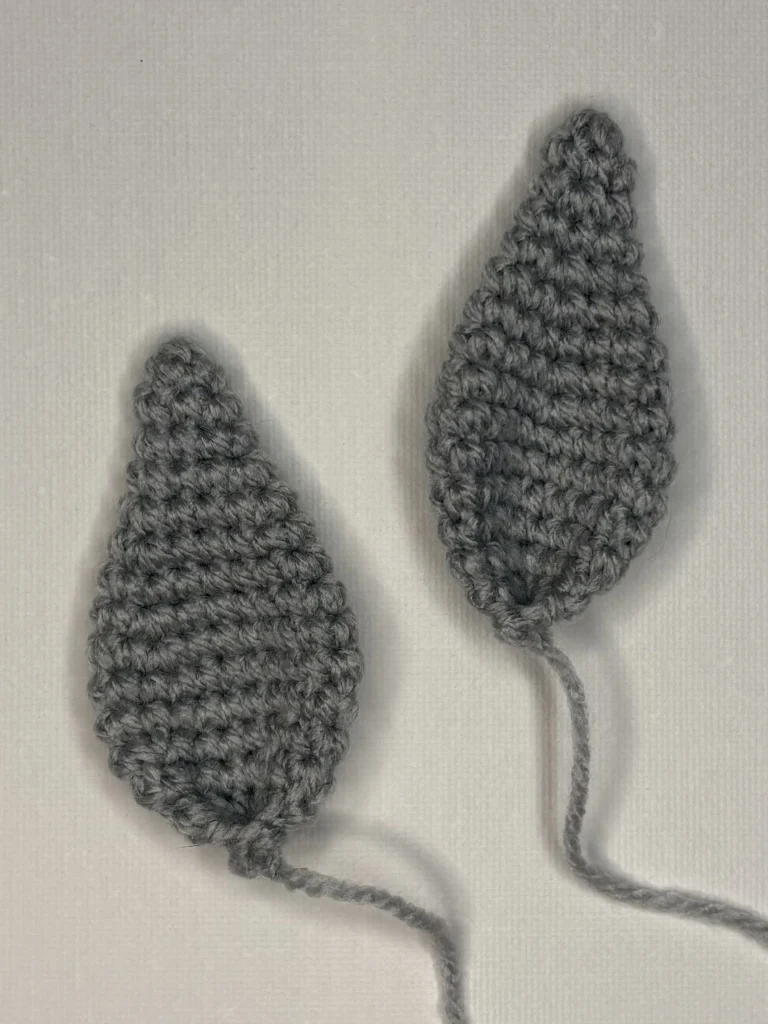
Ears – make 2
Using grey yarn:
Rnd 1: 6 sc in MR (6)
Rnd 2: sc 6 (6)
Rnd 3: (sc, inc) 3x (9)
Rnd 4: sc 9 (9)
Rnd 5: (sc 2, inc) 3x (12)
Rnd 6: (sc 3, inc) 3x (15)
Rnd 7: sc 15 (15)
Rnd 8: (sc 4, inc) 3x (18)
Rnd 9: (sc 5, inc) 3x (21)
Rnd 10-11: sc 21 (21)
Rnd 12: (sc 5, dec) 3x (18)
Rnd 13: (sc 4, dec) 3x (15)
Rnd 14: (sc 3, dec) 3x (12)
Sew the two sides together, fold in half and sew again.
The easily printable Easter Gnomes PDF version is available in our shop:
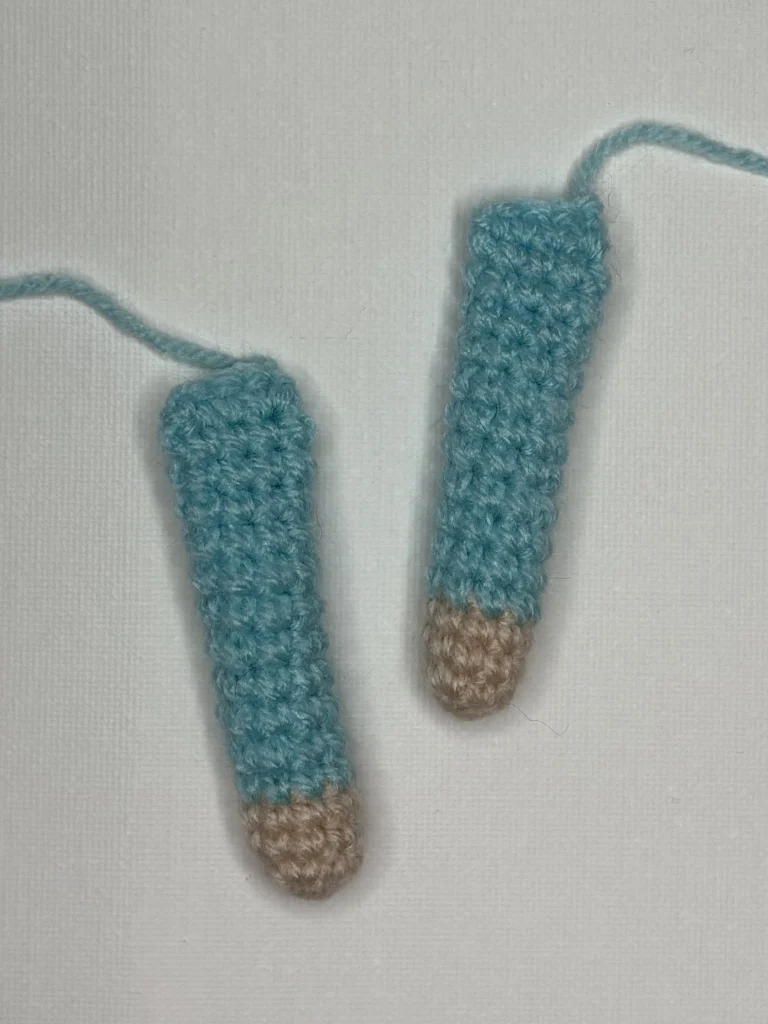
Arms – make 2
Using beige yarn:
Rnd 1: 6 sc in MR
Rnd 2: (sc, inc) 3x (9)
Rnd 3-4: sc 9 (9)
Switch to a blue color.
Rnd 5-15: sc 9 (9) Stuff the arm
Fold in half and sew together, leaving a longer piece of yarn for sewing later.
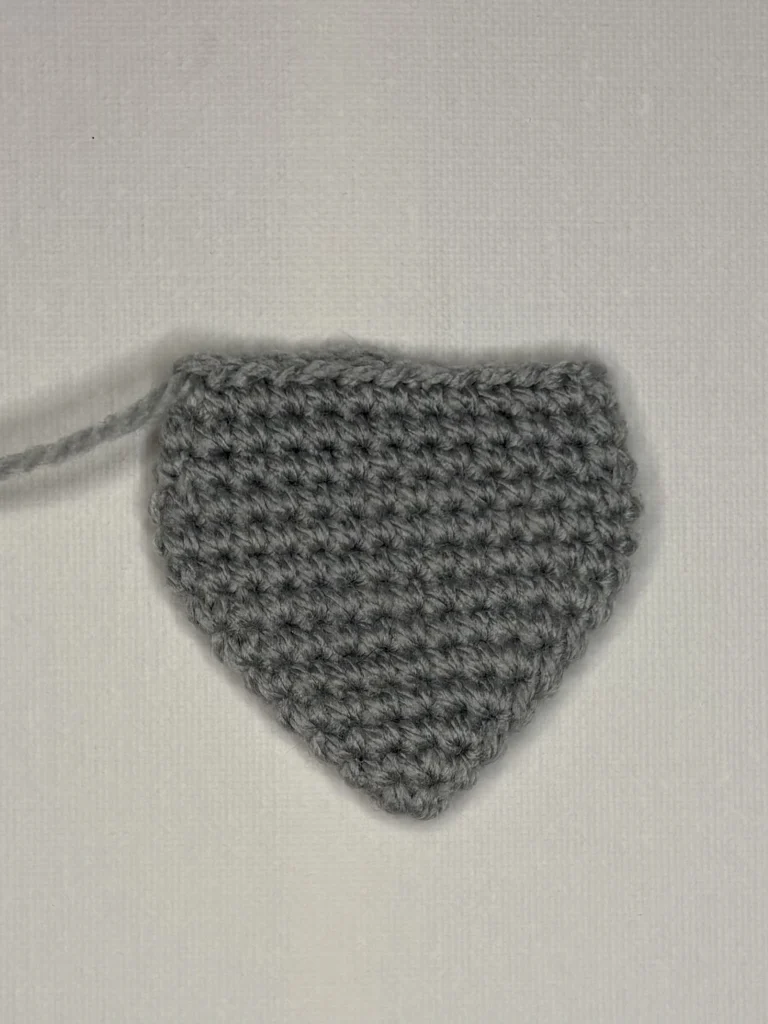
Beard
Using grey yarn:
Rnd 1: 6 sc in MR (6)
Rnd 2: (sc, inc 2) 2x (10)
Rnd 3: sc 2, inc 2, sc 3, inc 2, sc (14)
Rnd 4: sc3, inc 2, sc 5, inc 2, sc 2 (18)
Rnd 5: sc 4, inc 2, sc 7, inc 2, sc 3 (22)
Rnd 6: sc 5, inc 2, sc 9, inc 2, sc 4 (26)
Rnd 7: sc 6, inc 2, sc 11, inc 2, sc 5 (30)
Rnd 8-10: sc 30 (30)
Rnd 11: sc 6, dec 2, sc 11, dec 2, sc 5 (26)
Rnd 12-13: sc 26 (26)
Cut off leaving longer piece for sewing. Fold in half.
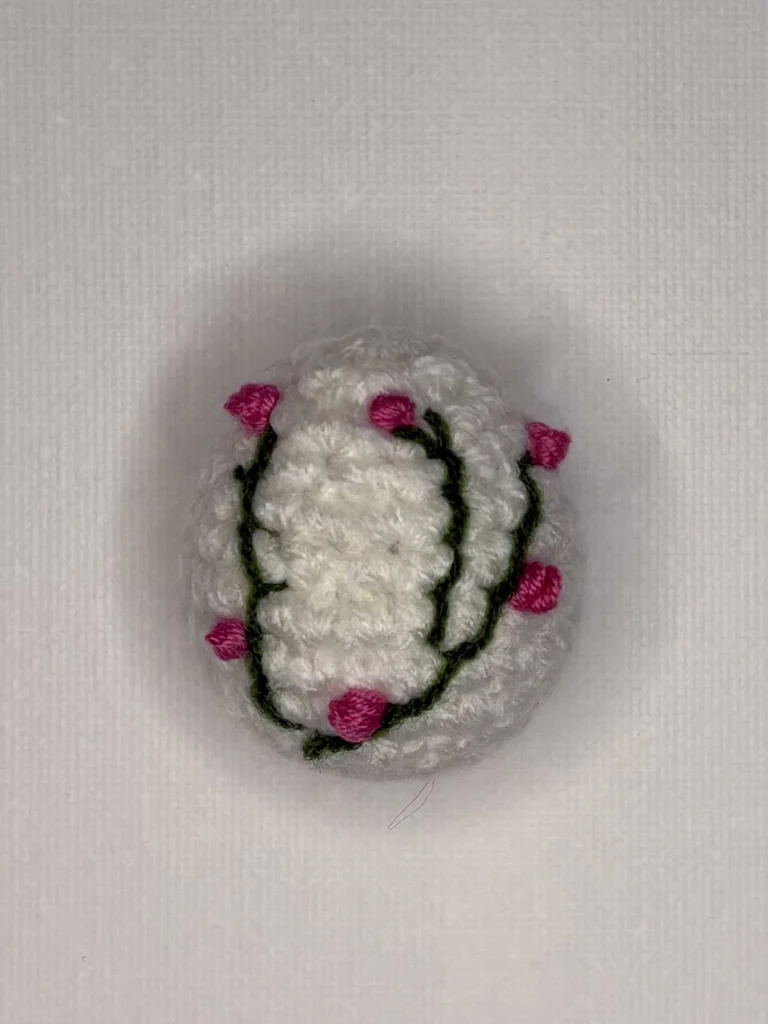
Egg
Using white yarn:
Rnd 1: 6 sc in MR (6)
Rnd 2: inc 6 (12)
Rnd 3: (sc, inc) 6x (18)
Rnd 4: sc 18 (18)
Rnd 5: (sc 2, inc) 6x (24)
Rnd 6-7: sc 24 (24)
Rnd 8: (sc 2, dec) 6x (18)
Rnd 9: (sc, dec) 6x (12) Stuff the egg.
Rnd 10: dec 6 (6)
Cut off and close the hole by using a needle.
Embroider some decorations of your choice on the egg. It can be simple flowers or vines.

The easily printable Easter Gnomes PDF version is available in our shop:
Assembling
1. Sew the arms to the body, right under the hat.
2. Sew the beard to the body on the same height as the arms, also right under the hat.
3. Add the nose to the top of the beard (in the middle).
4. Attach the 2 ears to the hat, above the beard and nose.
5. Add the egg to one of the hands by using a needle and a piece of white yarn.
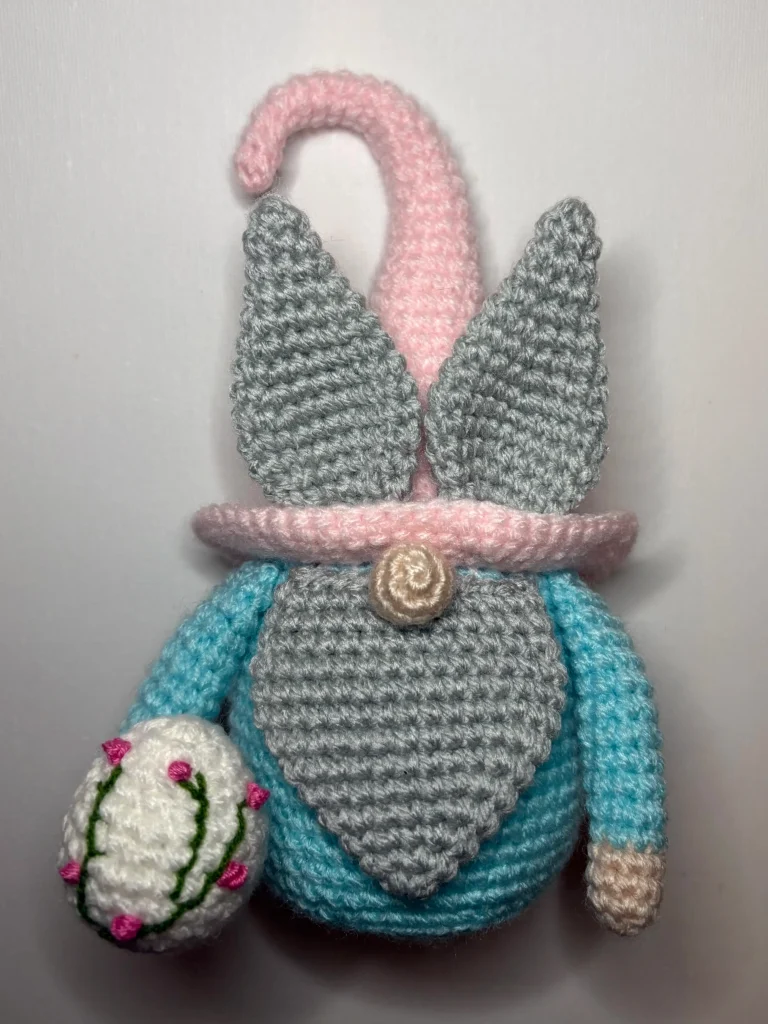
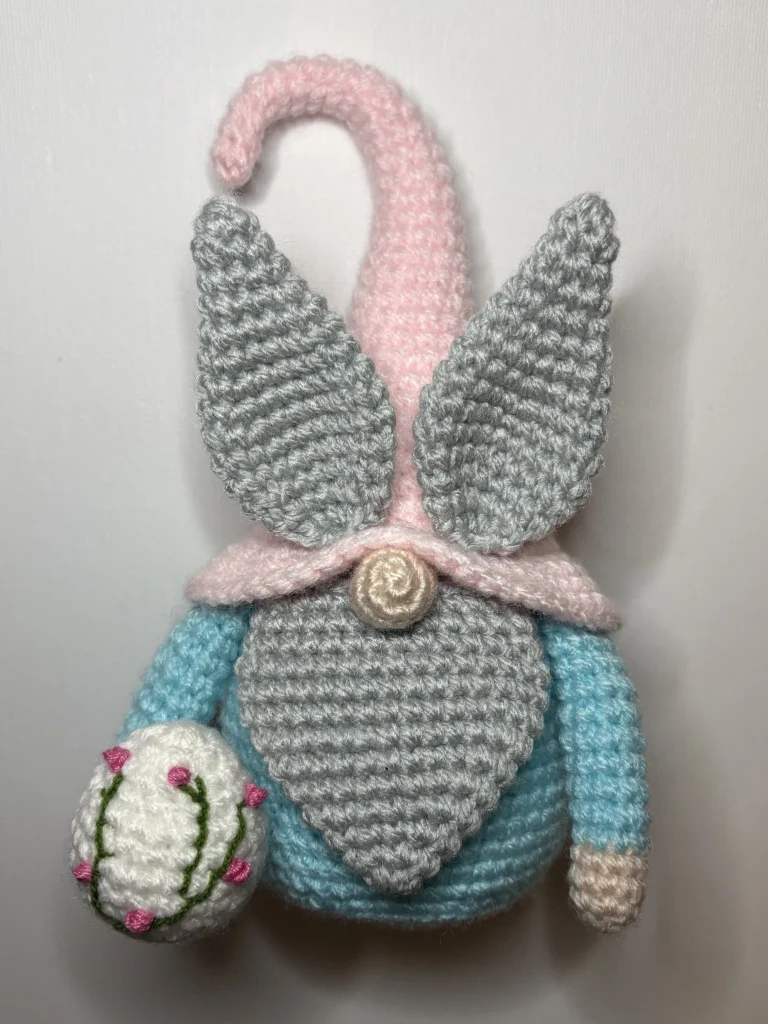
Your Easter Gnome is ready!
The easily printable Easter Gnomes PDF version is available in our shop:
Thank you for using this pattern! Let us know how you liked it in the comments section below. 🙂