
In this article:

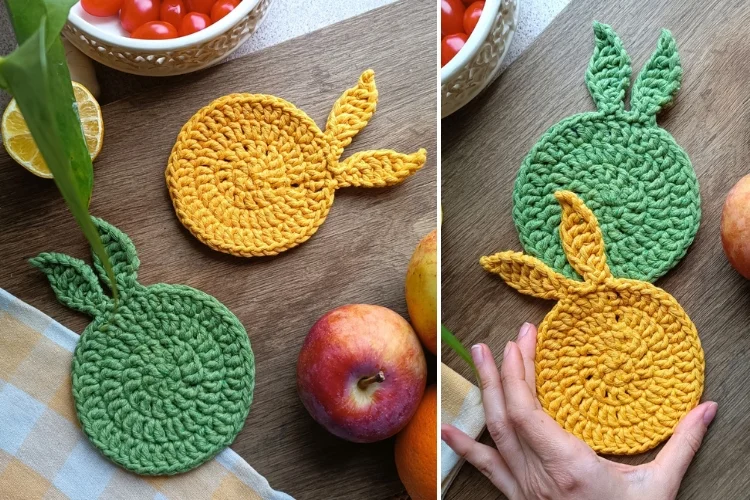
If you are craving a super quick project with immediate results, this free crochet bunny coaster pattern will be perfect! Are you familiar with basic techniques? It will be a piece of cake for you! Are you a complete beginner? No worries, it’s a great way to learn the basics.
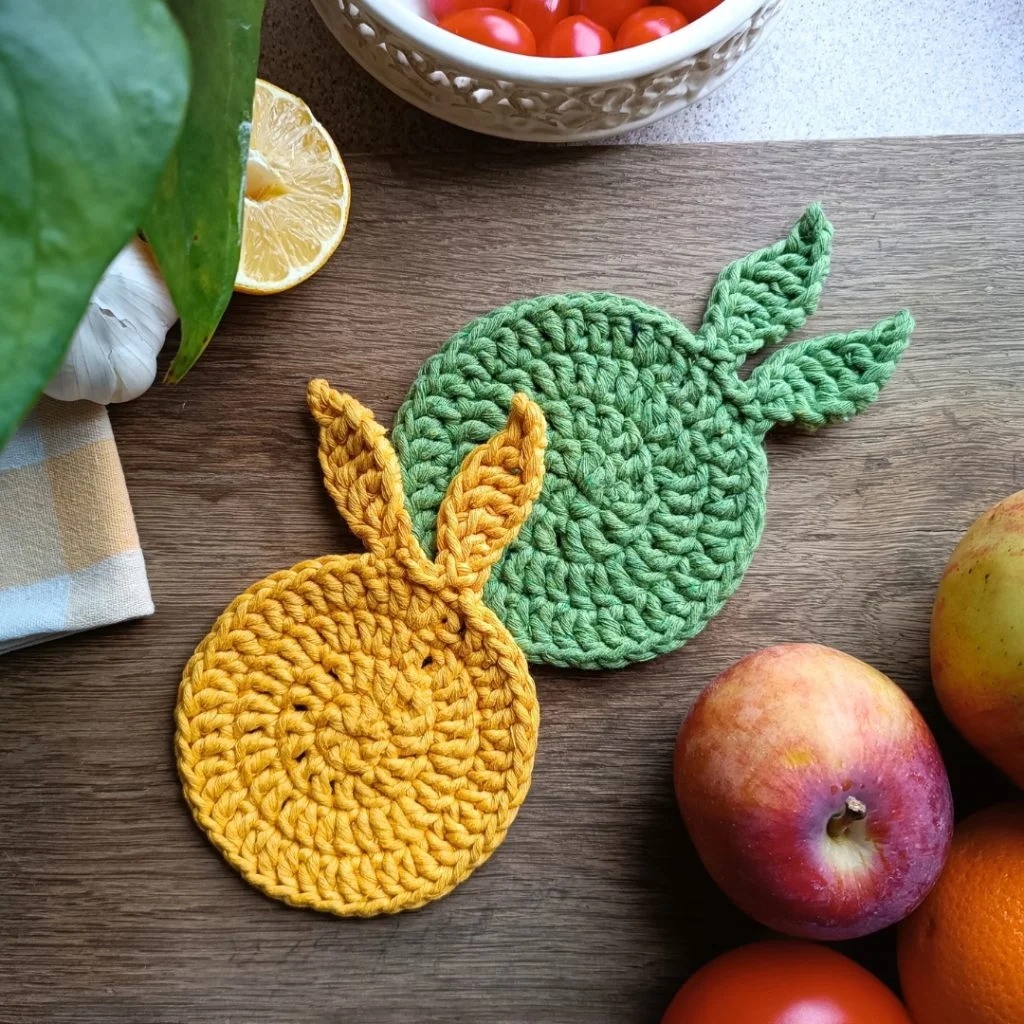
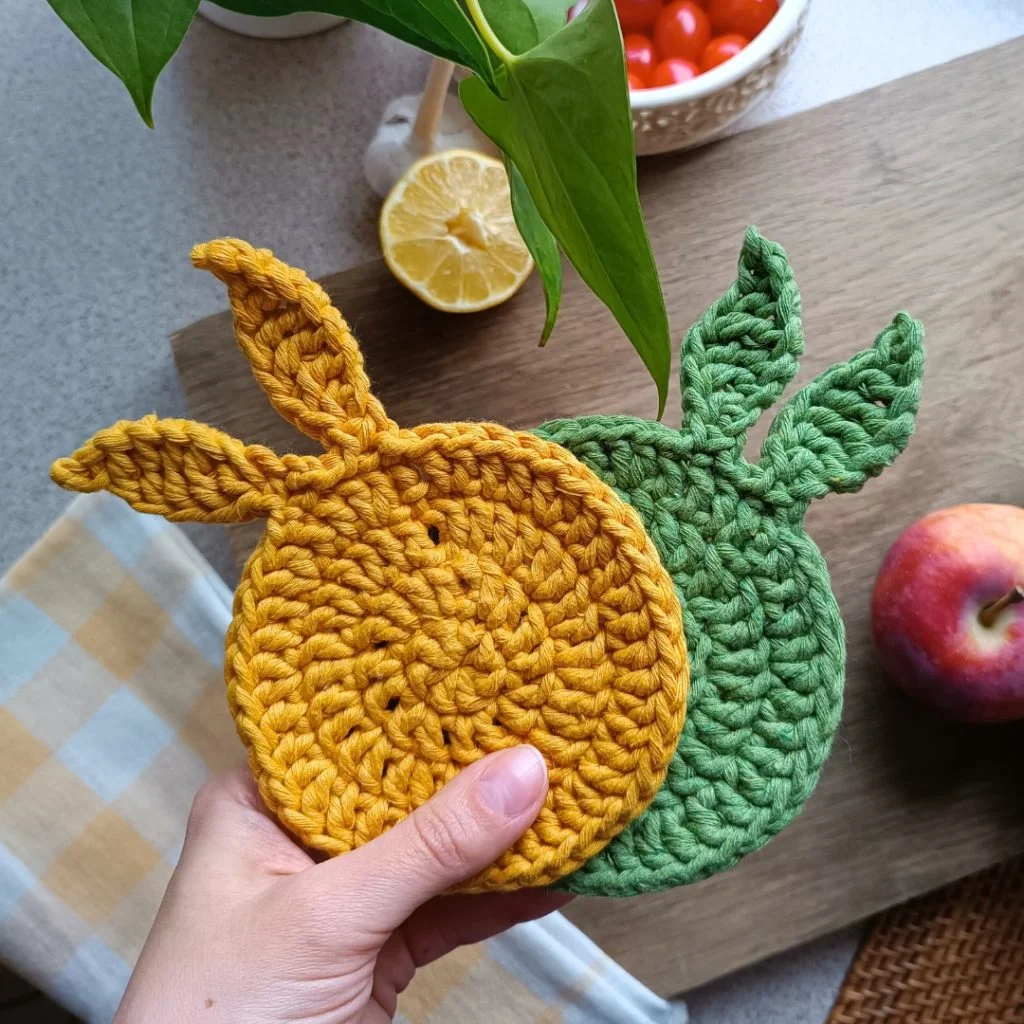
This project will show you how to turn a simple flat circle into a cute bunny by adding perky ears. All you need is a thick cotton macrame yarn, a hook, and some free time. The size is just right to fit a mug or a cup on, and the choice of yarn makes these coasters sturdy and super useful.
In this post, you will find a free crochet pattern for the easy crochet bunny coaster.
This free crochet pattern was designed exclusively for Your Crochet by Gosia Margońska.
Pattern Notes
This bunny coaster is an easy project, and the pattern uses standard US terms.
Materials and Tools
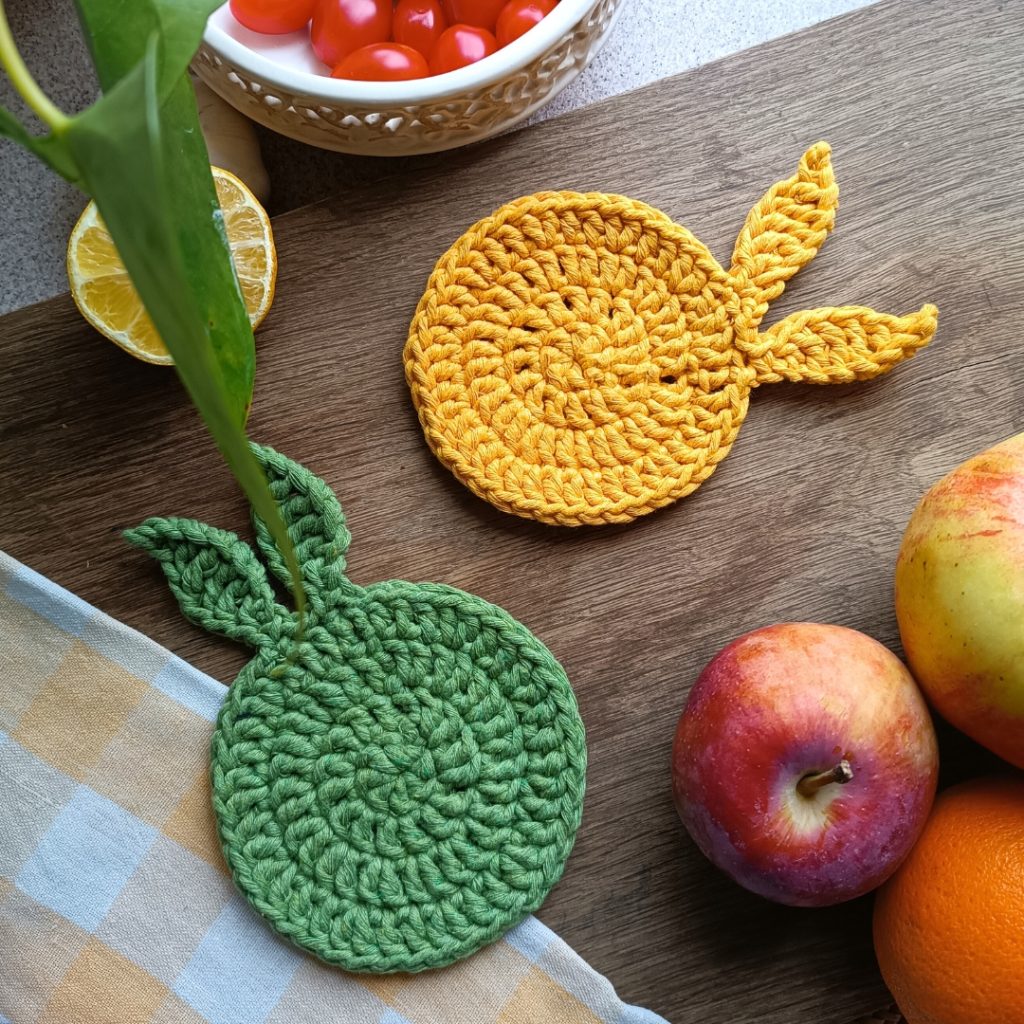
- Yarn: Cotton cord (twisted) 2 mm. Mine is from Kokonki.pl in the colorway green (403), but any similar cotton cord will be fine. You need about 25 g for one coaster.
- 5 mm crochet hook
- scissors
- yarn needle. I prefer using a metal needle because cotton cords may be hard to work with and plastic needles tend to break.
Measurements
- The circle part is 10,2 cm (~4 in) wide.
- REMEMBER! The final product may have different measurements depending on your tension, crocheting style, or the choice of yarn weight and hook size.
Stitches and Abbreviations
- magic ring
- ch – chain stitch
- sl st – slip stitch
- sc – single crochet
- dc – double crochet
- tr – treble crochet
- st – stitch
- ch-sp – chain space (the space between the clusters of double crochets, or under the chain)
- ** and () – repeat
Bunny Cup Coaster Free Crochet Pattern
Start: ch 2, 7dc in magic ring, sl st. (8)
Round 1: ch 2, 2 dc in every st, sl st. (16)
Round 2: ch 2, 2 dc till the end of the round, sl st. (32) – make a second round of double increase so the coaster won’t curl upwards even if you are crocheting very tight.
Round 3: ch 2, *2 dc, 1 dc, 1 dc* x14, 2 dc, sl st. (44)
Now the round part is over (but don’t cut the cord!)
Let’s start the ears exactly where we finished the round.
Row 1: ch 9, turn. Note 1: you can slightly change the shape of the ears by changing the tension of this chain. The looser the chain, the straighter the edge of the ear. The tighter the chain, the more rounded the shape will be. Note 2: We’ll be working next row in the chain you just made in row 1.
Row 2: 1 sl st in the 3rd loop counting from the hook, 1 dc, 3 tr, 1 dc, 1 sc, 1 sl st into the round part. – 1st ear done!
Row 3: 1 sl st in the next loop of the round part, 9 ch, turn (starting another ear).
Row 4: 1 sc in the 3rd loop counting from the hook, 1 dc, 3 tr, 1 dc, 1 sc, sl st.
Cut the yarn, secure it and weave in the ends.
It’s done!
Thank you for using this pattern! Let us know how you liked it in the comments section below. 🙂
Ready for another charming project? Check out the Flower Coaster Free Crochet Pattern!
What a lovely piece! Thanks!