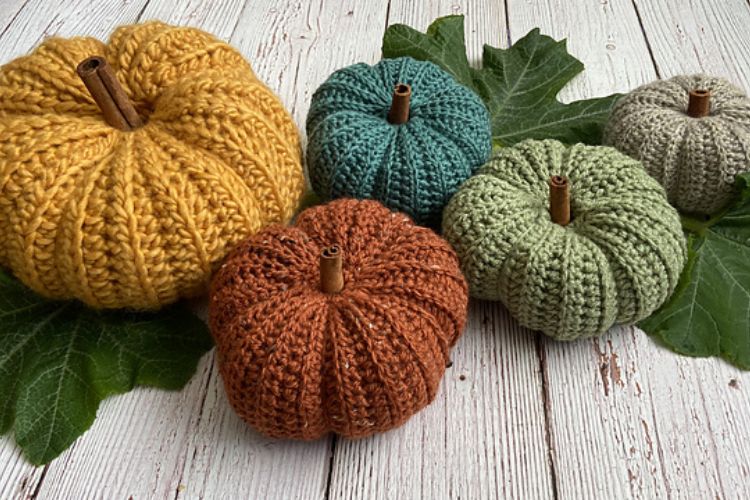
Wondering how you could quickly bring a cozy fall atmosphere into your home? I say – make a set of charming crochet pumpkins! This easy crochet pumpkin pattern by Lauren Robinson is perfect for creating modern seasonal decorations with a handmade touch. And I can assure you that once you complete one piece, you will definitely want to make more!
Do I Need Advanced Crochet Skills for This Project?
Not at all! It’s a beginner-friendly pumpkin pattern that even newbies can handle easily. You should, however, already know how to read crochet written patterns.
This project uses basic techniques like crocheting in the round and minimal sewing. You will work the pumpkin body using mostly single crochets as well as some increases and decreases to create a nice round shape.
Can I Make These Pumpkins With Leftover Yarn?
Absolutely! These pumpkins are great stash-busters because you need very small amounts of yarn to crochet them.
If you’ve any odd or unfinished skeins left from previous projects, you can definitely use them to make your pieces. It can be yarn in any weight – just remember that the thinner the yarn you use, the smaller your pumpkin will be.
How to Shape and Define Your Crochet Pumpkin Ridges
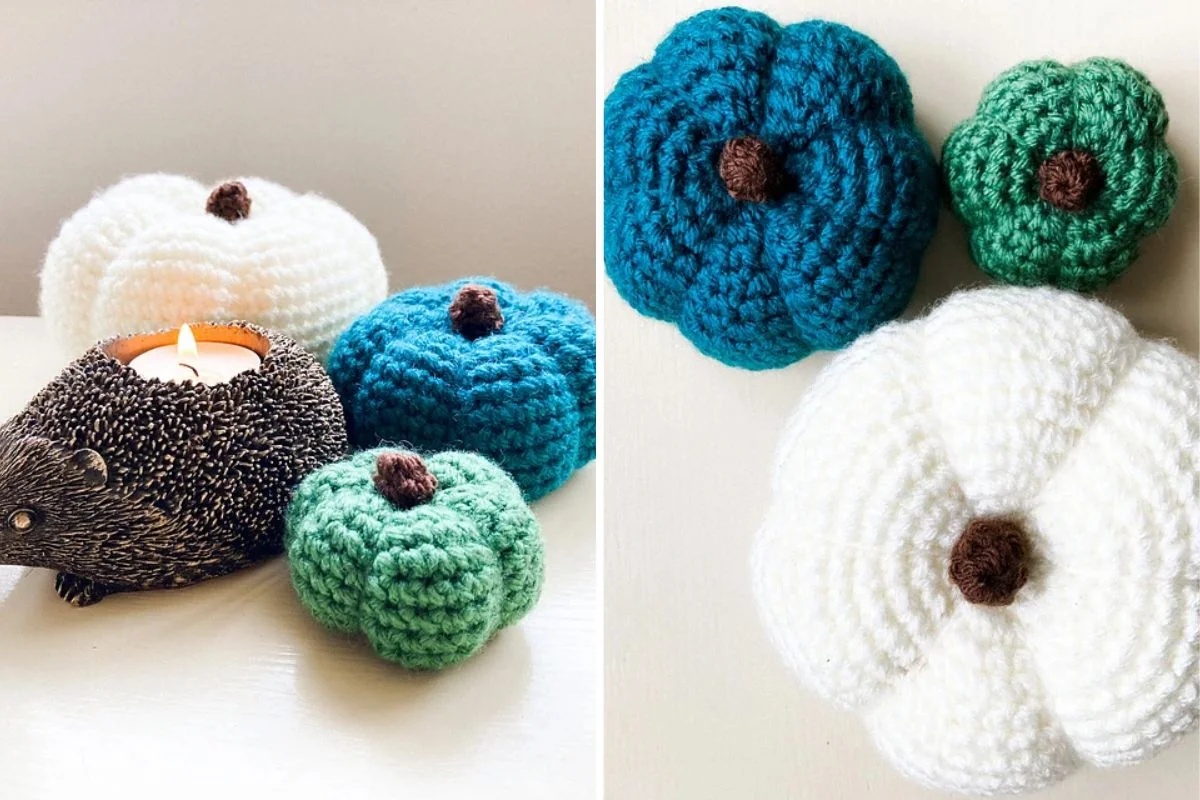
Achieving those iconic pumpkin shapes is easier than you think! Leave a long yarn tail and thread it through the center of your pumpkin, from bottom to top.
Next, bring it around the outside and back through the bottom, pulling tight to create the pumpkin ridges. Repeat these steps until all segments are formed. Only after that, close up the bottom and tuck in the end.
What Colors Should I Use?
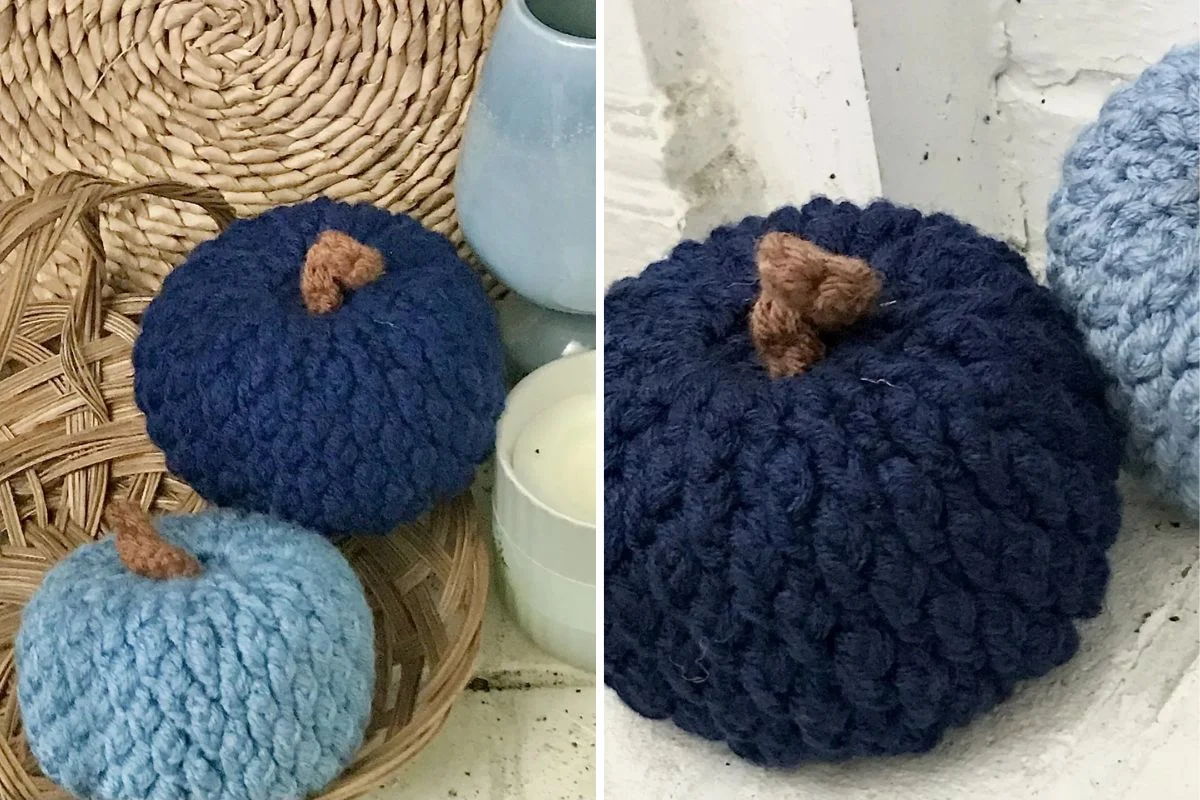
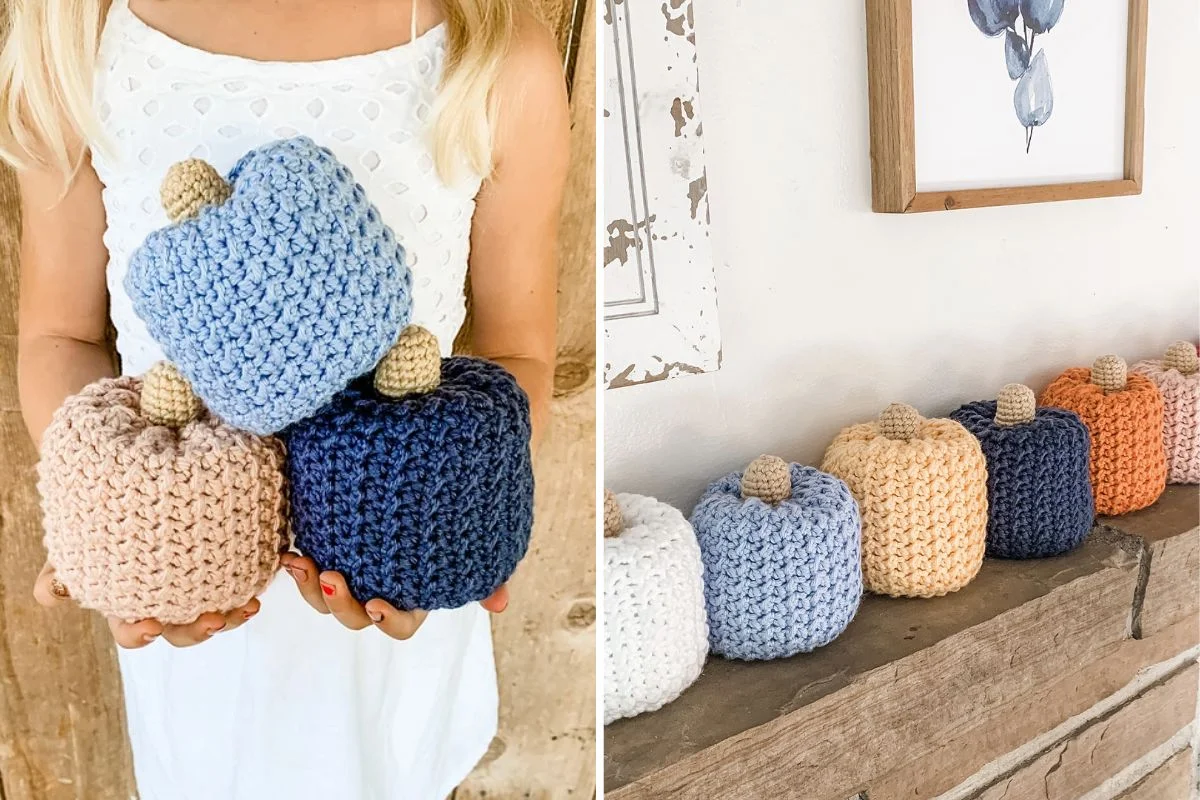
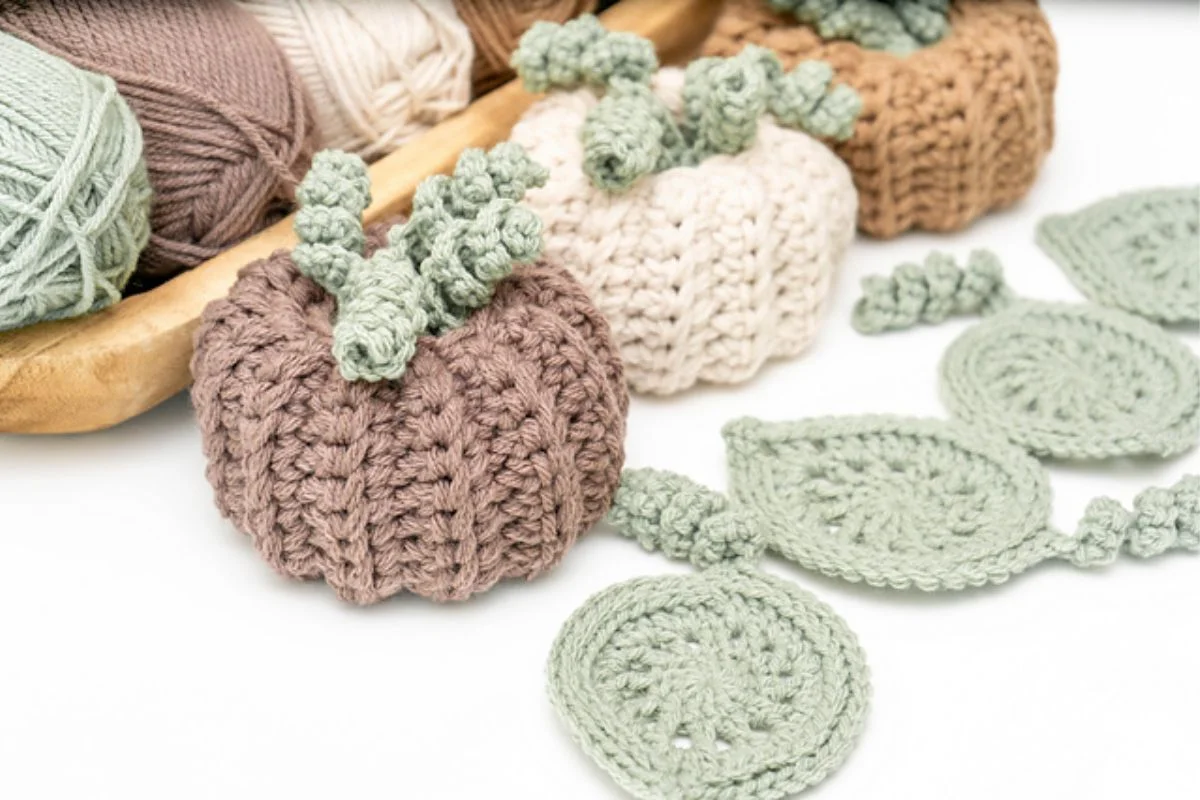
Who says pumpkins need to be orange? These crocheted pieces will look beautiful in every shade! Lauren chose cool white, soft green, and soothing blue to create a modern pumpkin set, but feel free to go for any colors you like. If you love colorful solutions, you can even try some variegated palettes for a bold multicolored look.