
In this article:

Crocheting a magic loop, also known as a magic ring, a magic circle or adjustable ring, is a technique used to begin crocheting in the round. Learn how to make a magic loop with my crochet tutorial.
Why should you learn how to crochet a magic ring?
A magic loop technique is commonly used for projects like amigurumi, hats and doilies. In short, its perfect for circular or tubular items. That said, you can certainly start any circular project using the chain method, but it just wont give you the same effects.
Only a crochet magic loop will create an ideal circle with invisible holes. Thats why it is popular in amigurumi, because it hides the starting point. It looks nicer and better prevents the inside filling of the toy from spilling outside.
Here’s a step-by-step tutorial on how to use the magic loop method for newbies:
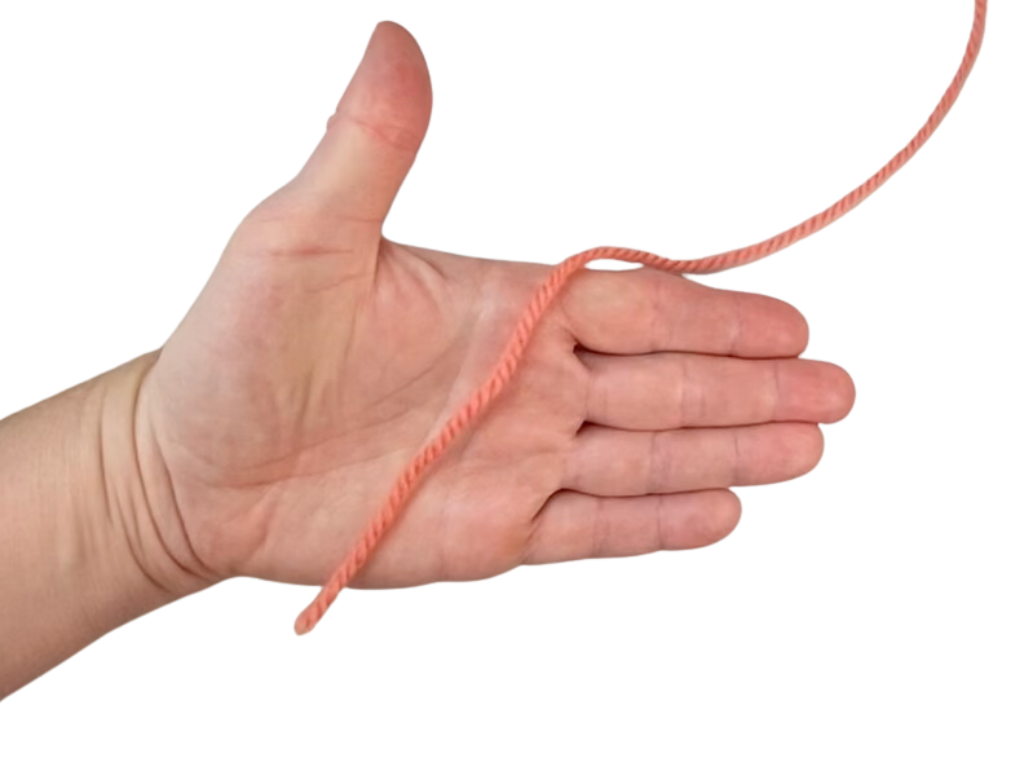
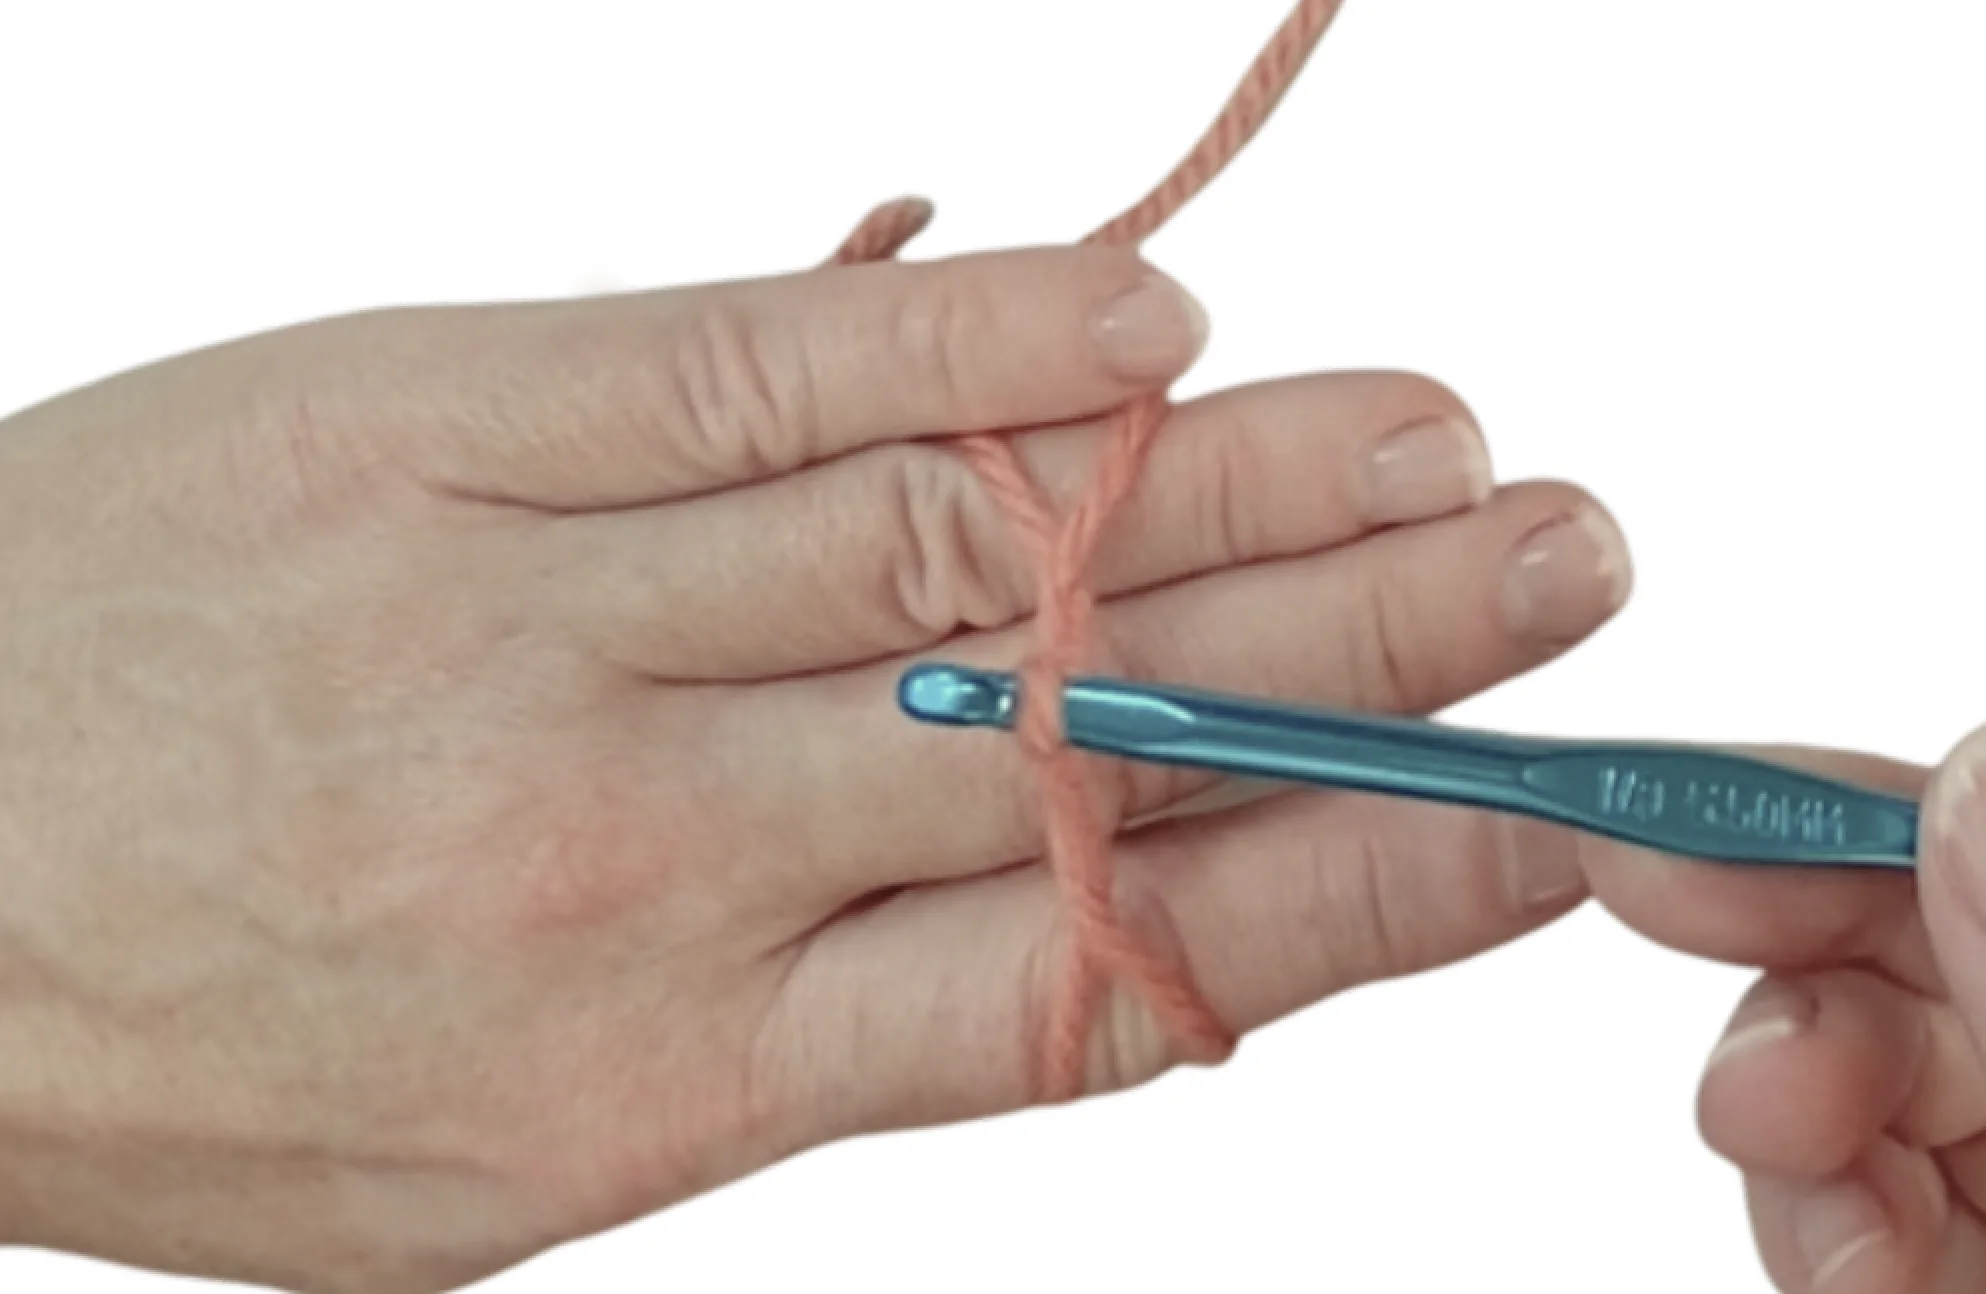
Step 1
Place the tail end (bight) of your yarn in the palm of your hand, with the end at the bottom and the yarn running upwards.
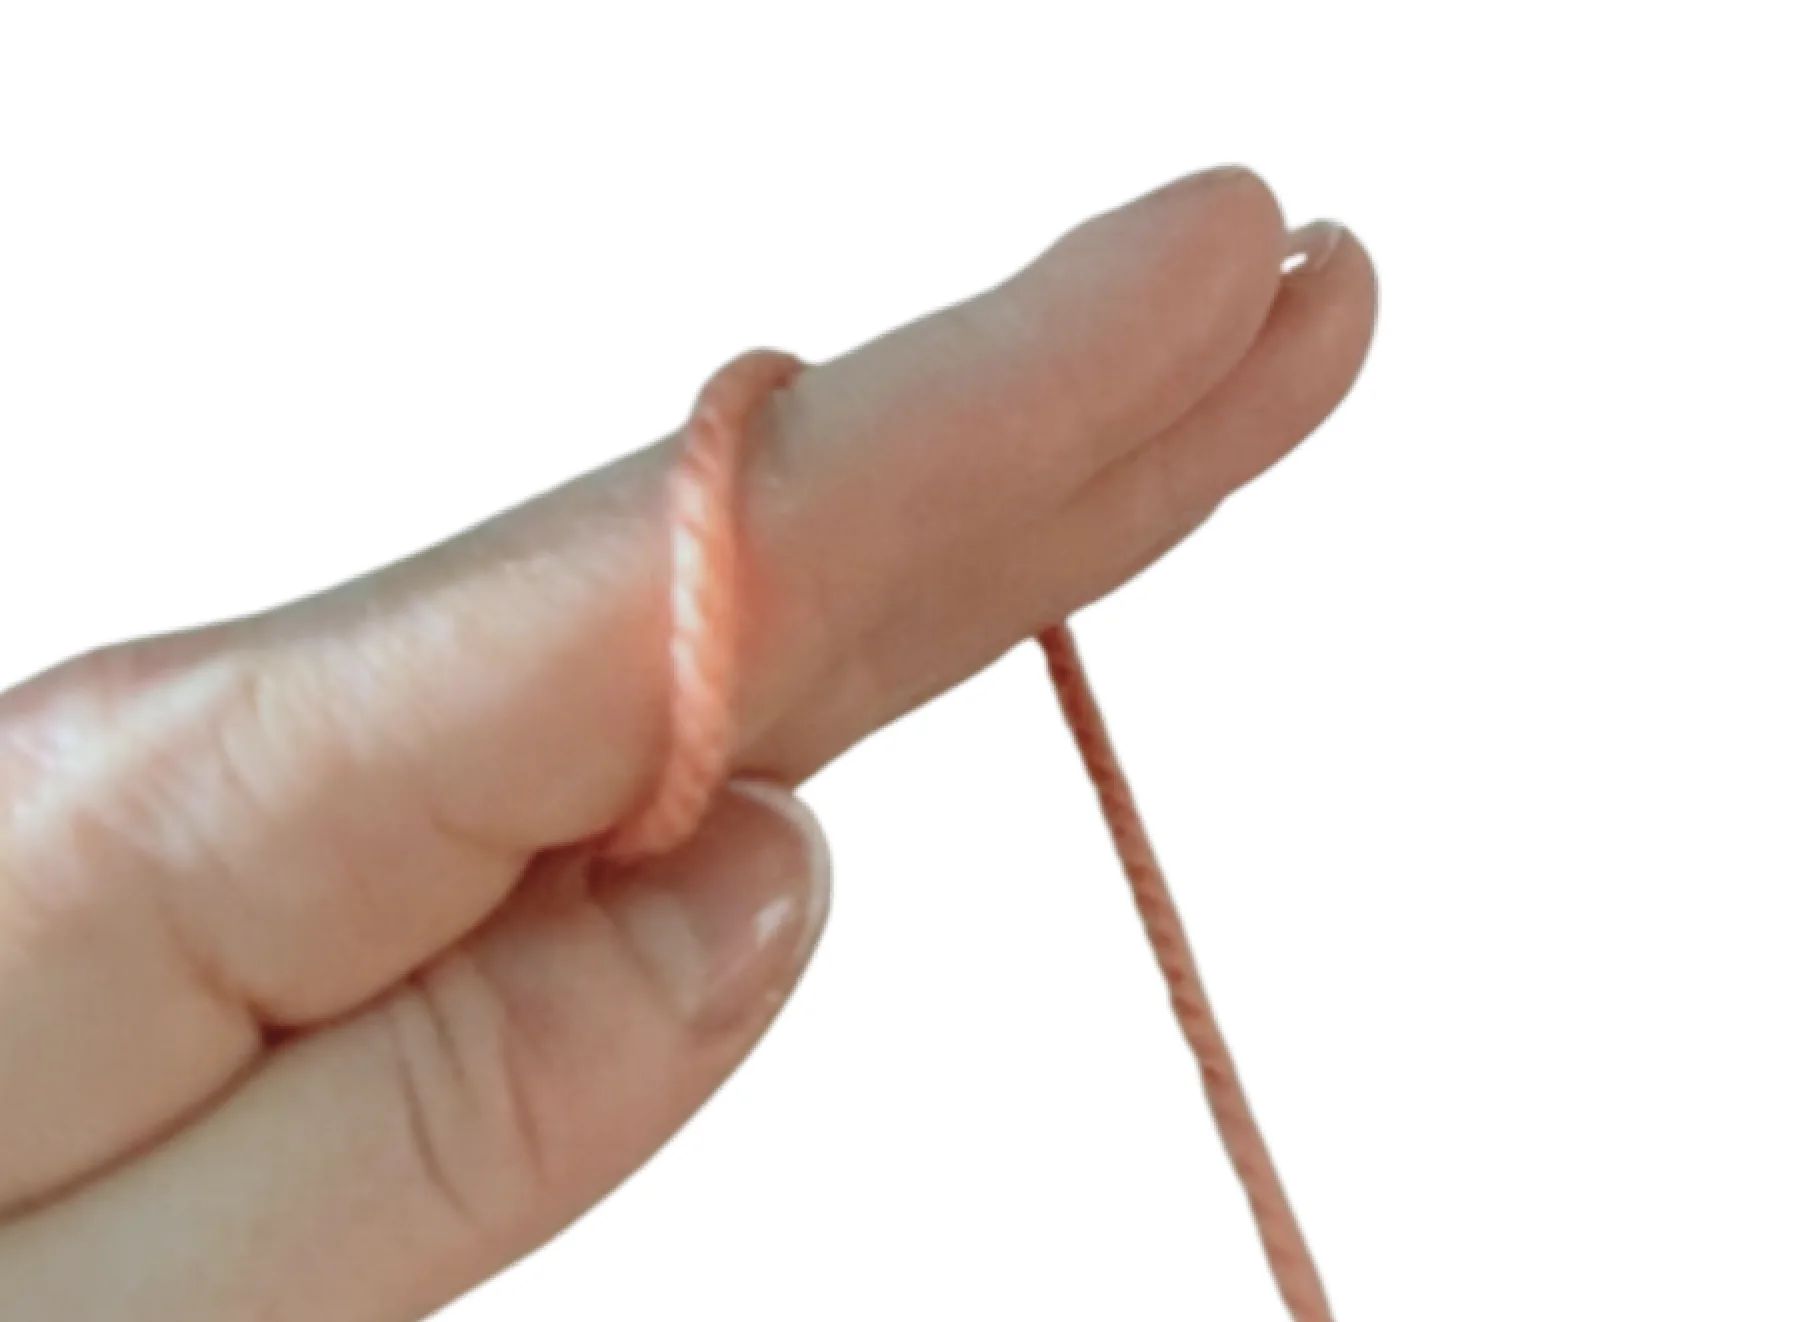
Step 2
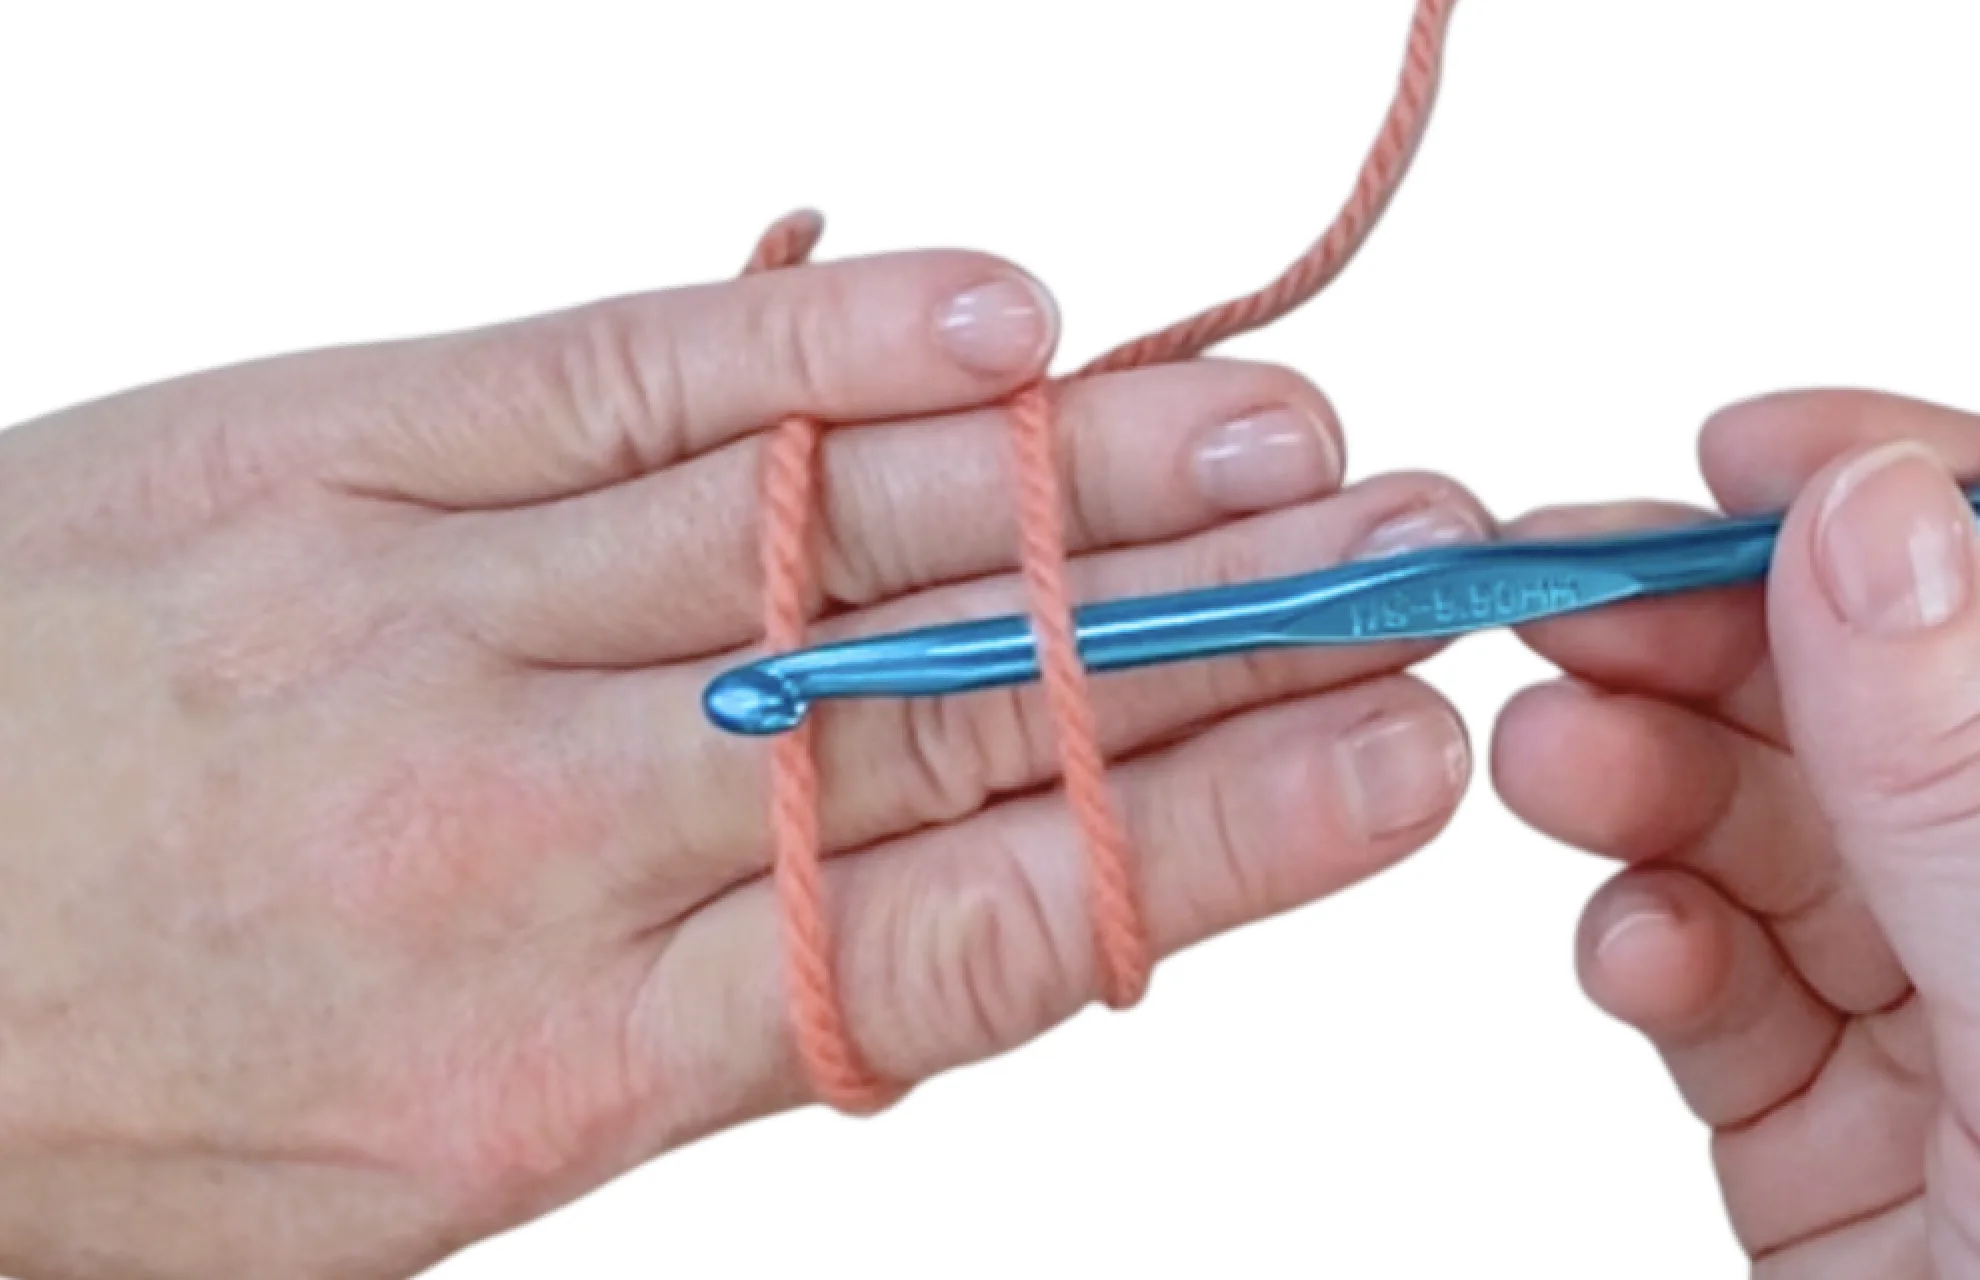
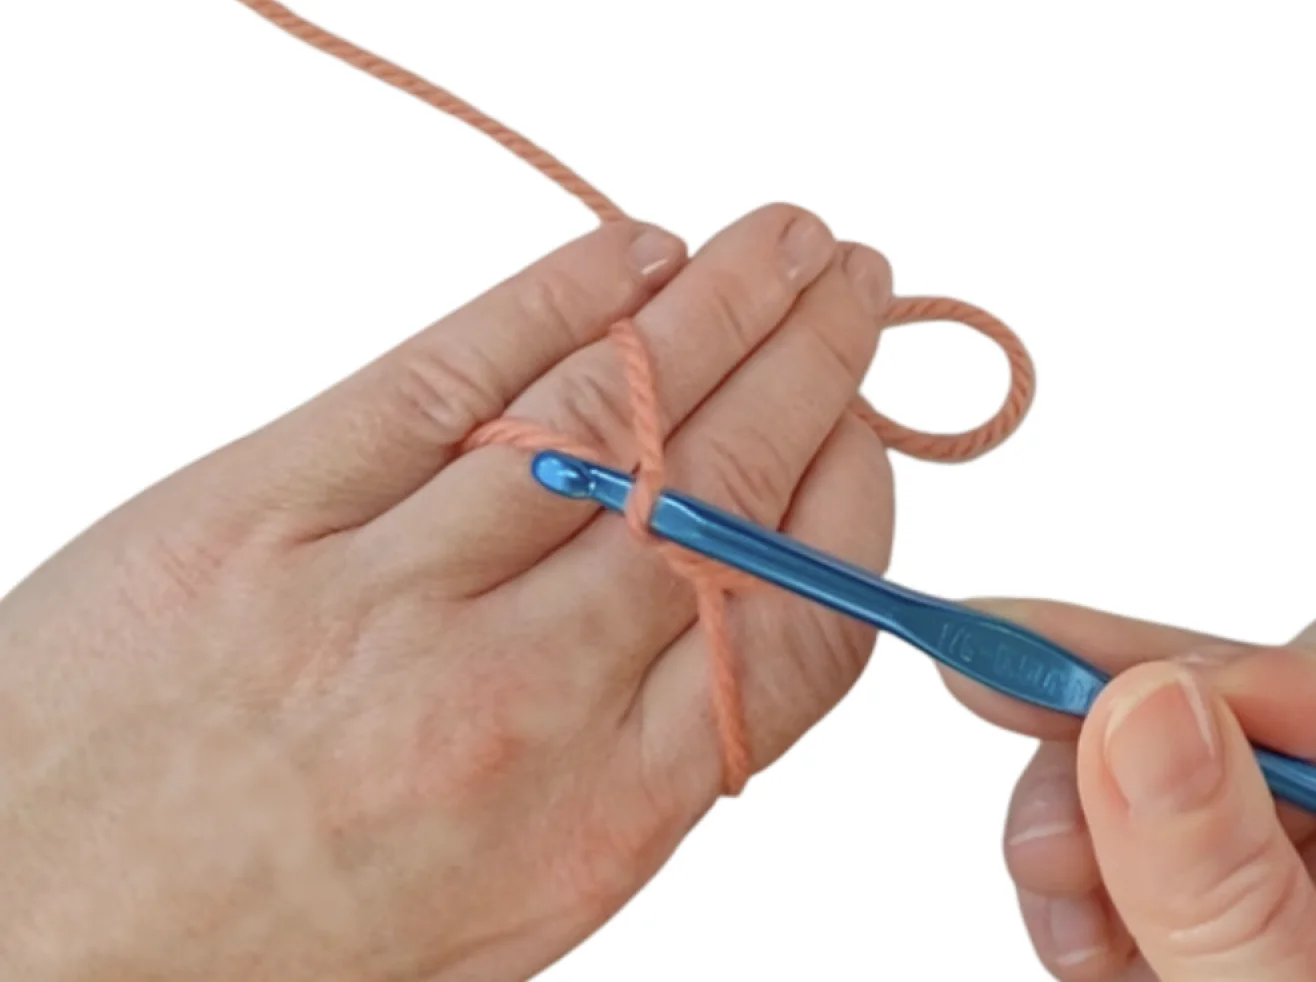
Step 3
After that insert the hook from right to left under the first strand of yarn and over the second strand. Grab the second strand. Make sure to keep the rest of the yarn from moving.
Step 4
Pull the yarn underneath the fist strand, simultaneously turning over the hook of 180 degrees.
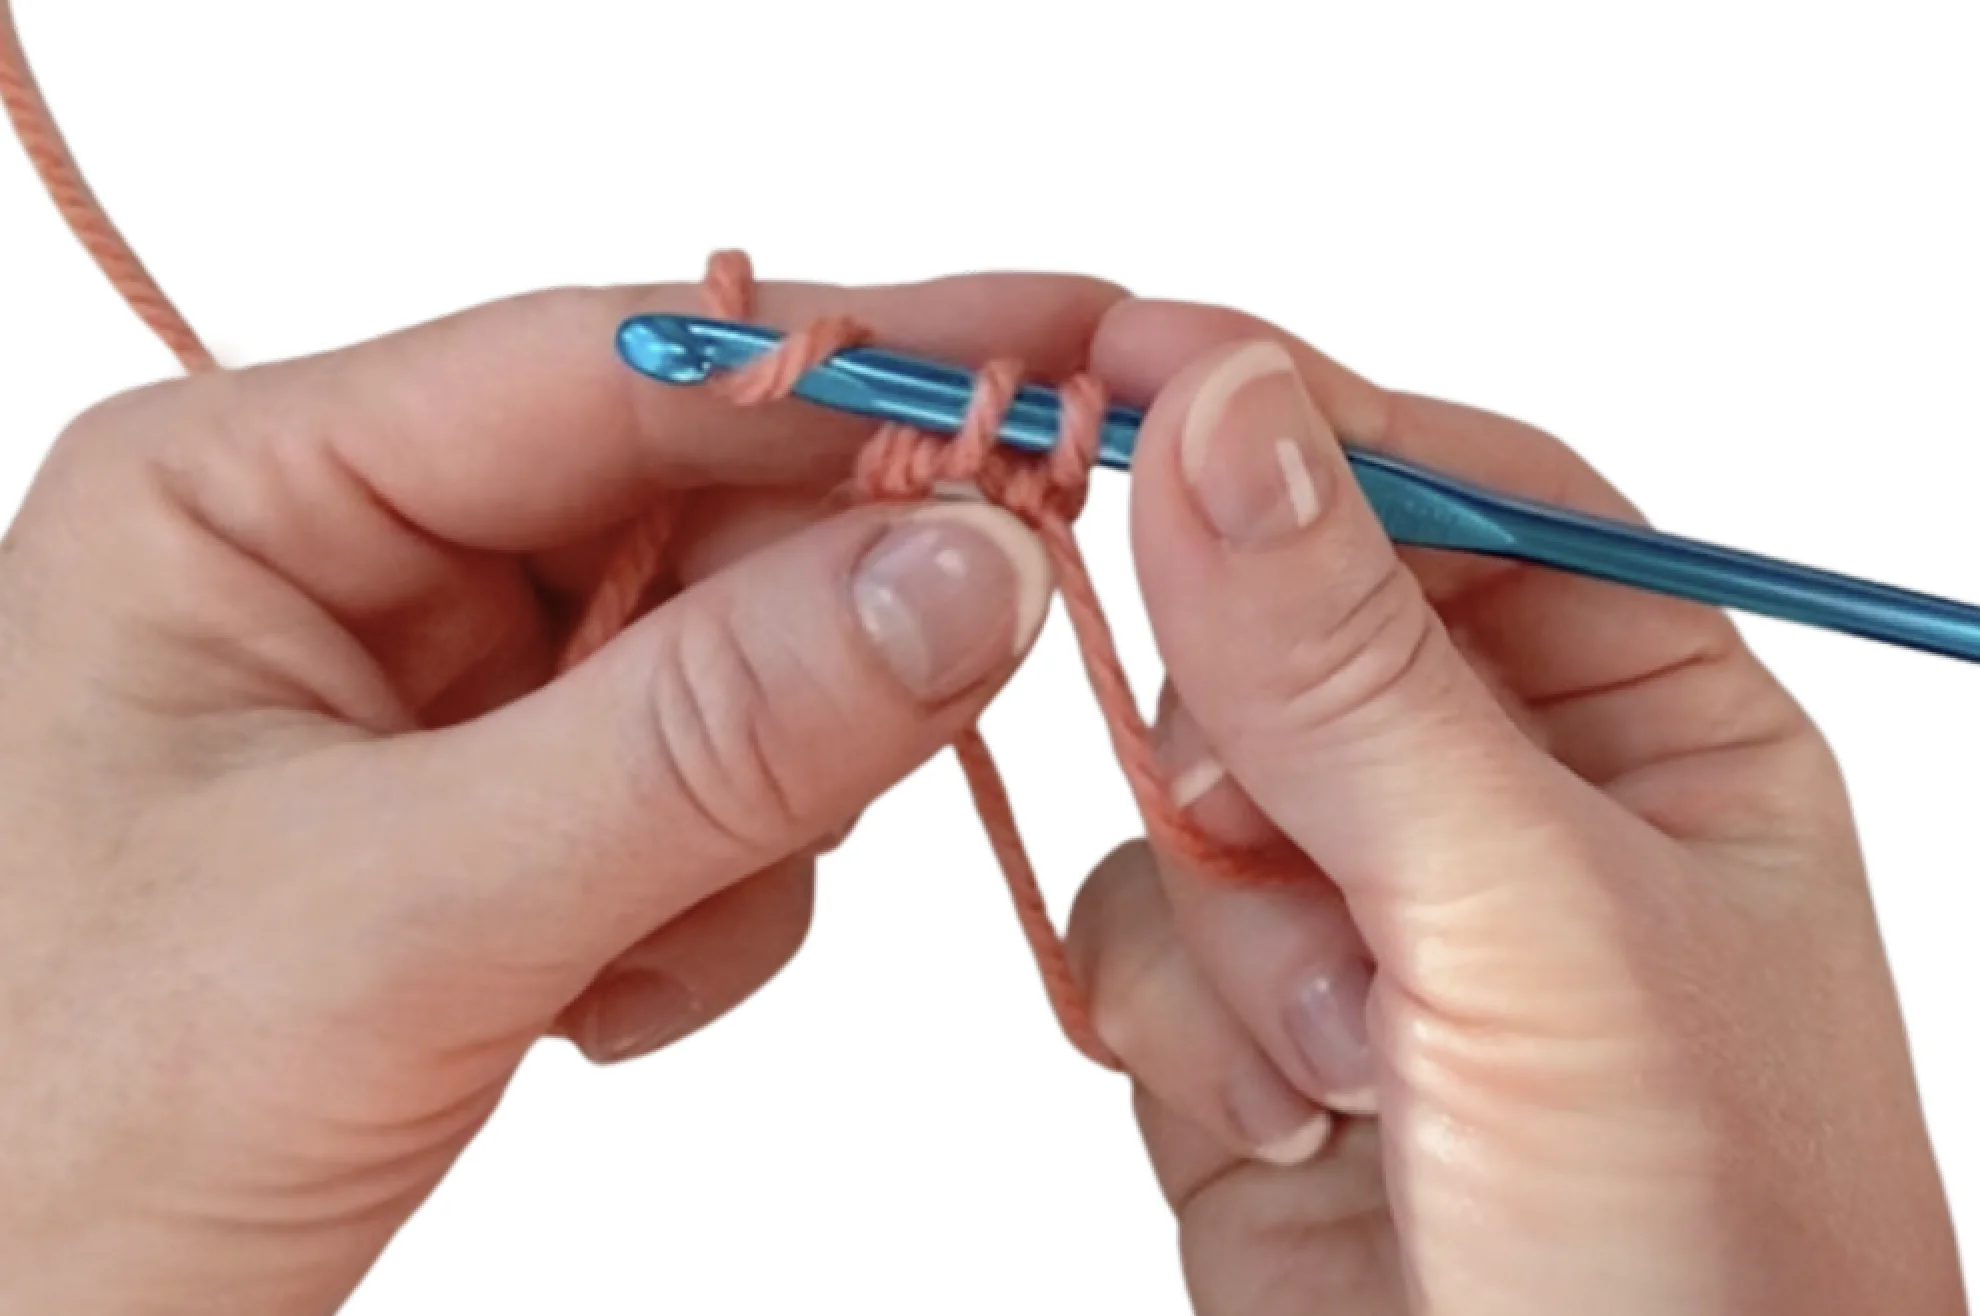
Step 5
Insert the hook under left upper string (it will be the working end of the yarn, which mean the yarn leading to the rest of the ball). Pull the yarn over to make a chain (ch).
Step 6
Remove the yarn from your fingers. Then, take the loose end of the yarn off from the loop.
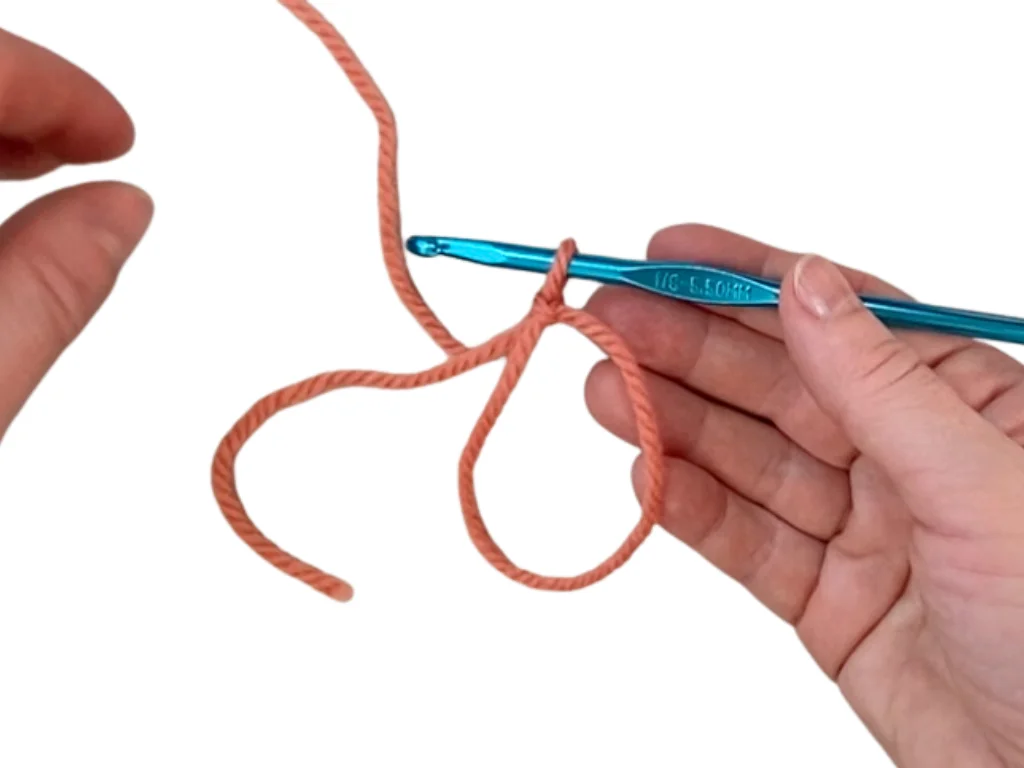
Step 7
Wrap the working yarn around your left hand. Make sure your loop is big enough to make a first round of stitches. If not, you can easily adjust it by pulling a working end of the yarn.
Grab the loose end along with your working yarn. Now you are ready to make the first round of stitches into the magic ring.
The next step depends on the pattern you want to follow. However, all stitches in the first round will be made through the magic loop.
The chain we already made in step 5 counts as the first chain. Further ones will be continued with single crochet.
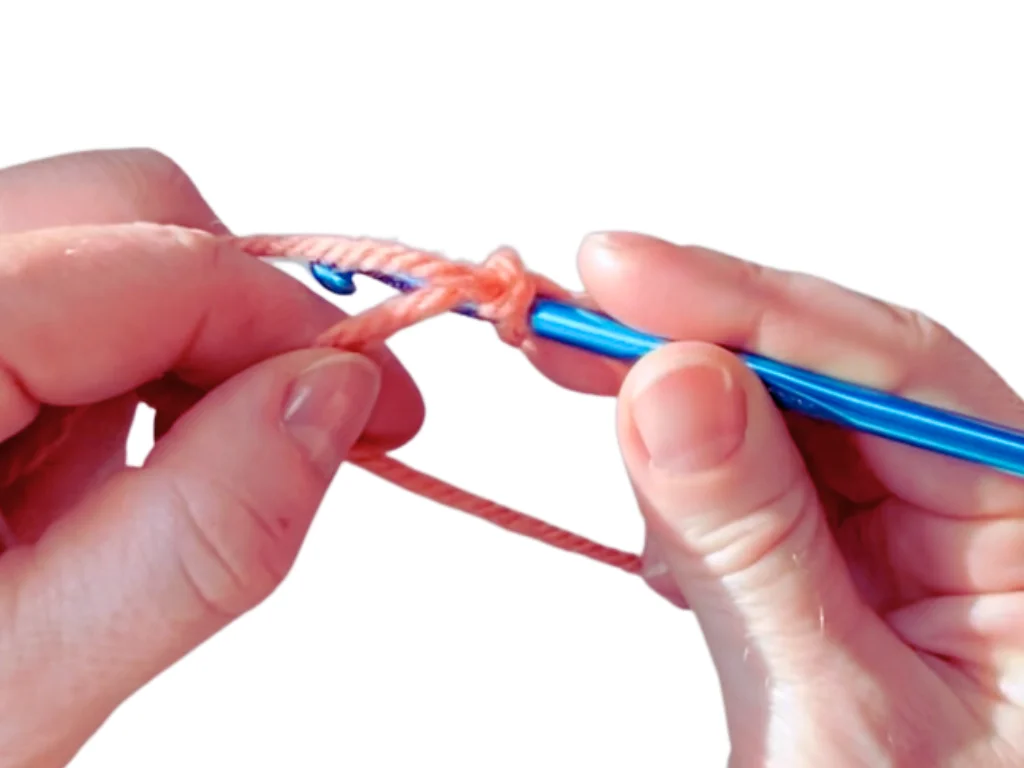
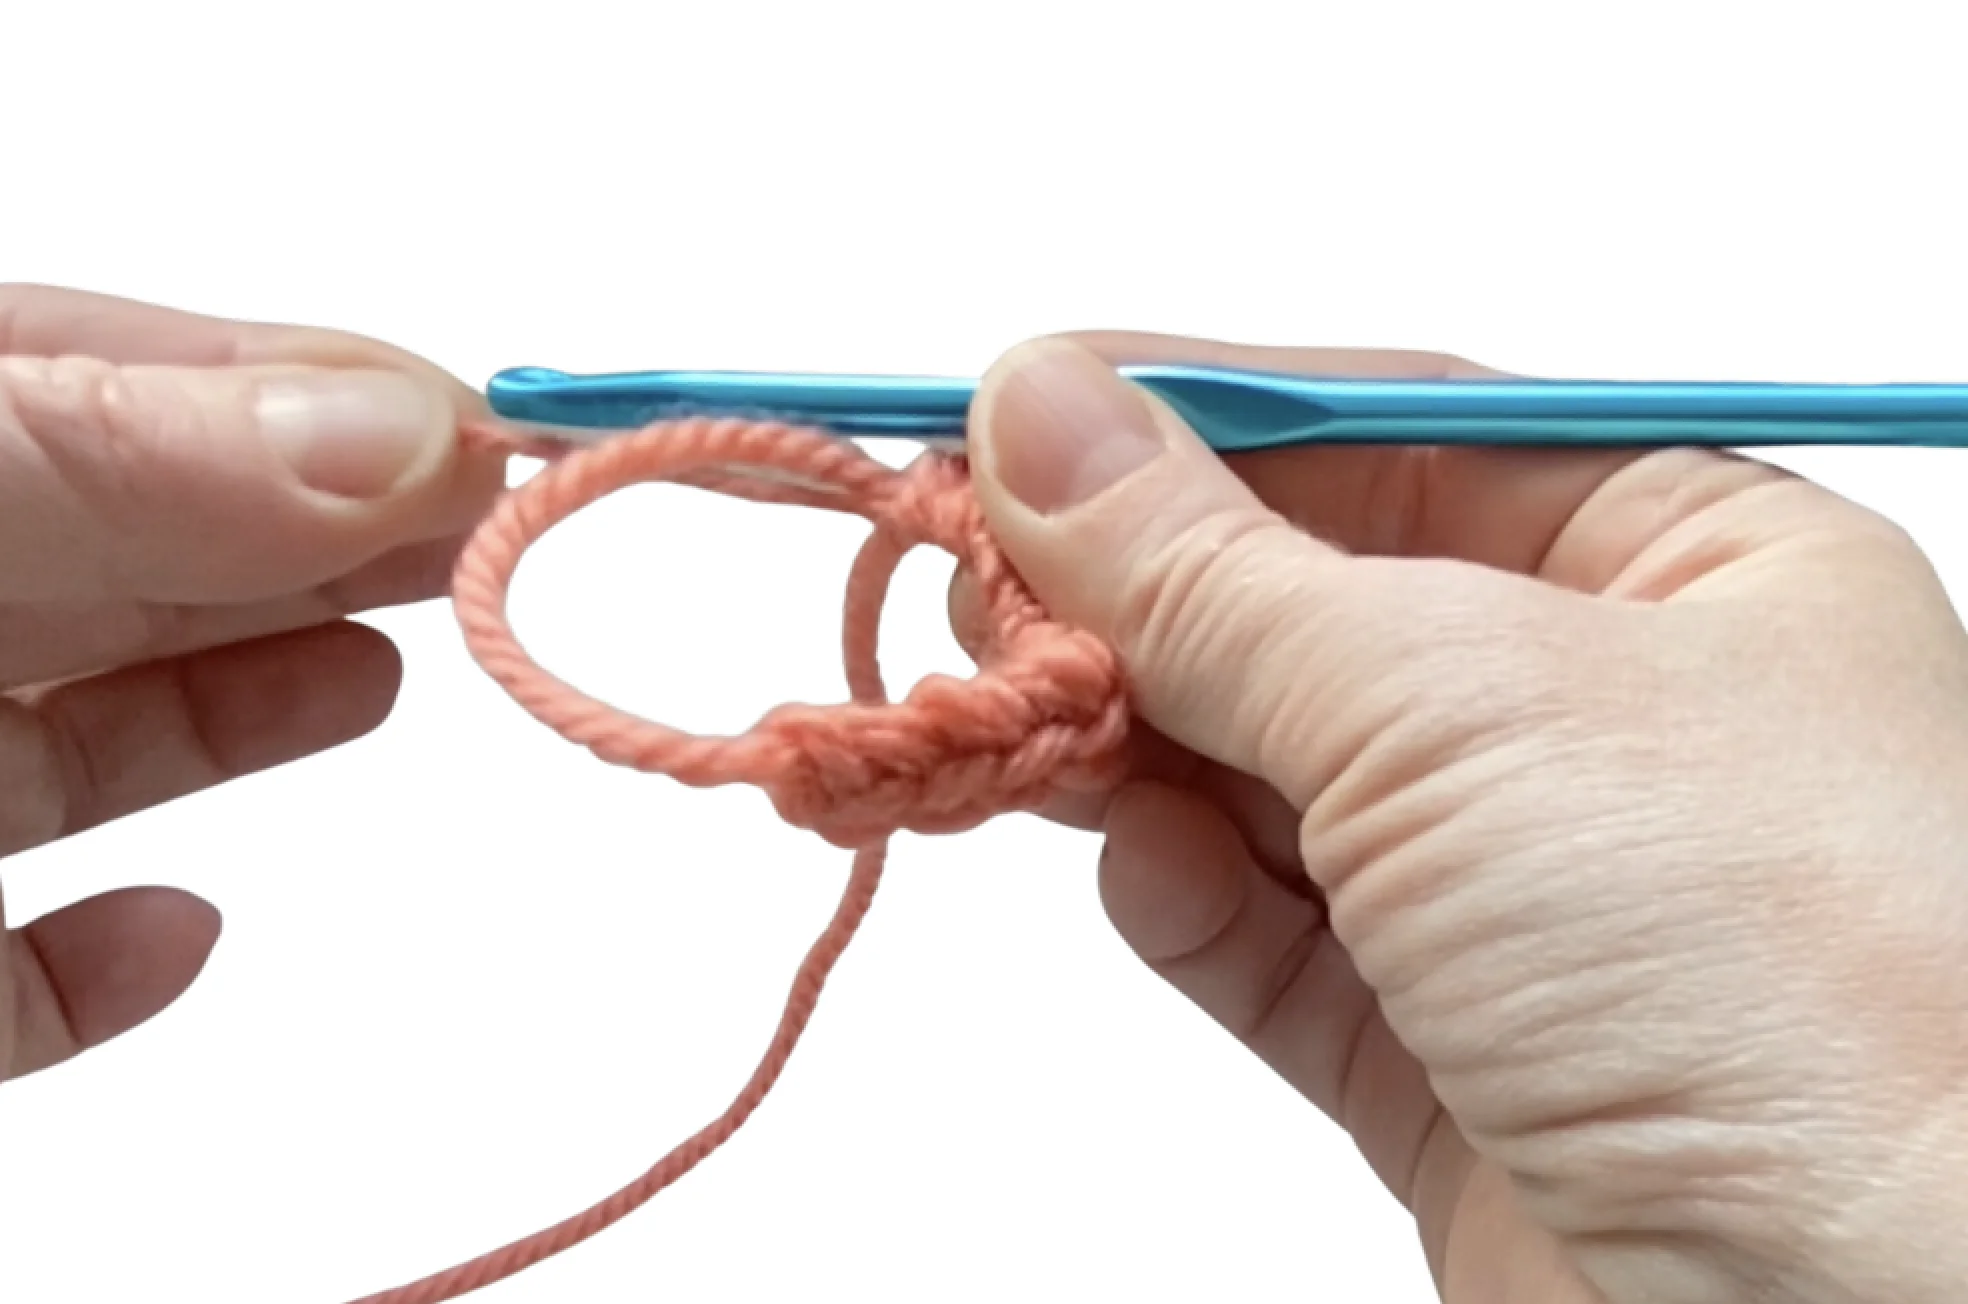
Step 8
Then, insert the hook into the loop, grab the yarn over (yo) and pull through. Grab the yarn over again and pull through 2 loops. It is our first single crochet (sc) stitch.
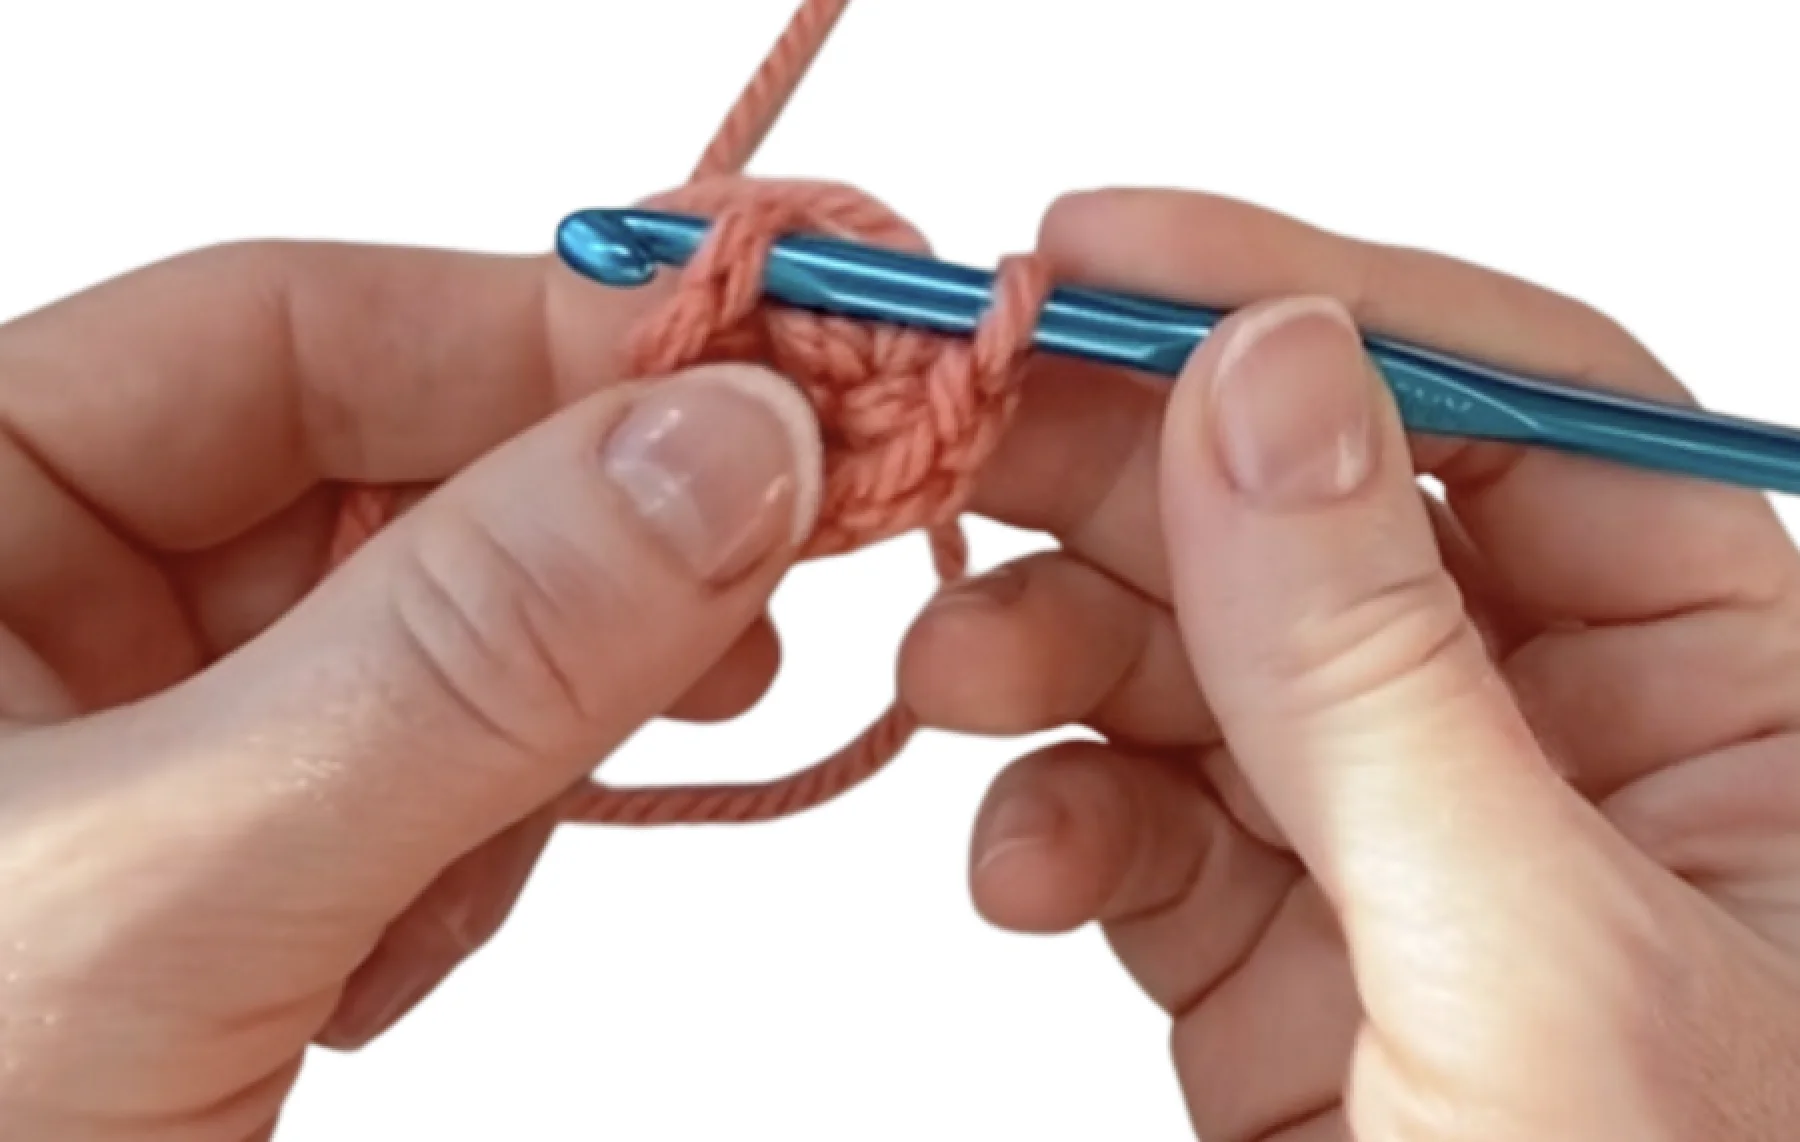
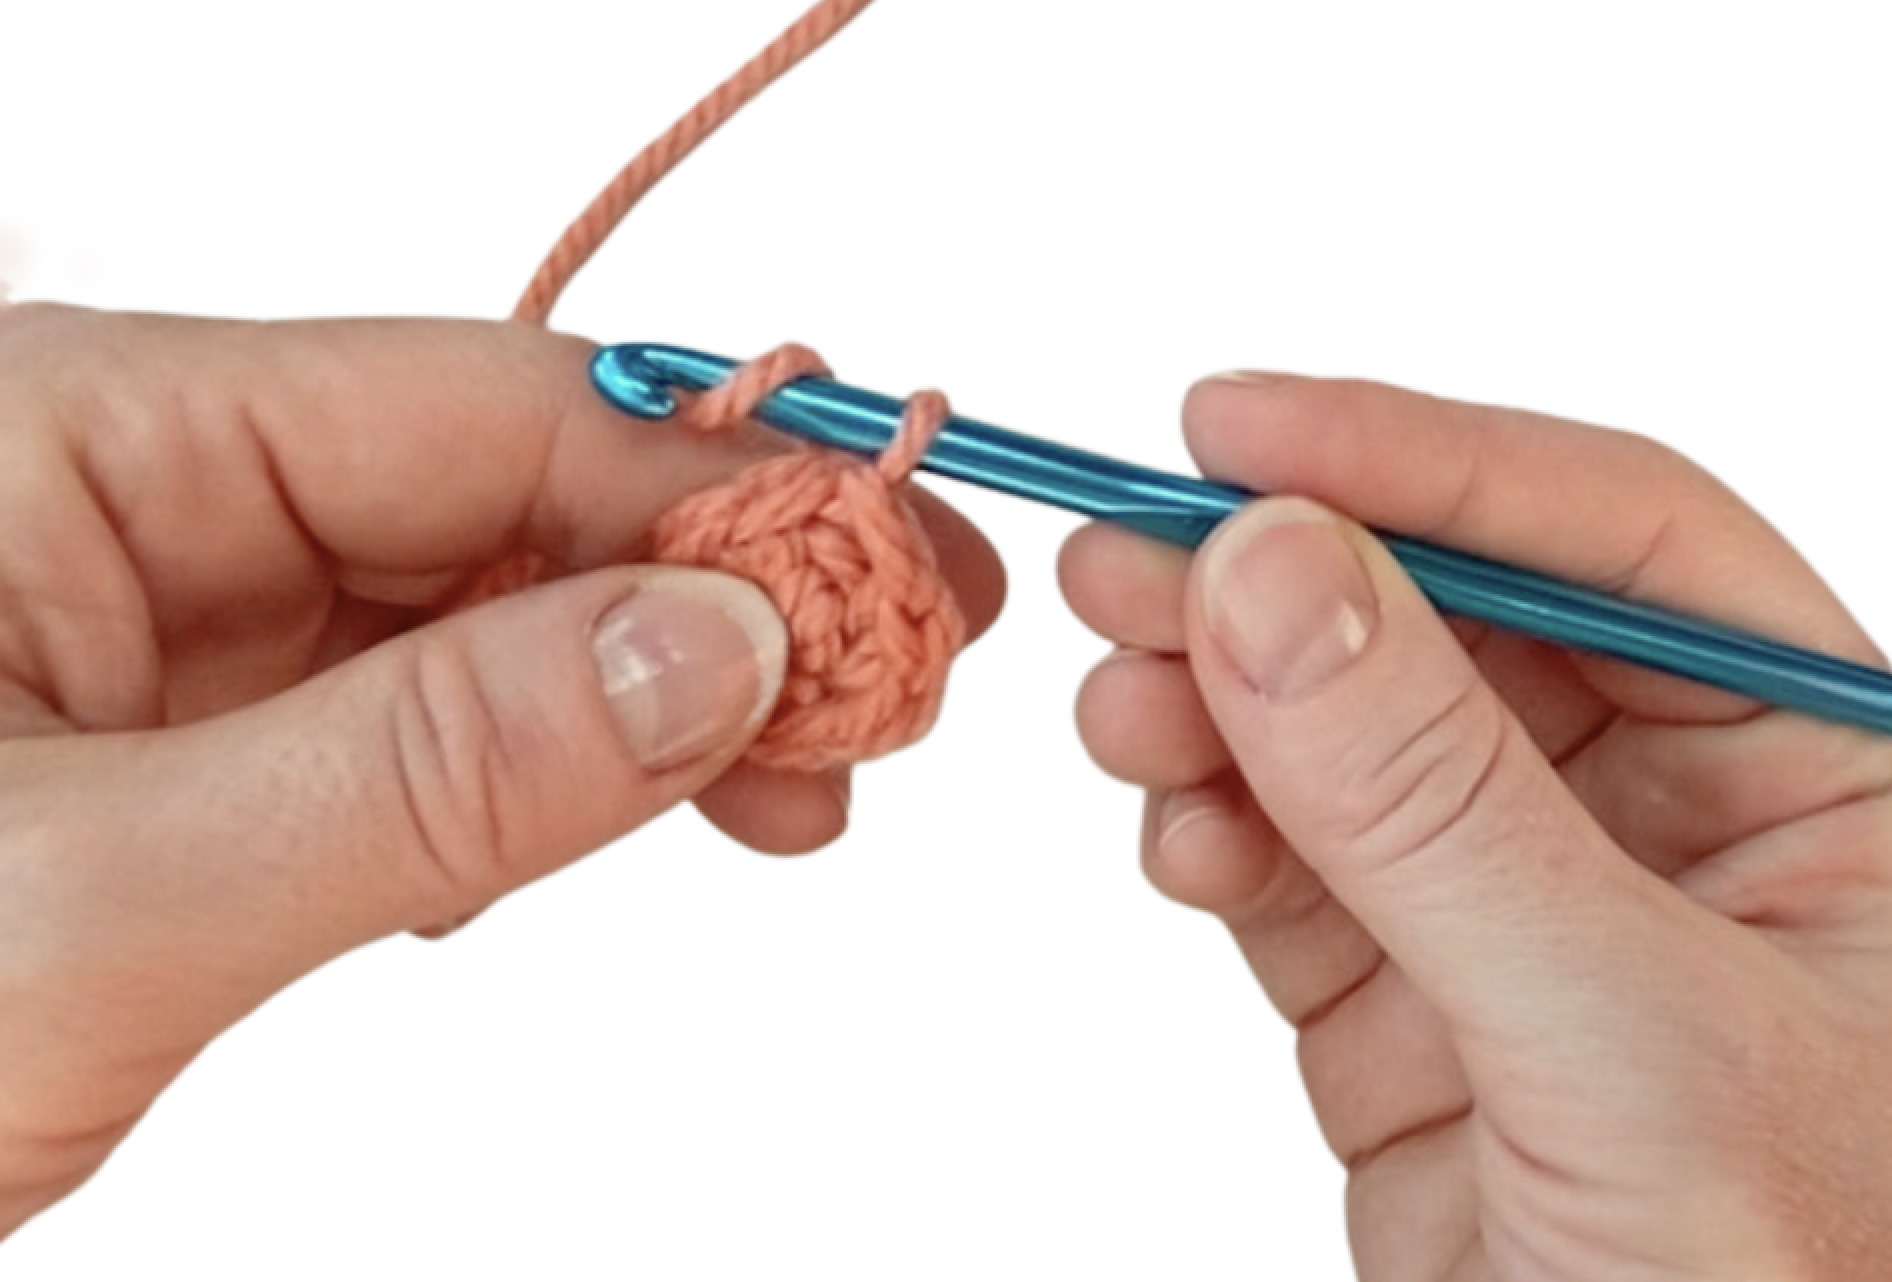
Step 9
Work more stitches of the first round into the magic loop in accordance with the pattern. I made 8 single crochets ( 8 sc) inserting the hook into the crochet magic loop each time.
Now, it’s time to close the circle. Holding the tail end in your left hand and the rest of the loop in your right hand, pull the tail end to tighten the circle.
Step 10
Finish the magic circle with a slip stitch (sc). To do that, insert the hook under the top two loops of the first stitch of this round. Yarn over and pull through.
TIP: If you’re following a pattern for an amigurumi, you don’t need to do this slip stitch. Do the next single crochet stitch to start the second round instead.
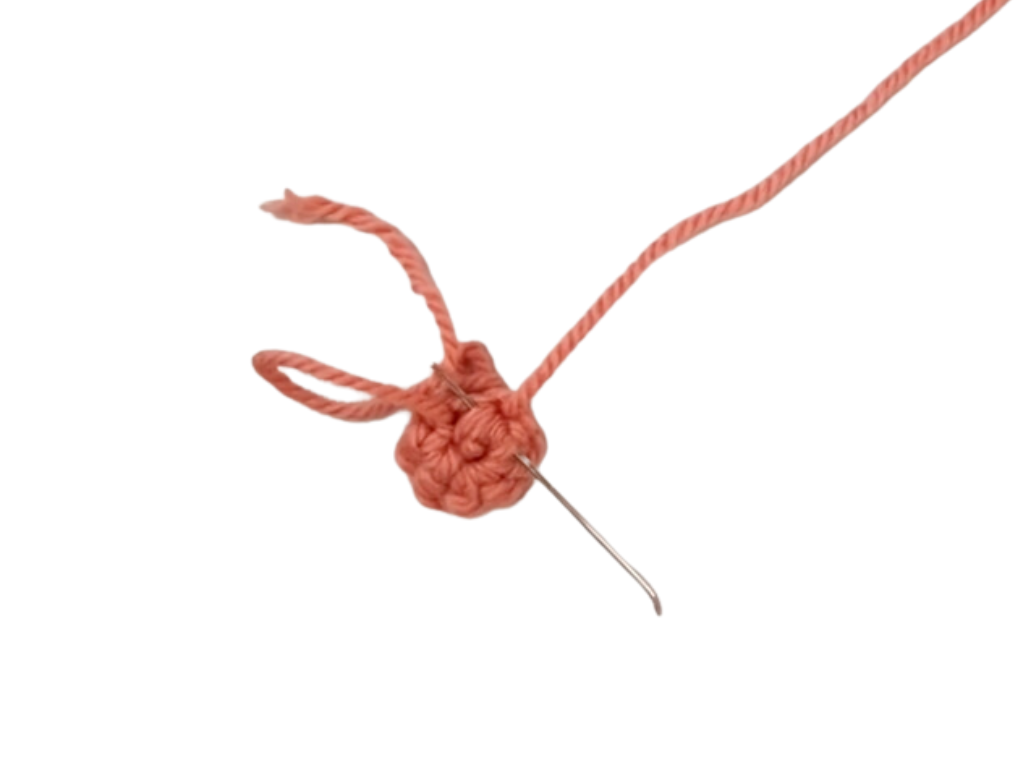
Step 11
Secure the tail end of the yarn. To do that, take a tapestry needle and work it through.
At last, pull the end again. This will also let you tighten the the ring and make the hole in the centre invisible.
That’s it! You’ve successfully crocheted a magic ring. Now make a second round following your pattern. Thank you for our time together!
I recommend you practice a magic loop crocheting a simple projects like round potholders. You find great funny and easy potholder patterns: 5 Spring and Easter Potholder Free Crochet Patterns just perfect to memorize what you learned. If you looking for more challenging projects, see our amigurumi collection of free patterns.
For more free designs every day follow us on Facebook and also share your ideas and your work on our Facebook group!