Search Popular Patterns & Round-Ups with Search Popular Patterns & Round-Ups with Grow

Square & Block Blanket Calculator

Square & Block Blanket Calculator

There are three basic ways to crochet a blanket: you can work row by row, in the round, or create it by joining together multiple individual blocks. The last technique is prevalent because it’s easy to do and fun to plan.

You don’t have to worry about the uncomfortable weight of the blanket when reaching the last set of rows, and you can change the order of the blocks at the last minute. It’s all up to you!

Our calculator will help you quickly calculate how many blocks you need for the desired blanket size.

Block and Square Calculator

Use the instructions above to make the most of this tool.

Square & Block Dimensions

Crochet and measure one block. Use the same type of yarn and crochet hook size that you intend to use in your final project. Blocking the piece (gently washing and pinning down to dry) before measuring is highly recommended. Remember that this calculator wont add the width of the join between squares or blocks

Desired Final Blanket Dimensions

Now choose the size of the blanket you want to make, or input your own dimensions by choosing "Custom" option.

What is a Block and Square Calculator For?

Our calculator is a useful tool for any crochet enthusiast. By using our online crochet calculator, you will be able to…

  • Determine how many rectangular blocks or squares you need to achieve the desired size of the project.
  • Design your own crochet blankets and accessories made with crochet blocks.
  • Estimate the amount of yarn you need for your project.
  • Plan the layout of your project with ease.

This calculator makes crocheting with squares much easier!

How to Use Block and Square Calculator?

This online tool helps you determine how many crochet squares or blocks you need for the blanket size of your choice. Let’s see how to use it step-by-step:

  1. Make a square or a block of your choice, using the yarn and hook you intend to use for the final project.
  2. Measure the swatch, preferably after blocking it (washing it gently and pinning it in place).
  3. Choose the type of units (inches or centimeters).
  4. Put the dimensions in the calculator and click “NEXT”.
  5. Choose the desired blanket dimensions from our list of predefined sizes, or set your own by choosing the “Custom” option. It will use the units you provided earlier.
  6. Click “Calculate” and enjoy the results.

Remember!

This calculator doesn’t count in the width of the join between individual blocks. If you use mattress stitch or join-as-you-go (JAYG), there’s no added width between the elements. However, other types of join may affect your blanket size, so keep it in mind!

  1. Make a couple of swatch blocks (4 would be perfect, but 2 will do)
  2. Join them using the chosen technique.
  3. Measure the width of the join (Join Width) and add this number both to the width and to the height of one block.
  4. Remember that not all of your blocks will have the join on all sides. To measure the true width and height of your blanket, do this:
    • [Total Width Result] minus [1x Join Width] = True width of your blanket
    • [Total Height Result] minus [1x Join Width] = True height of your blanket

FAQ

To do that, you should make, block, and measure one crochet square of your choice. Remember to use the exact type of yarn and the size of the crochet hook you plan to use in your final project.

Of course! Our calculator will help you determine how many blocks of the same size you need, but it doesn’t care for the pattern. It will work as long as all elements are the same size. They can feature various crochet stitches, motifs, and colors.

If you want to use different shapes, however, you have to plan the blanket and measure each element individually.

There are many ways to join crochet squares. Some are decorative, and others invisible. Some require a yarn needle, such as a mattress stitch, and others only a crochet hook. You can also join-as-you-go (JAYG), which saves time and doesn’t require weaving as many ends.

Sure, because assembly is the last step when working with crochet blocks. You can arrange and rearrange them however you want, or change the project completely by adding decorative joins or borders.

There’s no such thing as “the best” yarn and hook because it all depends on the style you go for. Medium-weight yarns will provide the balance between the texture and the pleasure of working, but experiment with other types to see what suits you best.

The most important thing is matching the yarn type and the hook size. It will ensure the right tension and overall good look.

We are in the process of making a calculator for that! We will link it here as soon as it’s out 🙂

The best way would be a blocking station, as it saves a lot of space and ensures uniformity among the squares. See what it looks like in Crochetpedia’s article about crochet blocking.

Colors, yes! Types of yarn, well… we wouldn’t encourage that. Unless you are going to mimic the same combination of yarns and stitches in each square, the result may be strange and wonky.

As various yarn types have various qualities, they will behave differently after washing. It’s best to stick with one type per project, especially if you are a beginner, or choose two yarns with very similar weights and qualities.

Curling may be a result of too-tight stitches, so the first thing to do would be to check your tension. Loosen your grip or use a bigger hook size.

If the curling is minimal, block the pieces after you’re done to loosen out any minor tension differences. Remember that these problems will disappear when you combine the elements.

Here are some tips:

  • Use the same kind of yarn and hook for each element.
  • Practice keeping the right tension. Adjust the hook size if needed.
  • Block the squares on the blocking station.
  • Keep the row/round count and stitch count.

Care type mostly depends on the yarn type you use for the project, so always follow the instructions on the yarn label. As with all crochet and knitted items, you should dry them flat.

Usually, borders and edgings are added after the pieces have been assembled. The only exception are decorative joins between the elements, which you add every time a new block is made.

If your squares or blocks are of different colors or patterns, you can try out some of these layout techniques:

  • Ombre – order the pieces from the lightest to the darkest for a smooth color flow.
  • Check – alternate dark and light pieces to create a checkered pattern.
  • Stripes – alternate darks and lights in horizontal or vertical stripes
  • Diagonal – arrange the colors diagonally for some extra flair.

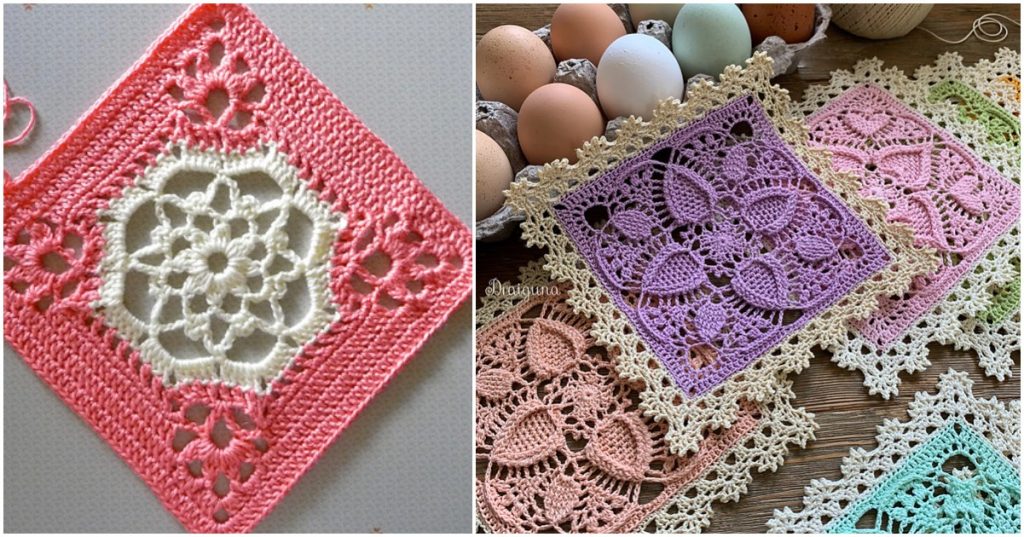
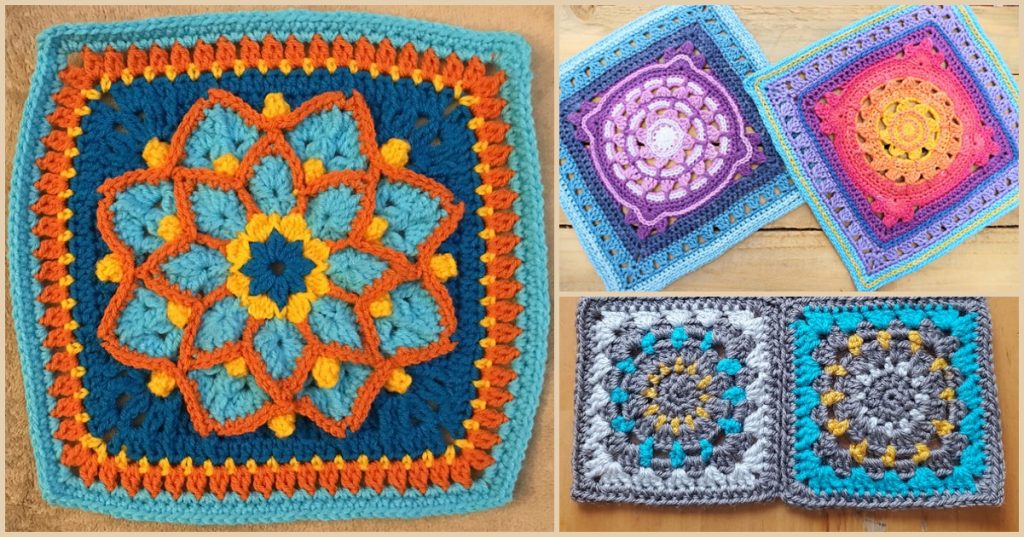
Block and Square Crochet Patterns for All Skill Levels

You may now catch yourself asking this question: what are some popular crochet square/block patterns for making blankets?

Learn how to crochet a variety of granny squares with unique designs in this collage.

Beginners’ Free Crochet Patterns for Granny Squares

Two crochet doilies: a lacy pink and white floral design on the left, and several colorful square project ideas showcasing intricate patterns on the right, placed on a wooden surface near eggs.

Lacy Square Project Ideas and Free Patterns

Four colorful afghan squares with intricate patterns, featuring a mix of geometric and floral designs. Each square is unique, showcasing a variety of colors and textures.

Afghan Square Free Crochet Patterns

A close-up of colorful crochet granny squares, including an intricate African flower square design. A partially completed piece sits on the left while finished squares line up on the right, with a crochet hook resting nearby.

African Flower Square Fall Ideas + Video Tutorials

Two crochet squares resemble vibrant Afghan Blocks: one with green, blue, and purple patterns, and the other with blue and white. A crochet hook rests beside them, inviting creativity. Explore free crochet patterns to craft your own unique designs.

Stunning Afghan Blocks Free Crochet Patterns

Flower Square Blanket in rainbow colors arranged in a circle on the left. On the right, a blanket with a similar pattern covers a bed, showcasing delightful crochet patterns.

Flower Square Blanket Free Crochet Patterns

0 0 votes
Article Rating
Subscribe
Notify about
guest
0 comments
eldest
latest assessed
Inline Feedbacks
View all comments