
In this article:

This post contains affiliate links.
Do you look at colorwork crochet and wish you had the skills to create it for yourself? Does colorwork crochet look complicated and something you could never achieve? Yes, mosaic crochet may look complex to start with, but after learning about its construction it will be a piece of cake. With a few tips and tricks you will be able to create beautiful mosaic crochet projects of your own.
You may also like:
Find the best selection of quality yarns for crochet in Katia’s online store.
What is mosaic crochet?
It is called mosaic crochet, because it is a crochet adaptation of mosaic knitting. We create mosaic crochet using just two colors of yarn and it doesn’t involve changing colors within each row as other crochet colorwork methods.
By using mosaic crochet, you will easily create a colorful fabric. Simple method of creating colors within rows or rounds is based on skipping a stitch and then filling the gap two rows or rounds later with the alternate-colored yarn. Most mosaic crochet patterns are symmetrical and never-ending since they can be crocheted in rows and rounds. Patterns worked in rounds appear like they do not have a beginning nor an end. There are two main mosaic crochet techniques: overlay and inset.
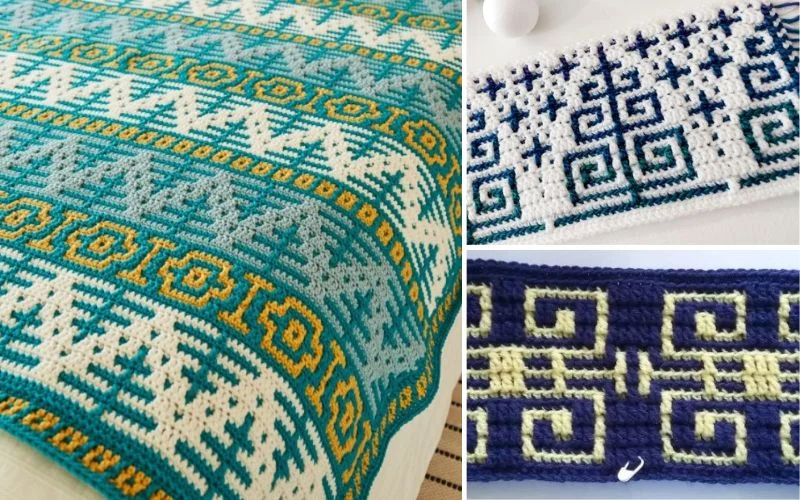
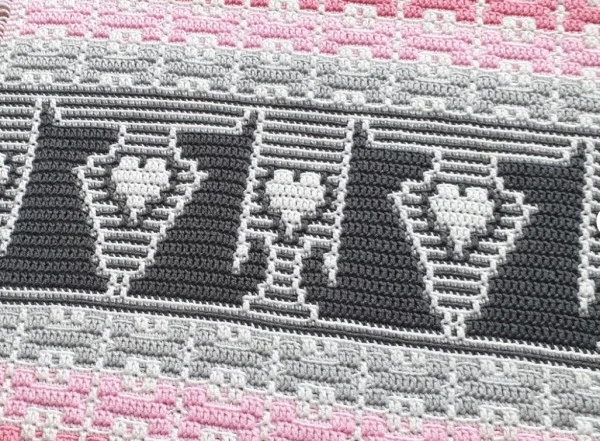
Example of overlay mosaic crochet. Photo from ravelry.com.
How to work a Mosaic crochet
Mosaic crochet has basic stitches (chains, single crochet, and double crochet stitches) worked into the stitches 2 rows below. You base the stitch you work with on a color chart, so here are some things to consider when working with it:
- You should read the color chart from right to left and the bottom to top.
- Each row of the chart consists of two rows, that is the wrong side and the right side.
- The first color in the chart row (when read right to left) is the color that you work with on the wrong side and right-side rows. This color should however alternate, for example: In row 1 you can have the right side and wrong side in the main color then in row 2 you can have them in a complimentary color, and so on
- The right-side row is where one determines whether to work with a single crochet stitch, chain or double crochet stitch 2 rows below based on the chart.
- You usually determine the wrong side row by what you worked in the right-side row
- If the box is the same color as the starting color when reading the chart, use a double crochet stitch two rows below.
- If the box is of a different color from the starting color when reading the chart, use chains and skip the stitches. You will work the stitches into later in the other rows.
- Since chains take up less space than stitches, always use one more chain than the number of stitches skipped.
Overlay Mosaic Crochet vs Inset Mosaic Crochet
These are the two most used mosaic crochet techniques. In the overlay mosaic crochet technique, you change the color of each row. Additionally, you re-join and fasten off all the individual rows, so that all rows are always worked with the right side facing. You will work most rows in double crochet, but the tiled effect appears by the use of front loop treble crochet stitches and back loop double crochet.
Example of overlay mosaic crochet. Photo from ravelry.com.
In the inset mosaic crochet pattern, you alternate colors every two rows. You will mostly work the rows in double crochet, but not always. To create a tiled effect with these rows, you will need to work chain lengths and a special stitch called a mosaic treble. Image 3 below shows a sample inset mosaic crochet pattern.
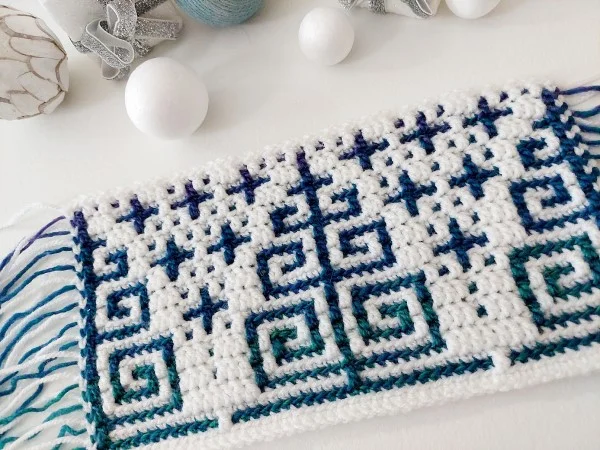
Example of inset mosaic crochet. Photo from ravelry.com.
How to create an Overlay Mosaic Crochet
There are several steps involved in making an overlay mosaic crochet pattern:
Step 1:
To start making an overlay mosaic crochet, you need to make a normal row of double crochet stitches. Choose a color of your liking and fasten off.
Step 2:
Using your next color, you re-join into the first stitch of the last row, but make sure that you always have the right side facing.
Step 3:
Using your next color again, double crochet into the first two stitches of the last row. Then work a back loop double crochet into the next 8 stitches, and finish up with normal double crochet in the last 2 stitches. Fasten off.
Step 4:
Then take your new color and work 2 normal double crochet stitches in the first 2 stitches of the last row. To come up with the overlay mosaic crochet pattern, you will need to work a front loop treble crochet stitch into the first unworked front loop 2 rows down. Next, you will need to work a back loop double crochet into the next 6 stitches and fasten off.
Step 5:
You will take a new yarn color and work a normal double crochet into your first two stitches. Work a back loop double crochet stitch into the next front loop treble stitch. Make a front loop treble crochet stitch into the next unworked front loop, and then finish off with 2 normal double crochet stitches. Fasten off.
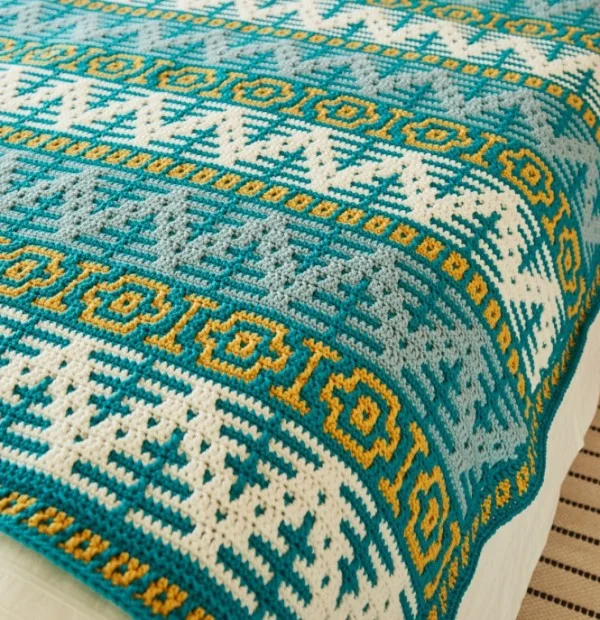
Example of overlay mosaic crochet. Photo from etsy.com.
These steps only capture the basics of overlay mosaic crochet pattern, so if you are working from a pattern, simply follow your chart.
How to create an Inset Mosaic Crochet
To do an Inset Mosaic crochet, you will need to follow some steps which are:
Step 1:
You will need two yarns in contrasting colors and an appropriately sized hook. Start by using Yarn A to make two rows of 22 double crochet stitches.
Step 2:
Work on row 3 with yarn B
Step 3:
Turn and continue with yarn B for row 4
Step 4:
Here you will make your stitch that creates the mosaic effect! You can identify this stitch as Mosaic treble. Using Yarn A to work row 5 and work a mosaic treble into the first marked stitch.
Step 5:
Start a Mosaic treble and insert the hook into the top of the stitch. Rotate the hook so it sits in front of yarn B above it and pulls up the loop.
Step 6:
You will now notice that the finished mosaic treble is just like the standard treble but it should sit at the front of the fabric. If you turn the fabric over, the mosaic treble should not be visible at the back of the work.
Step 7:
You can now make another mosaic treble in the next marked stitch by repeating the 2nd and 3rd steps.
Step 8:
Turn and work on row 6. Now if you turn your work, you will have worked 2 pairs of mosaic trebles to create two vertical links between the stripes of yarn A.
Also, these are the basics of inset mosaic, so if you are working from a pattern, you can follow your chart.
What are the differences between Overlay and Inset Mosaic Crochet patterns?
In Overlay mosaic crochet:
- The yarn is tied at the end of each row, this creates a lot of ends
- Stitches are worked in Back Loop Only (BLO)or Front Loop only (FLO)
- Pattern work in one row of each color without turning.
In Inset mosaic crochet
- The yarn is not tied off so the ends are not many
- Stitches are worked into the full stitch
- Patterns are worked in 2 rows of each color turning at the end of the row.
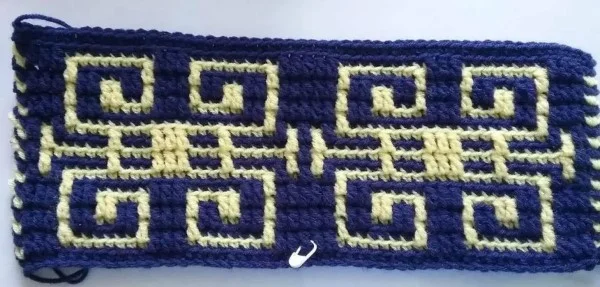
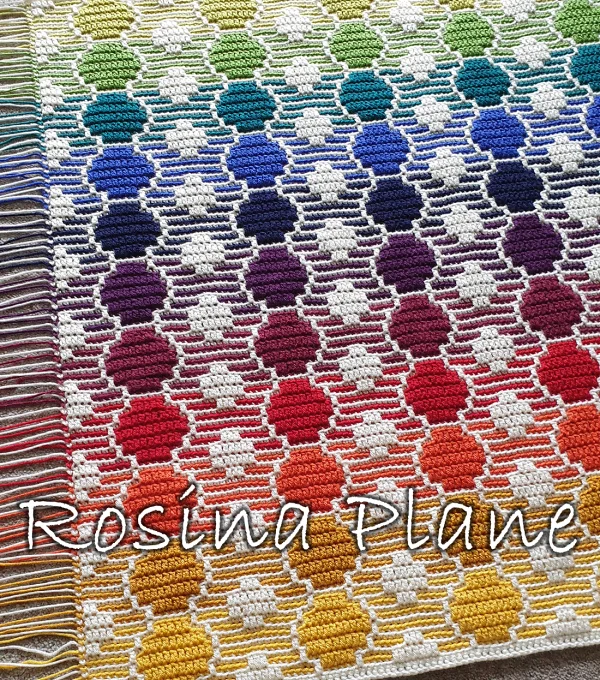
photo from calcrochetalong.com.
We hope by reading our overview of mosaic crochet you are able to begin your mosaic crochet journey and start producing some stunning colorwork projects. Whichever method you choose you will be able to develop and extend your crochet skills.
We would love to see the wonderful items you make with your new skills, so share your work in our Facebook group!