
In this article:

We have looked at free crochet blanket patterns in the past, but now it’s time for sweaters.
There’s just something so rewarding and enjoyable in crocheting a sweater. As you create a unique and personalized garment, you also showcase your creativity and craftsmanship.
We will take you through the process of crocheting a sweater, A to Z. We’ll start with selecting the right yarn and follow through to completing the final finishing touches.
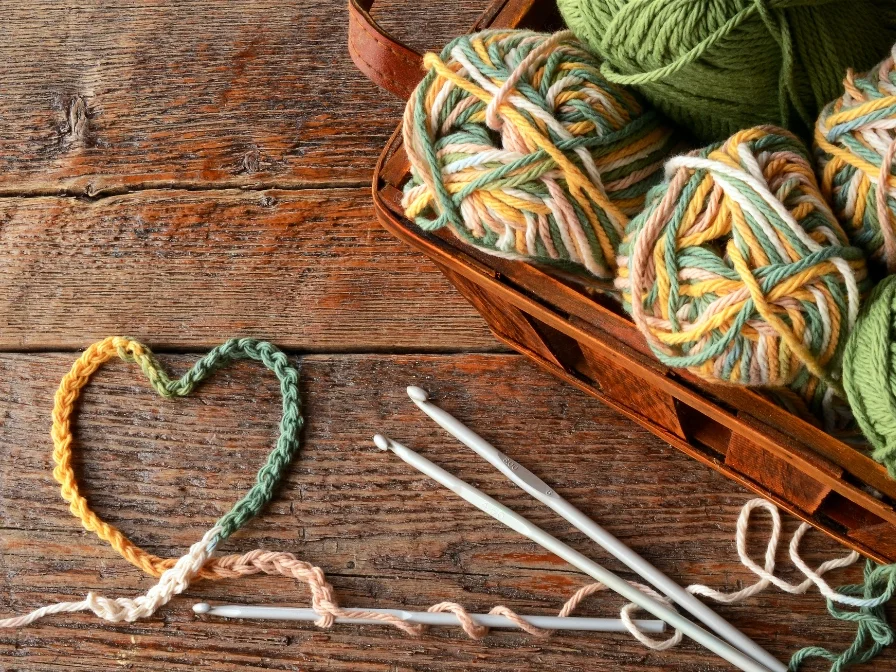
Before crocheting you will need the following:
- Yarn: You will need a suitable yarn. A medium-weight (worsted) yarn is usually a good choice. The actual amount of yarn you need will depend on the intended sweater size and style.
- Crochet Hooks: Select the appropriate hook size recommended for that yarn. Of course, you can vary this a bit to achieve a different effect (looser or tighter stitches), but you’ll need to test this out.
- Scissors: For cutting loose yarn ends.
- Measuring Tape: You will need it to take your body measurements and later on it will be needed to gauge your progress.
- Stitch Markers: Useful for marking stitches or rows in your project.
- Yarn Needle: Required for weaving in yarn tails and seaming.
Now, I’ll explain each point more detail.
Step 1 Accurate body Measurements:
All great projects start with accurate measurements. Take measurements for your bust, waist, hips, arm length, and desired sweater length.
Compare these with a size chart or use a pattern designed for your size. A tape measure will be your best friend here, but you can use a length of string and a yardstick in a pinch. To measure accurately, pull the tape tight, but not so tight as to indent your flesh. Same goes for the string.
Step 2 Choose the Right Pattern:
While there are countless sweater patterns available, you need to choose one that matches your taste and skill level. Do your research! If you’re just starting, be ambitious, certainly, but don’t go overboard. Projects that are too advanced only serve to discourage progress.
Step 3 Gauge Swatch:
Of course, you, me and their auntie Mae all want to dive right into the project. However, before you do, make a few test pieces (swatches) to work out the techniques, stitch tension as well as the yarn and hook size before risking bigger problems. This is a great time to find out whether the techniques in the project aren’t too much for you just yet.
Step 4: Start with the Foundation:
As with buildings, the foundation is, dare I say it, foundational. As you lay down the foundation chain, make sure you pay attention to the stitch counts and any other needed quirks in the pattern. Stitch tension will be significant here as well.
Step 5: Work the Body:
Continue working the body of the sweater according to the instructions, typically crocheting in rows or rounds. Definitely take measurements against your body as you go. Fitting clothing is an essential step of bespoke taloring or crocheting.
Step 6: Shape the Sleeves:
When the sweater body is done, it’s time to make the sleeves. The pattern will guide you through the specific increases or decreases needed to shape them. This may be slightly tricky, so it pays off to be attentive here.
Step 7: Complete the Collar and Edging:
Once the body and sleeves are complete, it’s time to finish the collar and edging. This may involve ribbing, decorative borders or other finishing details. This is also a great spot for customization.
Step 8: Finishing Touches:
The sweater is now finished. However, to make it truly complete you should weave in loose yarn with a yarn needle. Finishing details such as buttons, zippers or other embellishments come next.
Additionally, below I’ve gathered the most common questions on this topic.
Can a beginner crochet a sweater?
How many hours does it take to crochet a sweater?
Which crochet sweater is the easiest to make? Which crochet pattern should I choose if I am a beginner?
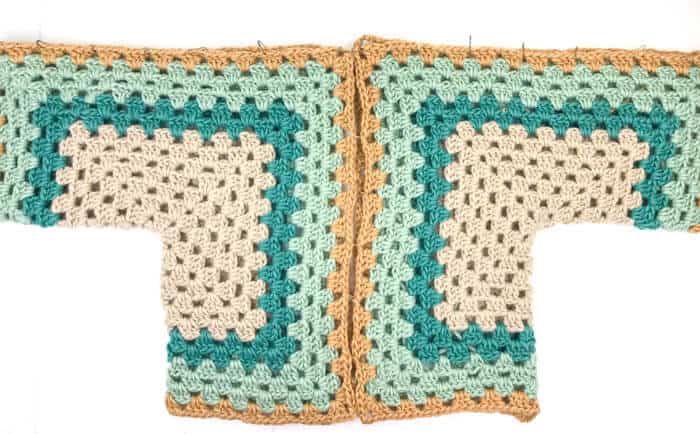
A great example is this free pattern, the The Campfire Cardigan by Make & Do Crew. Is based on 2 granny hexagons, joined together.

Conclusion:
If you would like to find more popular pattern to consider, see my previous post:
For more free designs every day follow us on Facebook. Share your ideas and your work on our Facebook group!