Share this post with friends

This post contains affiliate links.

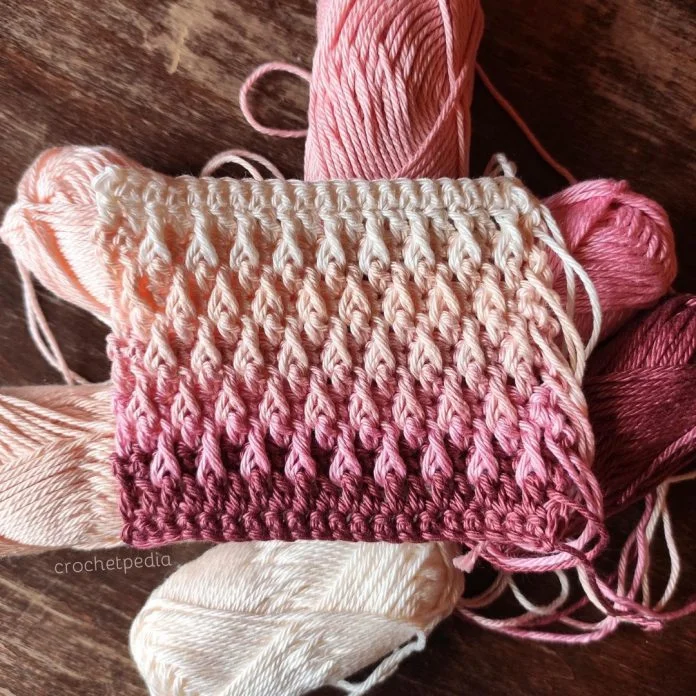
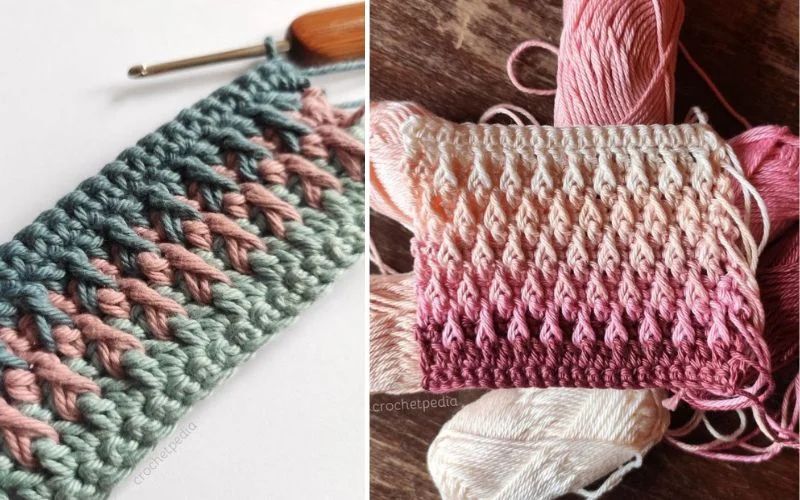
When you first look at the alpine stitch you may think it looks complicated but in fact, it is only made up of a 4-row repeating pattern, once you have the hang of that you will be able to create this beautiful diamond pattern with ease.
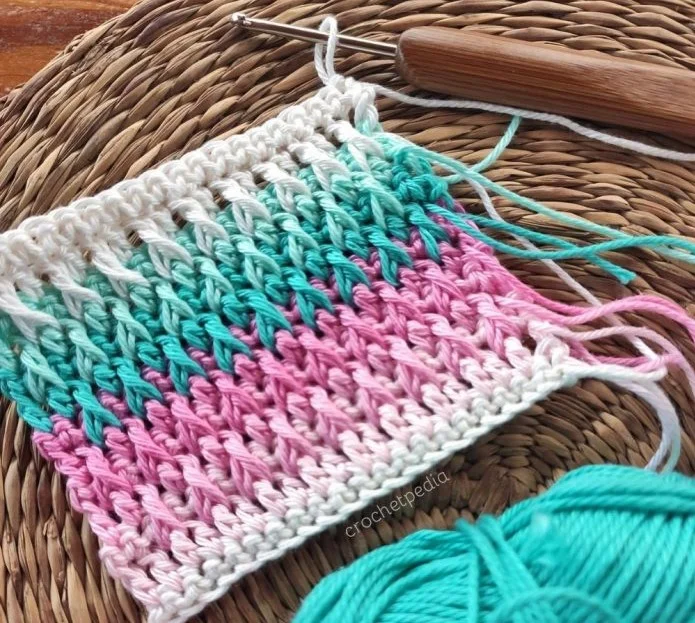
photo from crochetpedia.com

A few tips to get started

  • This stitch can be created using any stitch multiple but many prefer the finished look when using odd numbers.
  • This stitch uses a 4-row pattern repeat. The main aspects are alternating rows of double crochet, post stitches, and single crochet
  • Turning chains don’t count towards your final stitch count
  • Beginners can pick up this stitch quite quickly once they know the basics. You may just need to learn how to create a front post stitch as an extra. 
    Find the best selection of quality yarns for crochet in Katia’s online store.

What patterns are popular with Alpine stitch

  • Blankets
  • Cushions
  • Shawls
  • Scarfs and cowls
  • Accessories

How to create the alpine stitch

You can crochet this stitch with any kind of yarn for crochet and a corresponding hook, but remember that yarn weight and hook size will affect the look.

Below are instructions to make a swatch of alpine stitch, this will help you develop your technique and confidence in the stitch before moving on to bigger projects.

Stitches & Abbreviations (US Terms)

  • ch = chain
  • cont = continued
  • dc = double crochet
  • fptr = front post treble
  • sc = single crochet
  • st = stitch
photo from crochetpedia.com

Instructions

First, create a foundation chain with an odd number of stitches.
Row 1 (Right Side):
1dc in 3rd ch from hook continue dc until the end of the row, turn
Row 2 (Wrong Side):
Ch1 (this doesn’t count as a st), 1sc in each st to the end of the row, turn
Row 3:
Ch2 (this doesn’t count as a st), 1dc in the first st, *1fptr in corresponding dc 2 rows below, 1dc in next st; rep from * to end of row, turn.
Row 4:
Repeat Row 2
Row 5:
Ch2, 1fptr in first dc 2 rows below, *1dc in next st, 1fptr in corresponding dc 2 rows below; rep from * to end of row, turn
Row 6:
Repeat Row 2
For the pattern: Repeat rows 3 – 6 and finish up on a row 2 repeat.

Does the alpine stitch use a lot of yarn?
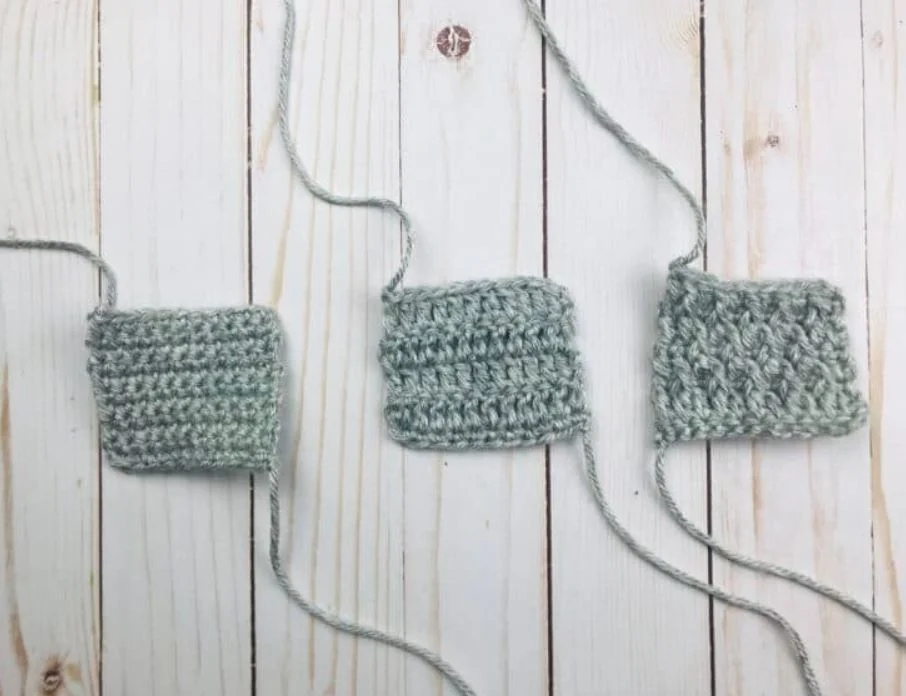
We all know the problems of working out how much yarn we need for a project, but does the alpine stitch take up more yarn than other stitches? It’s pretty, textured, and creates a good dense fabric which would suggest that this crochet stitch would use a lot of fabric.
To find out the answer it is best to create swatches in different stitches, so that you can compare the final weights. Let’s compare the alpine stitch to some simple crochet stitches and see what happens.
Create a swatch, around the same size in each crochet stitch, in measurement, not stitches – the image below shows single crochet, double crochet, and alpine stitch for comparison.
Next, weigh your swatches, because the heaviest weight uses the most yarn.
The image below found that both the single crochet and the alpine stitch weighed the same, and I think we can all agree that creating items in the alpine stitch is much more fun and creates a more interesting finished product.


We would love to see the wonderful items you make with your new skills, so share your work in our Facebook group!

For more free designs every day follow us on Facebook.

Share this post with friends


Similar Posts

One Comment

  1. Pauline Joy De Feudis says:

    Like your pattens

Leave a Reply

Your email address will not be published. Required fields are marked *